I know there were at least a couple people interested in a write up or guide for the onboard charger fuse replacement. I took a fair amount of pictures when I replaced the fuses in my charger, so here you go!
First off, this is what my car was doing when I plugged it in...
https://youtu.be/5Msfjg-_8l0
Basically you can see and hear the known good charge cable attempt to charge the car four times and then it stops.
Now, if you're good at working on cars and you have a fairly complete set of tools... you might be able to pull this off. Have you ever replaced a timing belt and water pump on an ICE car? This is kind of like that job, only with high voltage (HV) components involved. There's very little room for error here. I had 3 large egg cartons worth of nuts and bolts by the time I reached the fuses. Egg cartons are a fantastic way to keep all the nuts and bolts organized in the order that they were removed.
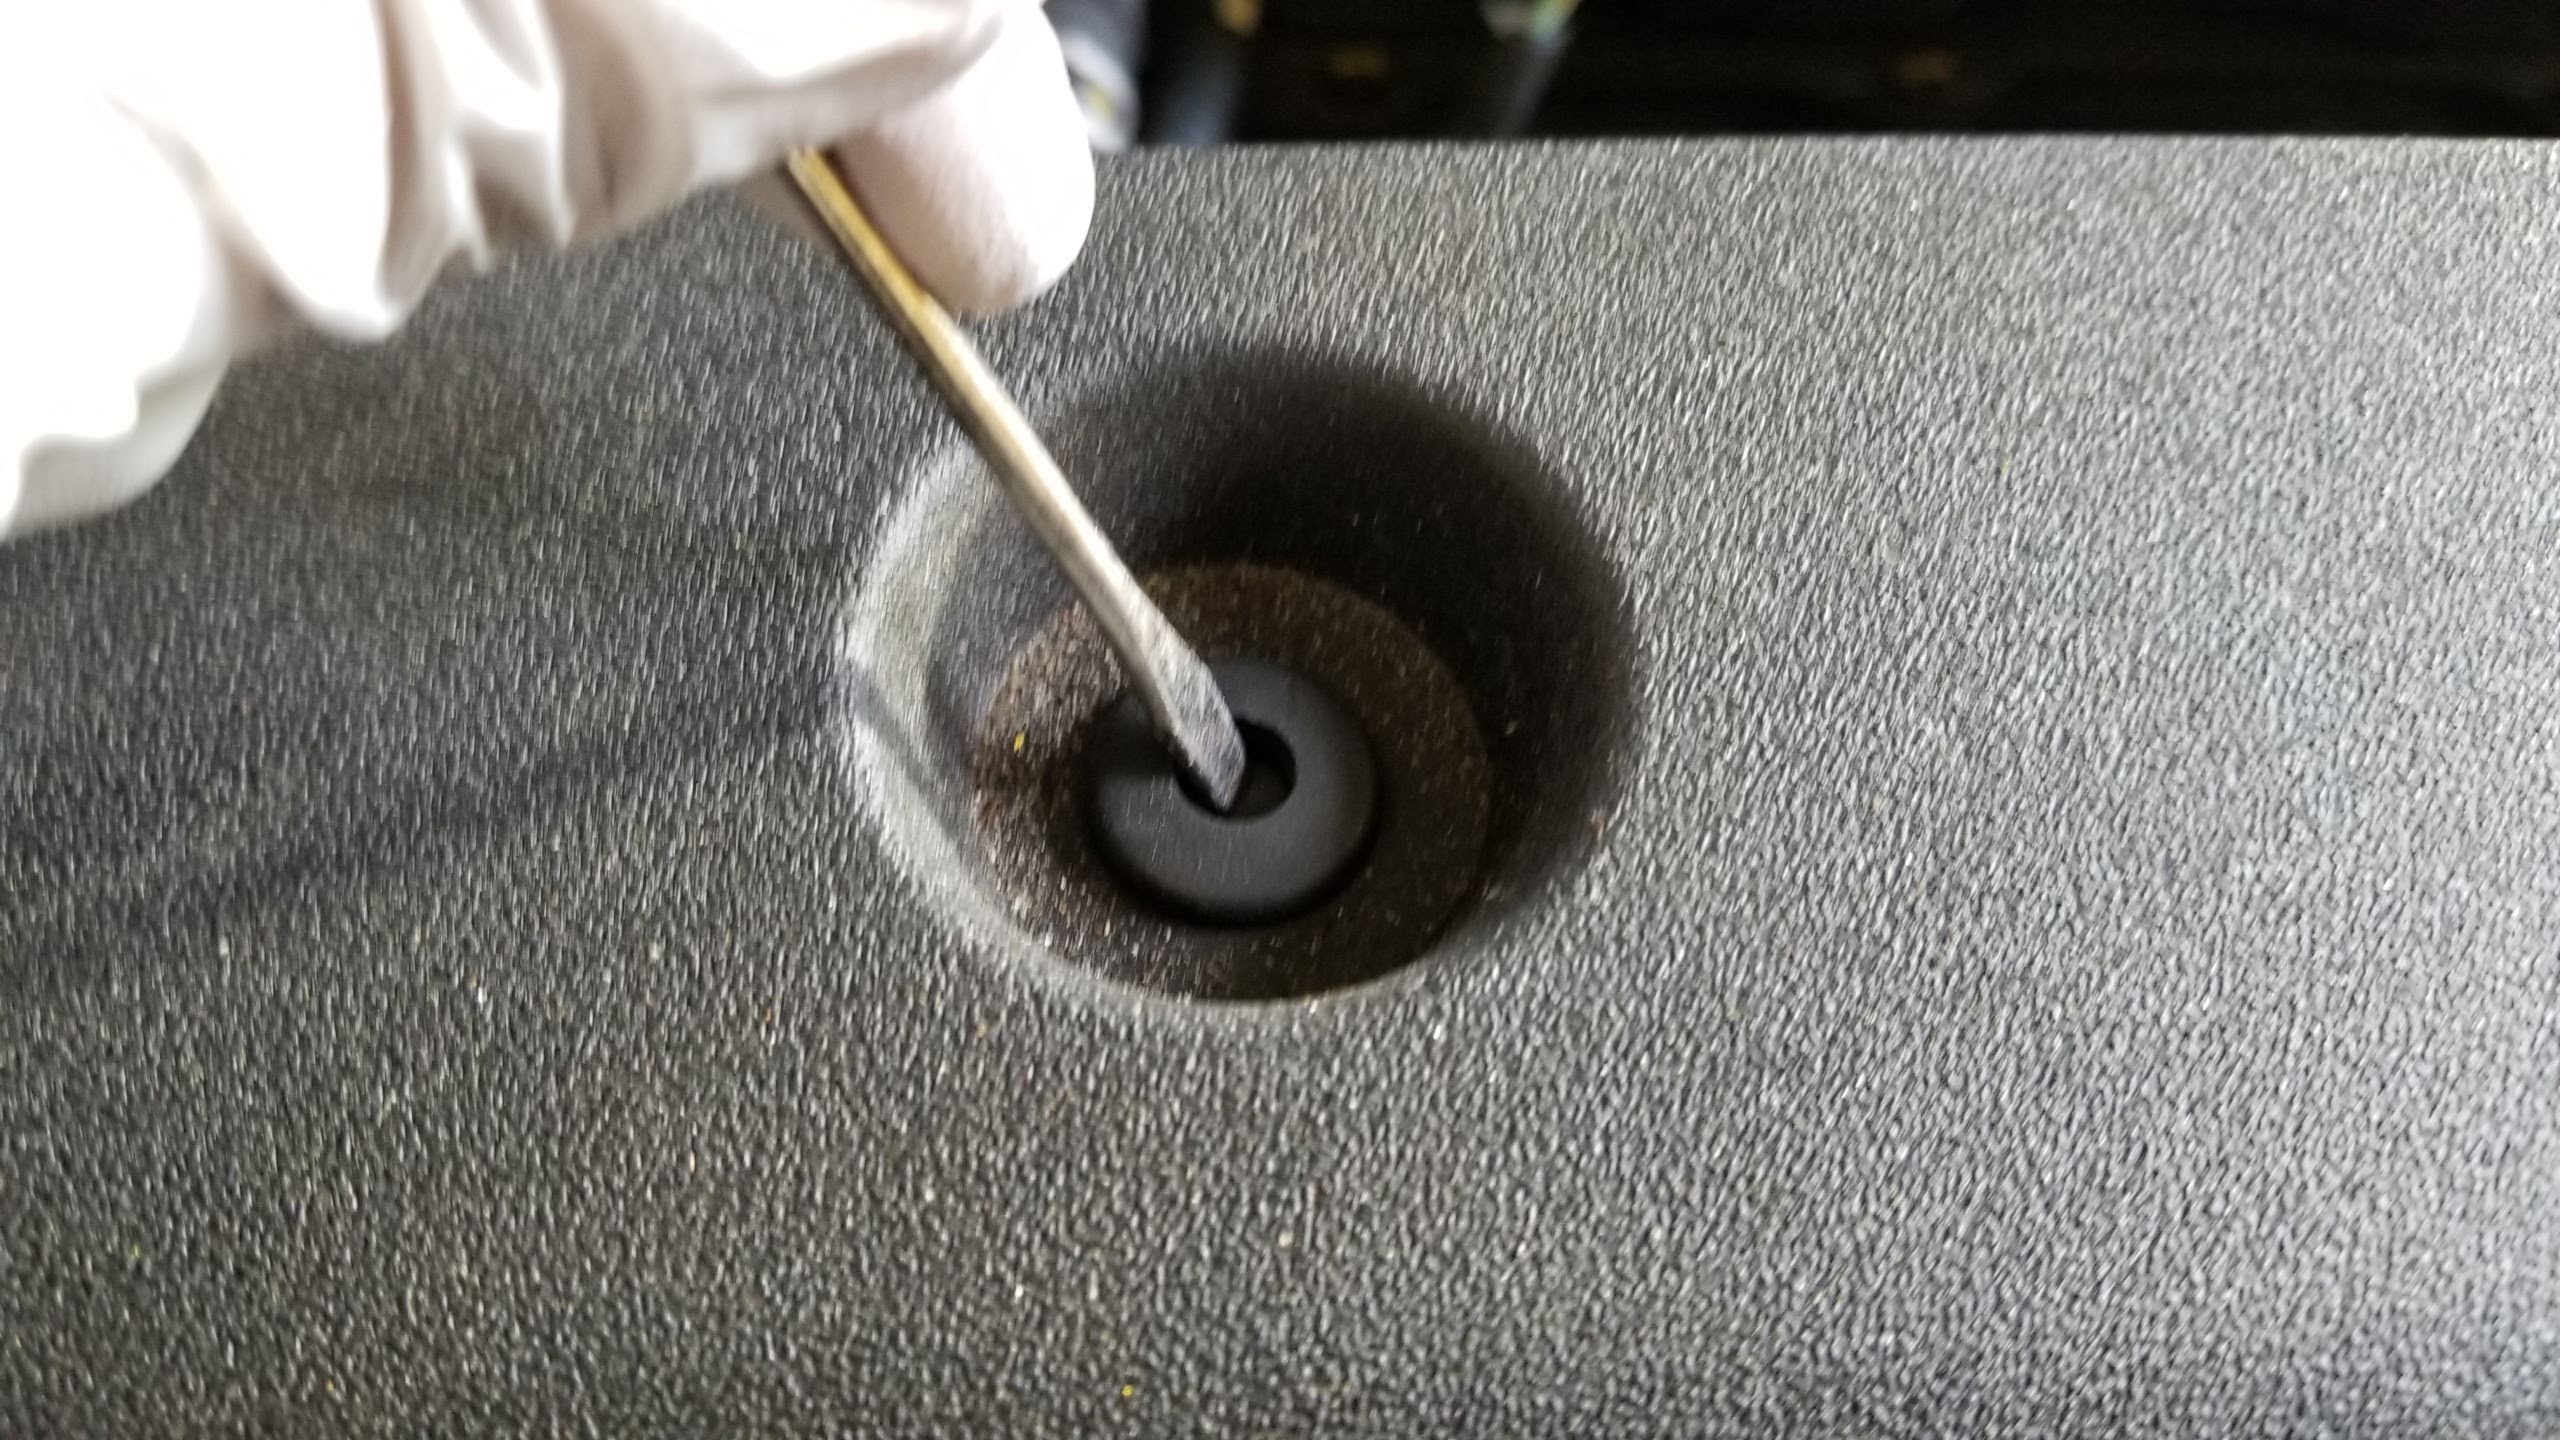
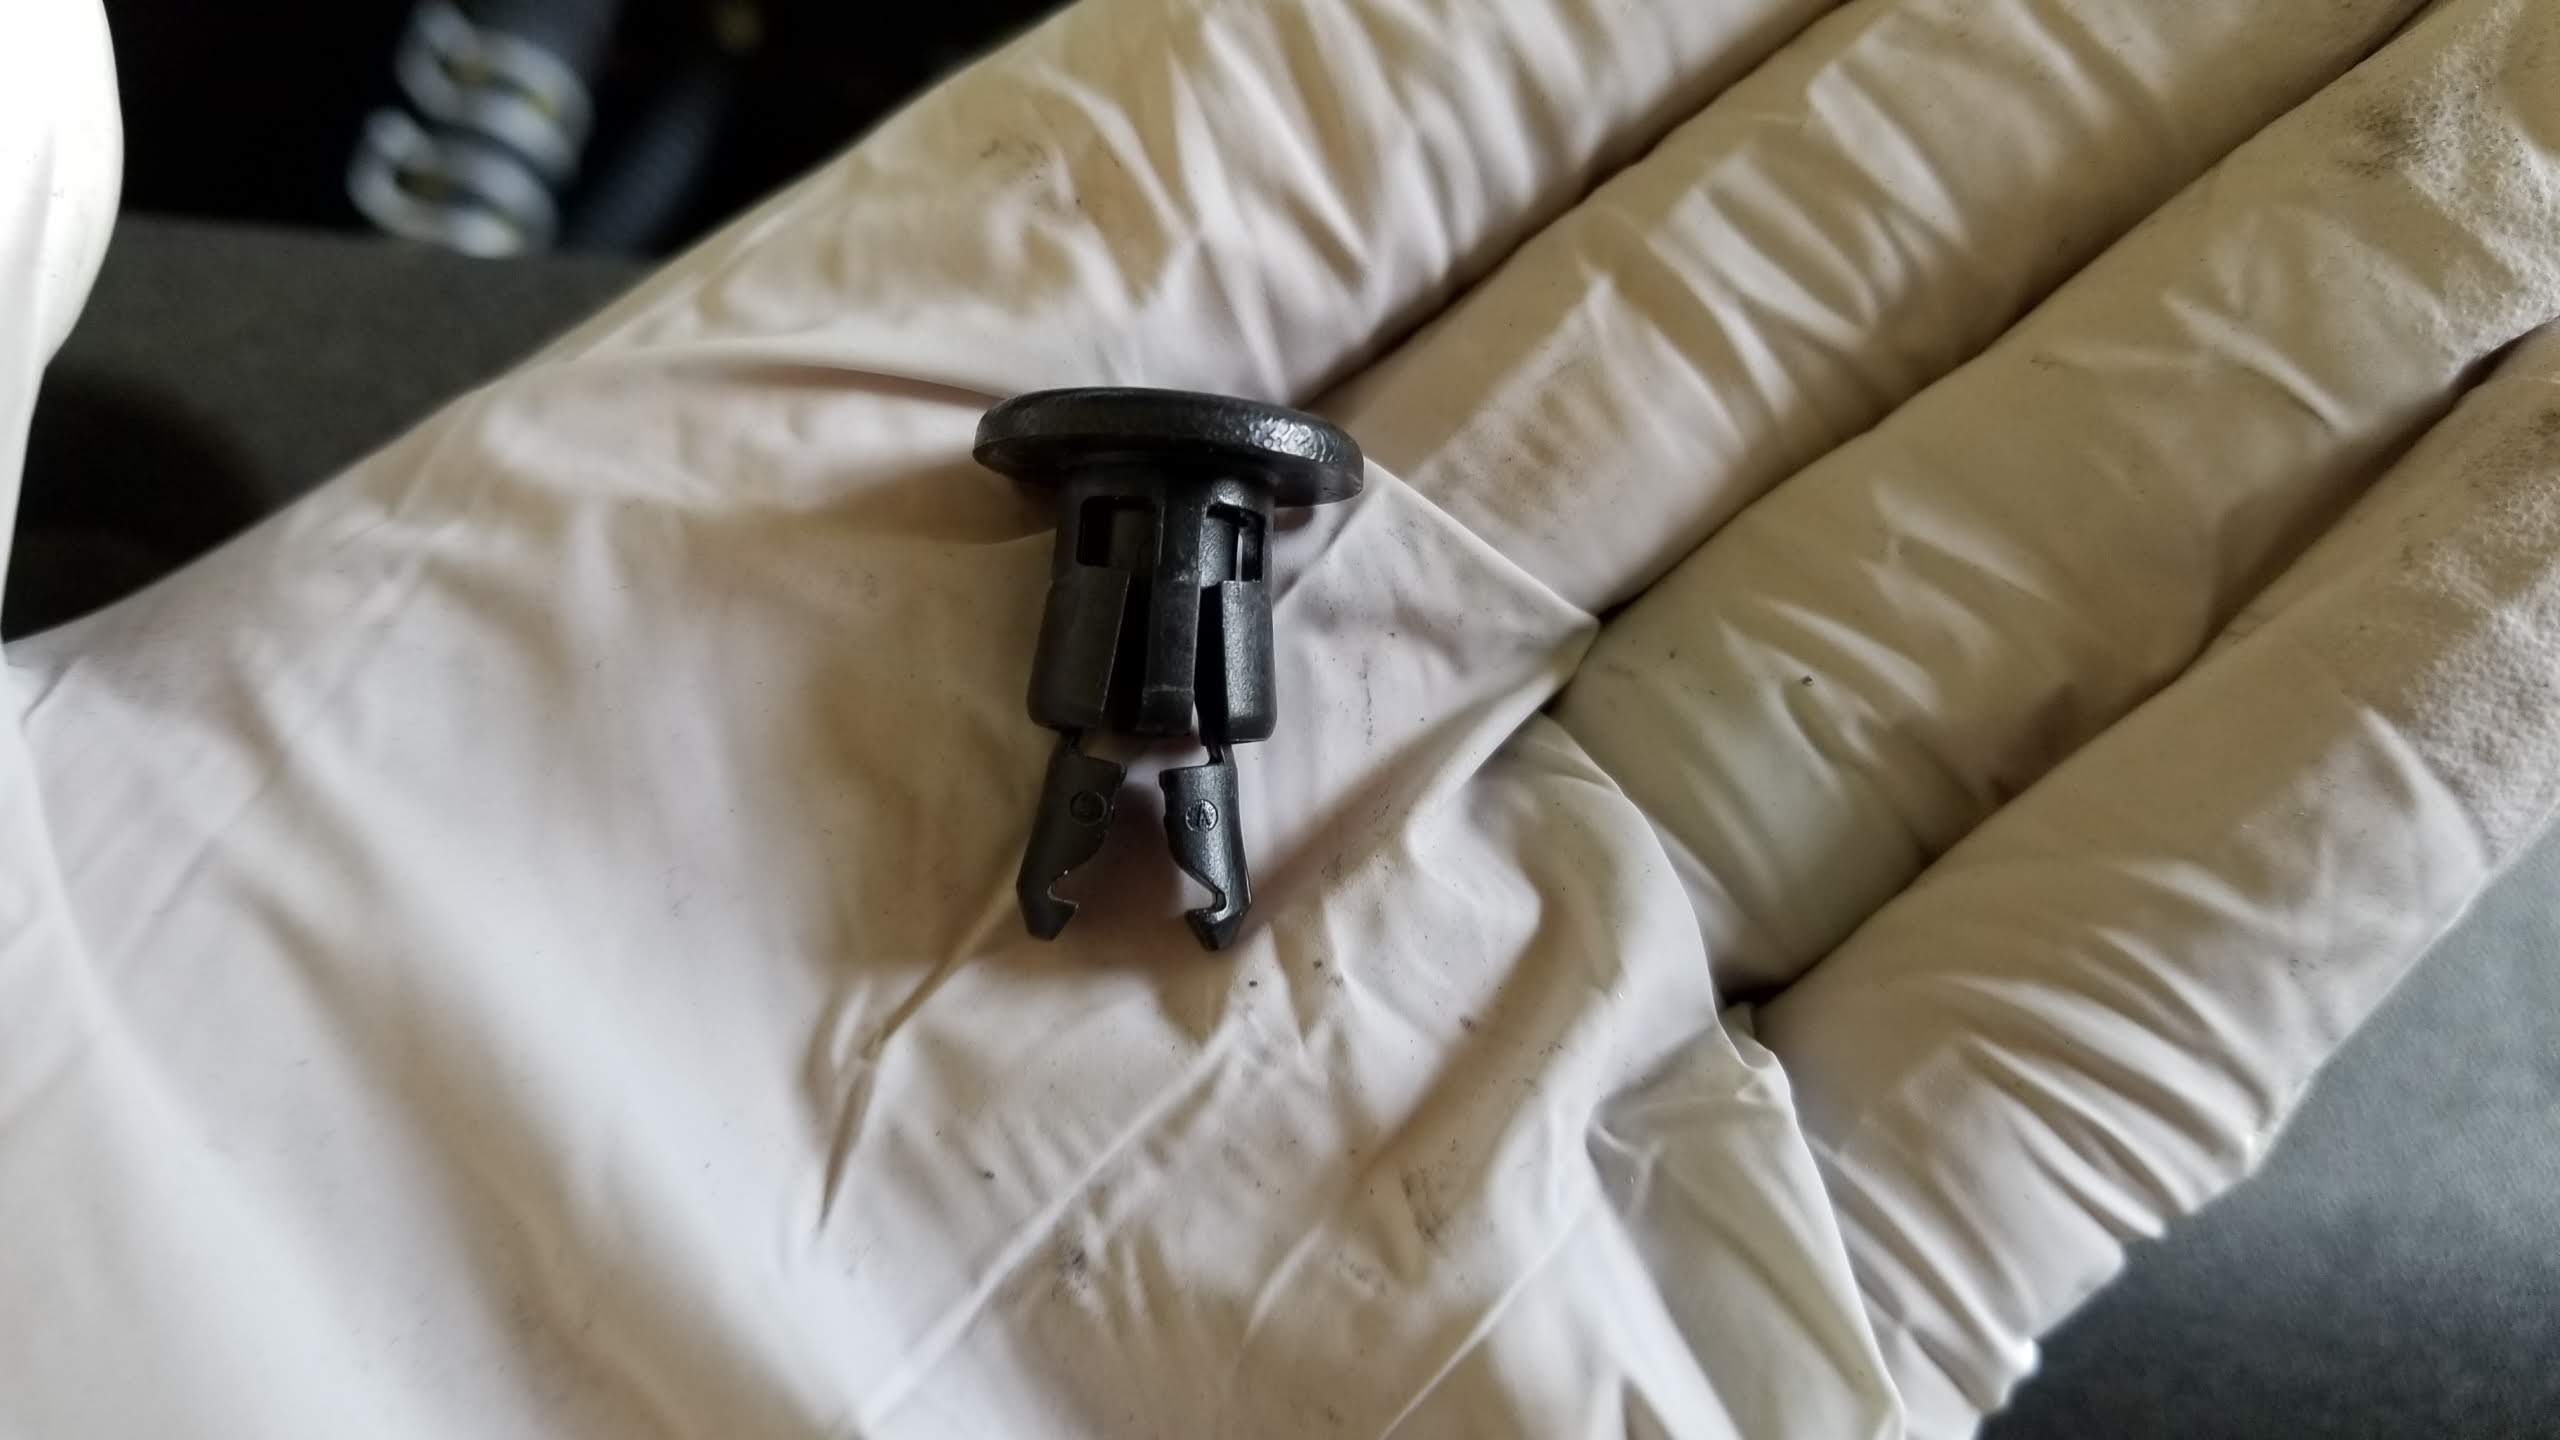
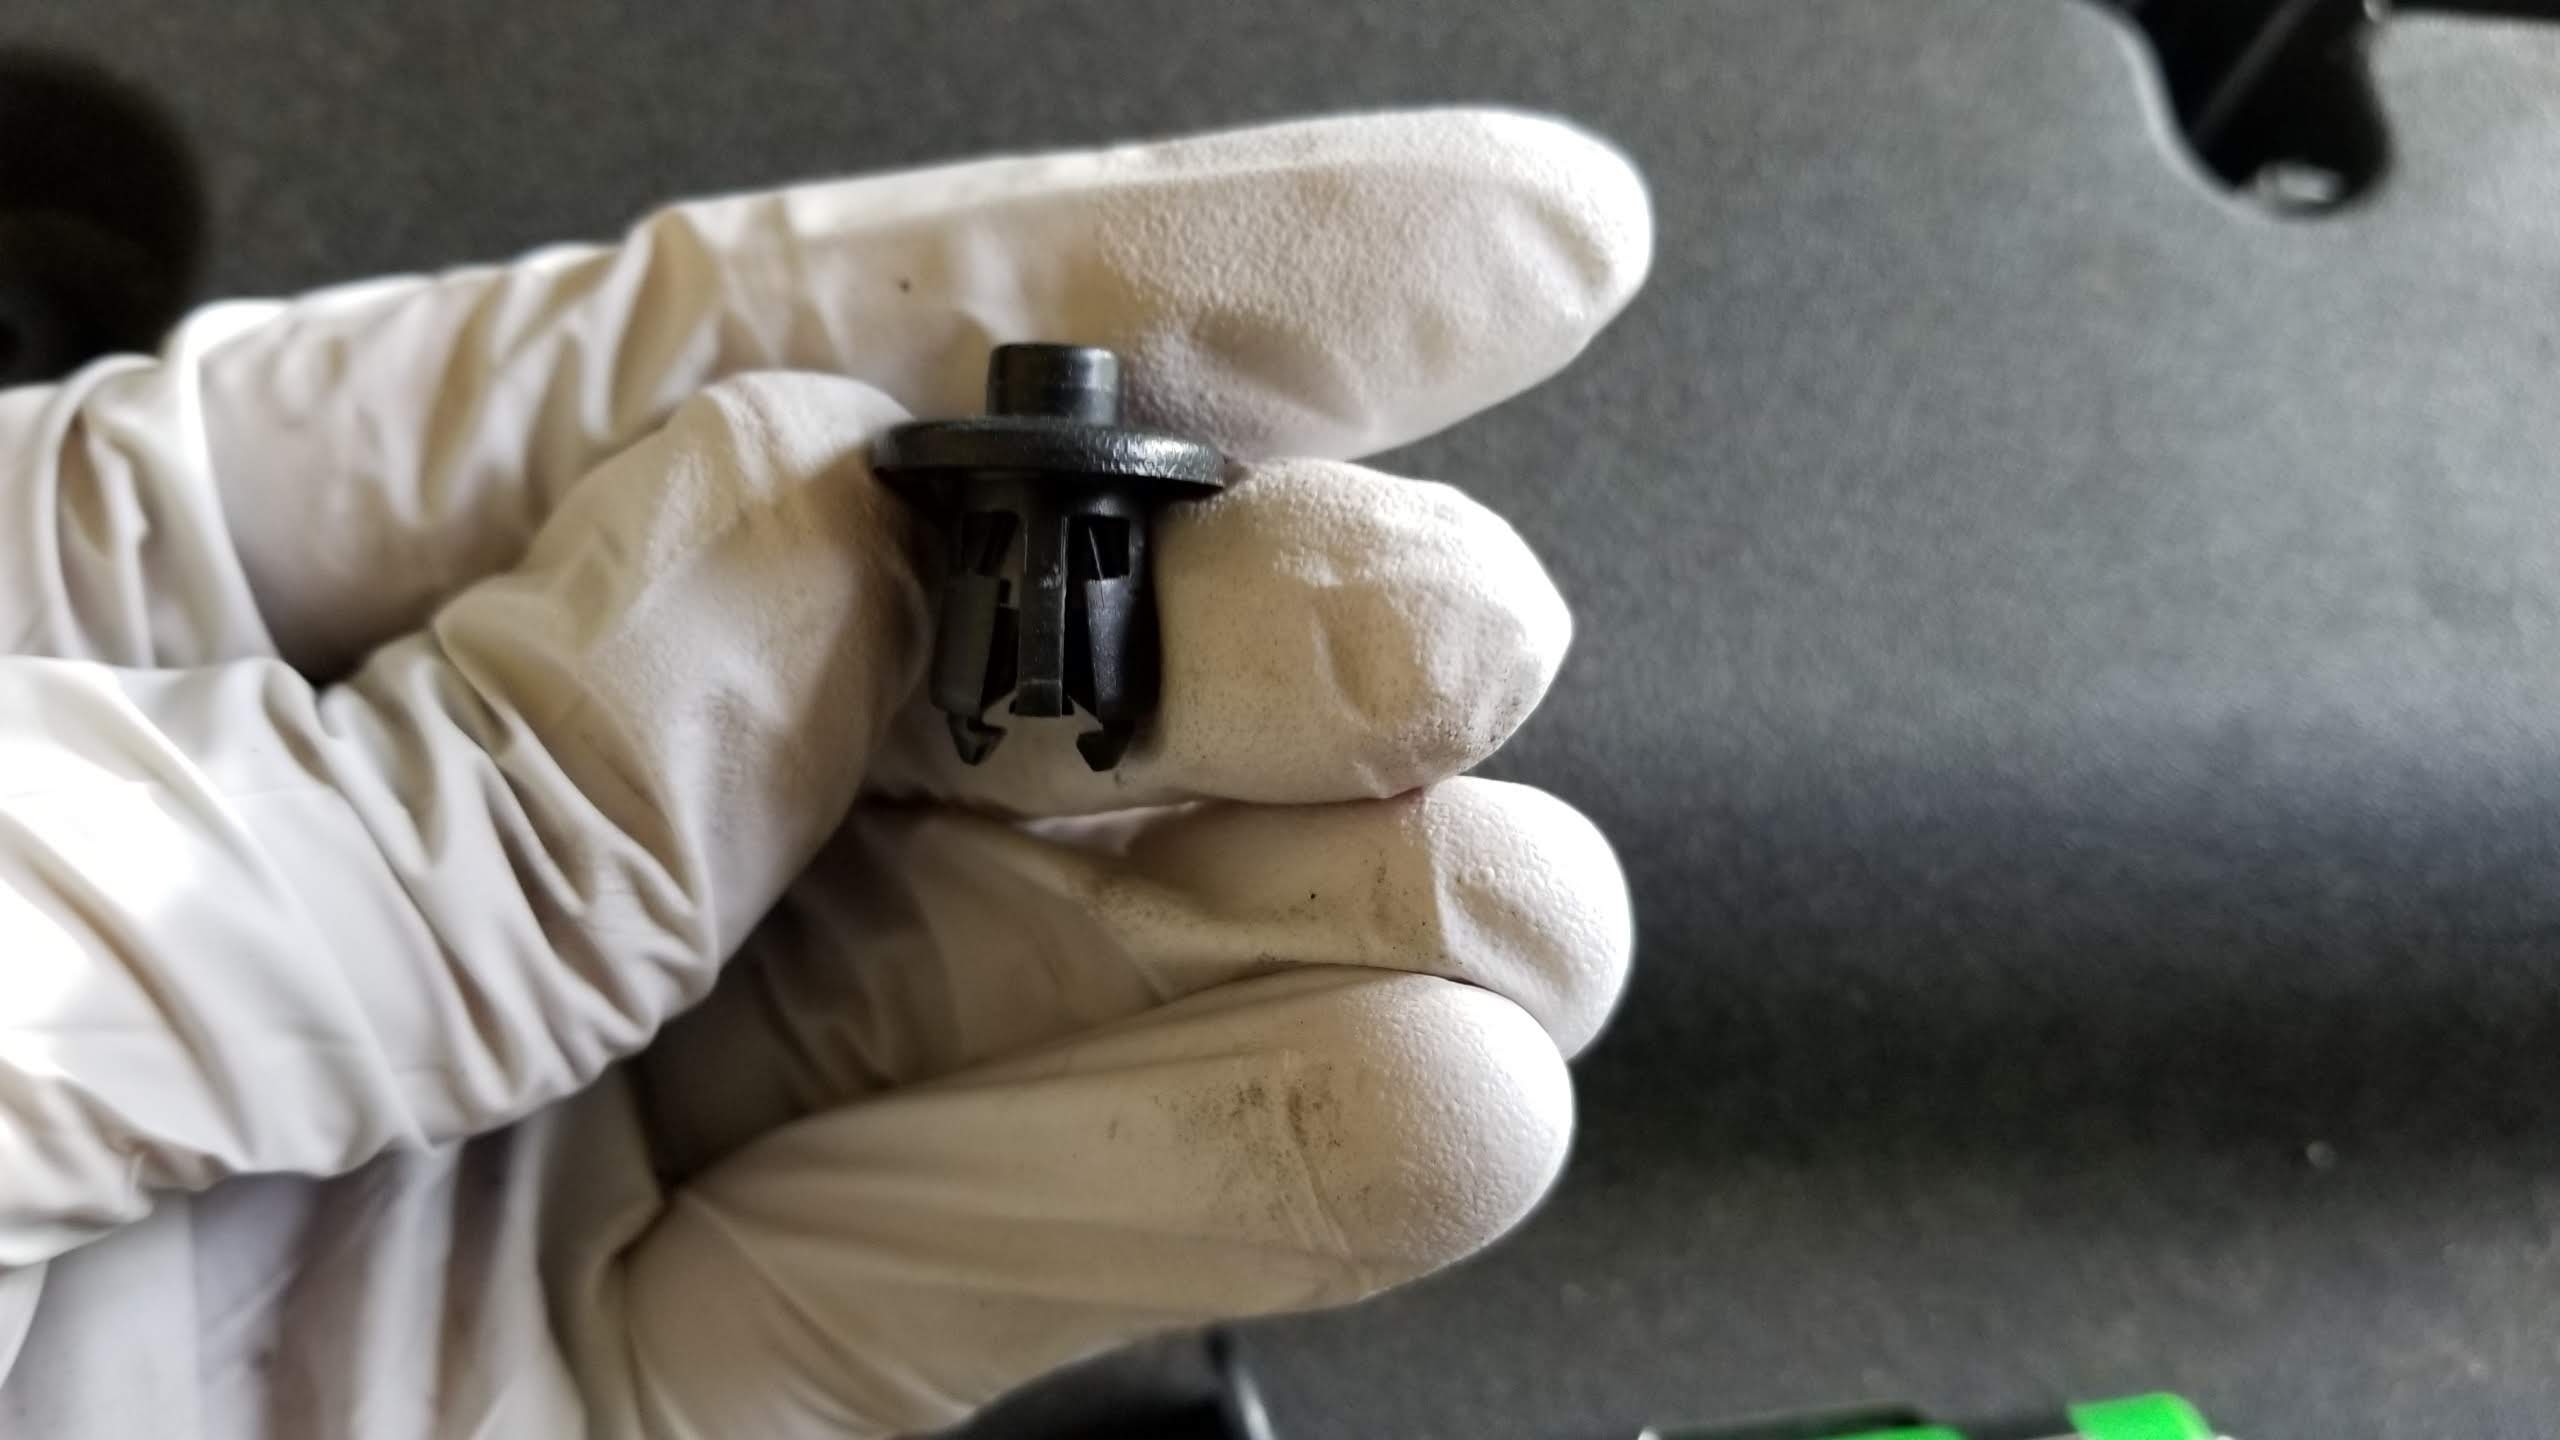
Alright, step one, remove the black cover at the front that is held in by the world's most counter-intuitive clips.

Push down on the center part. Don't worry, it wont fall down behind the panel and be gone forever.


To reset these clips you have to pull out on the legs a little and push it back up through the center hole until a little nub is sticking up through the top of the clip.

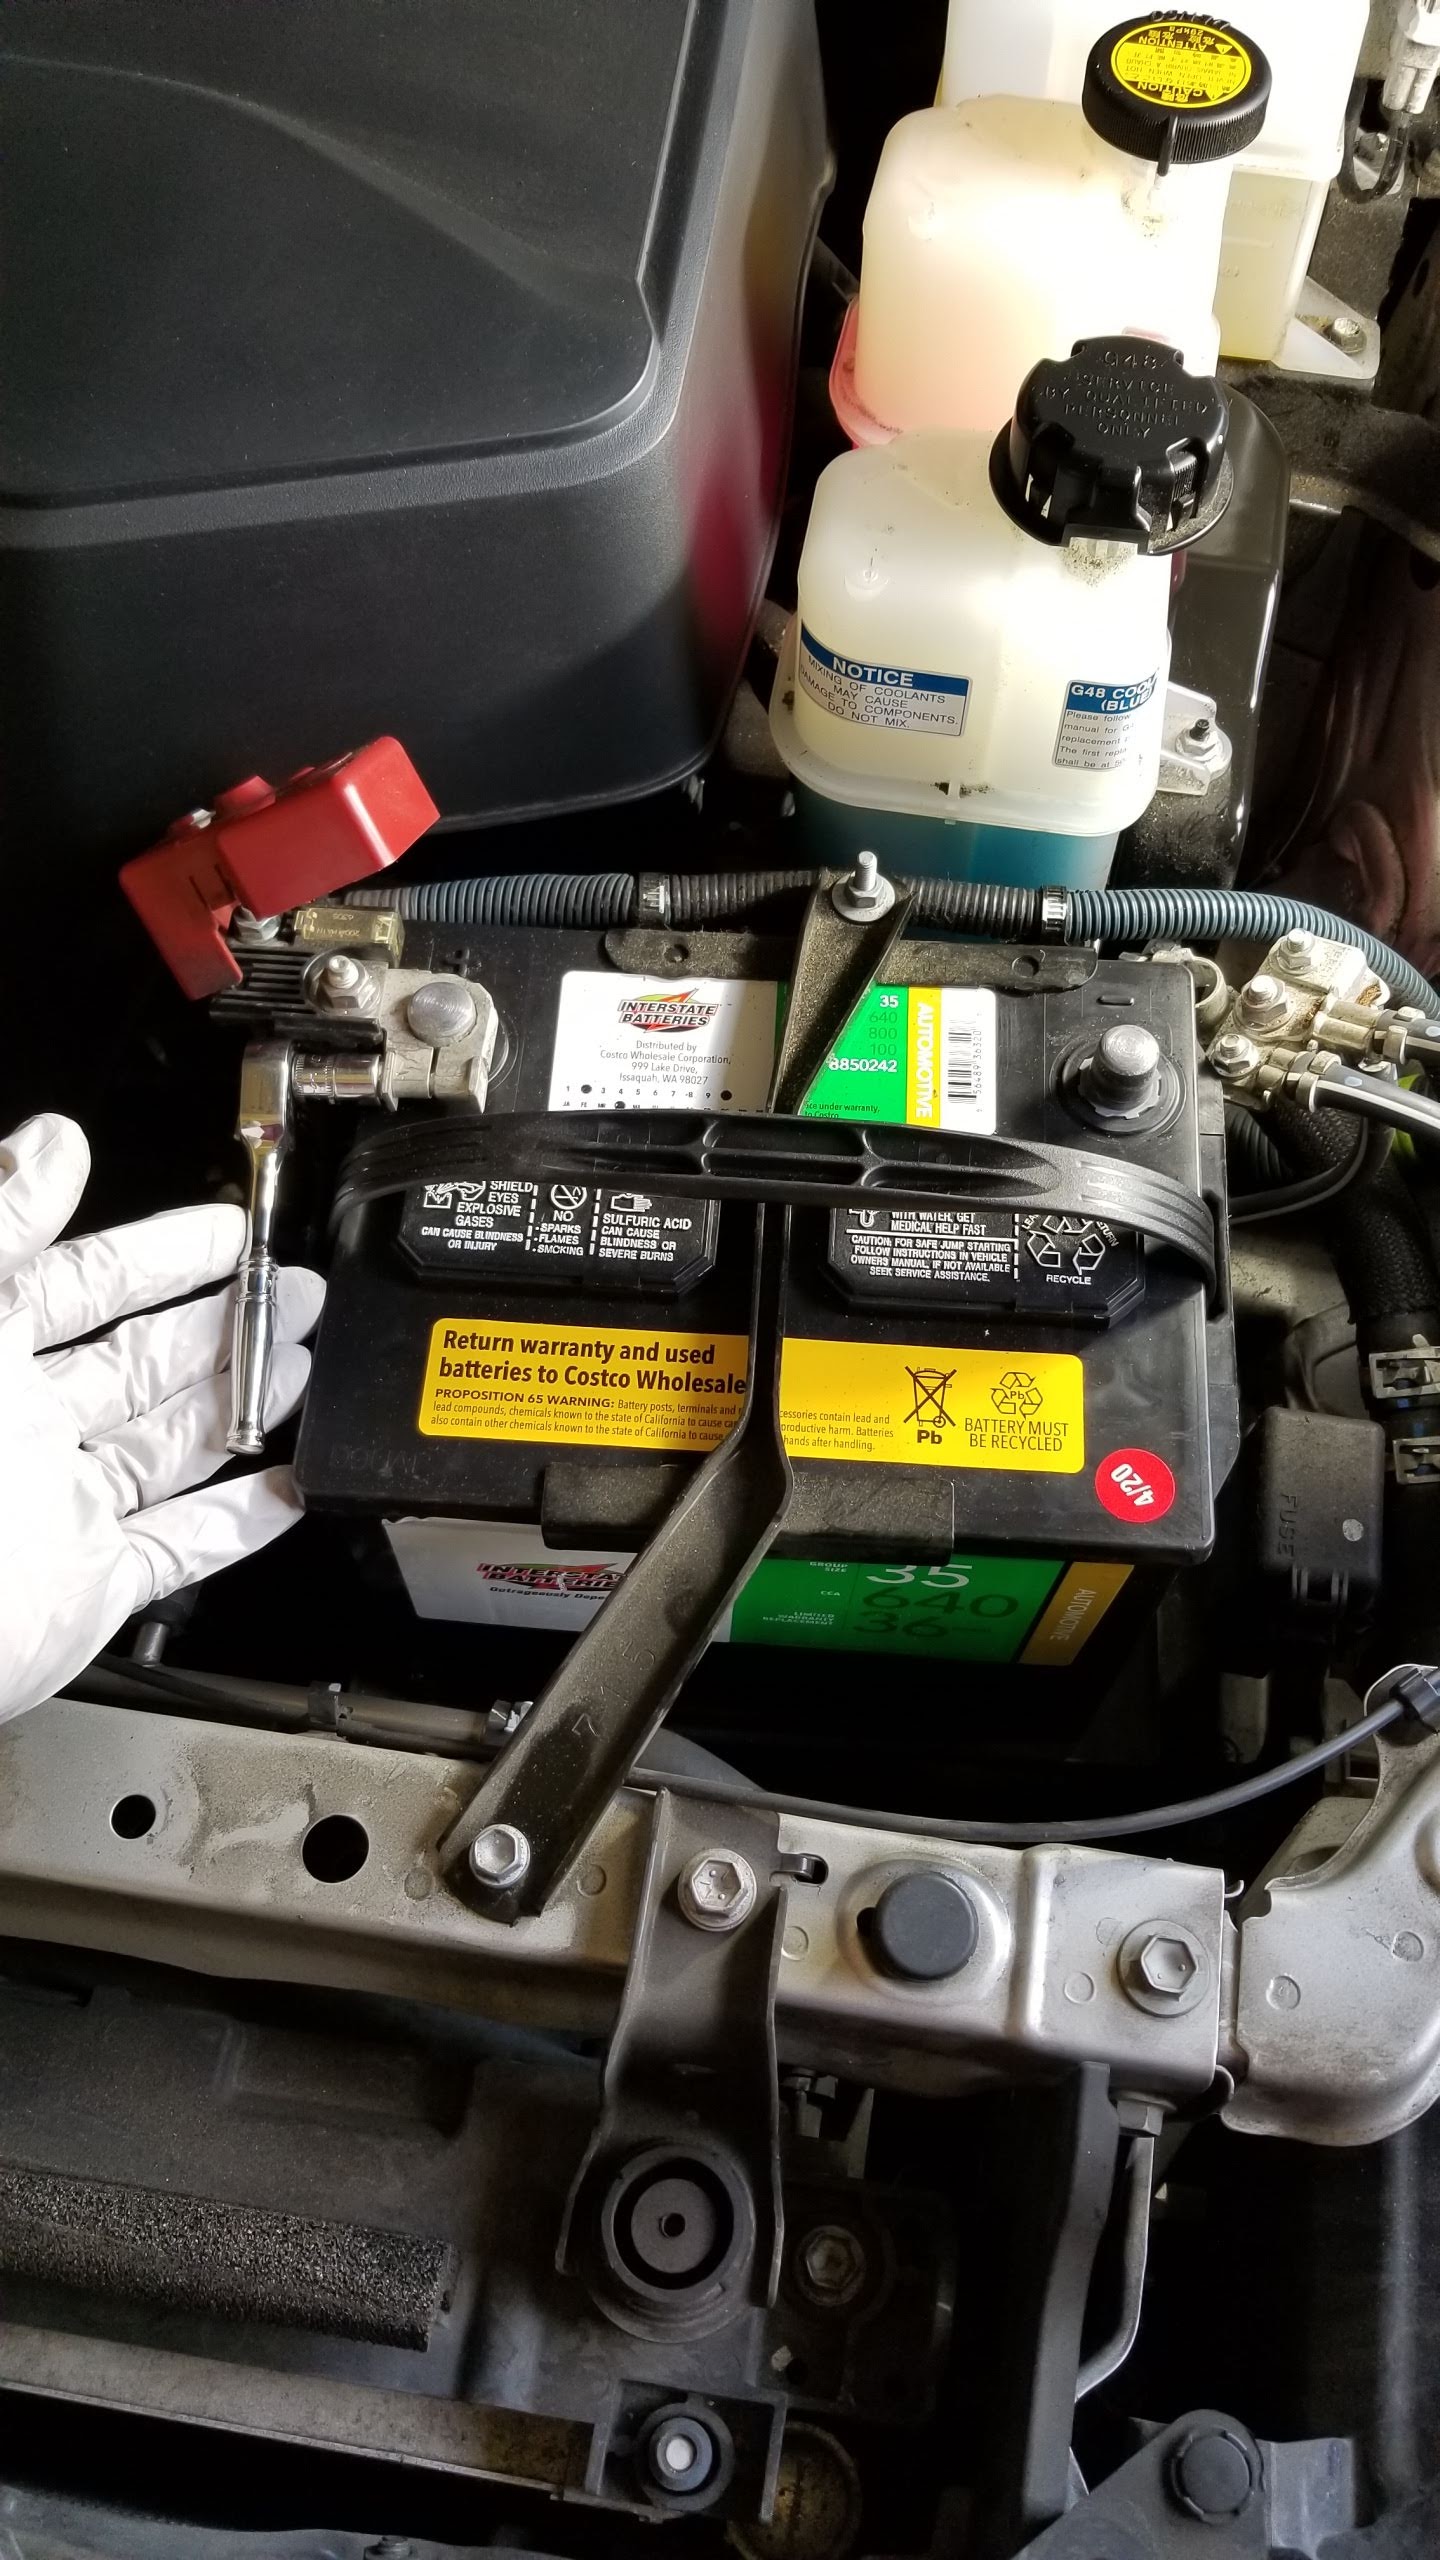
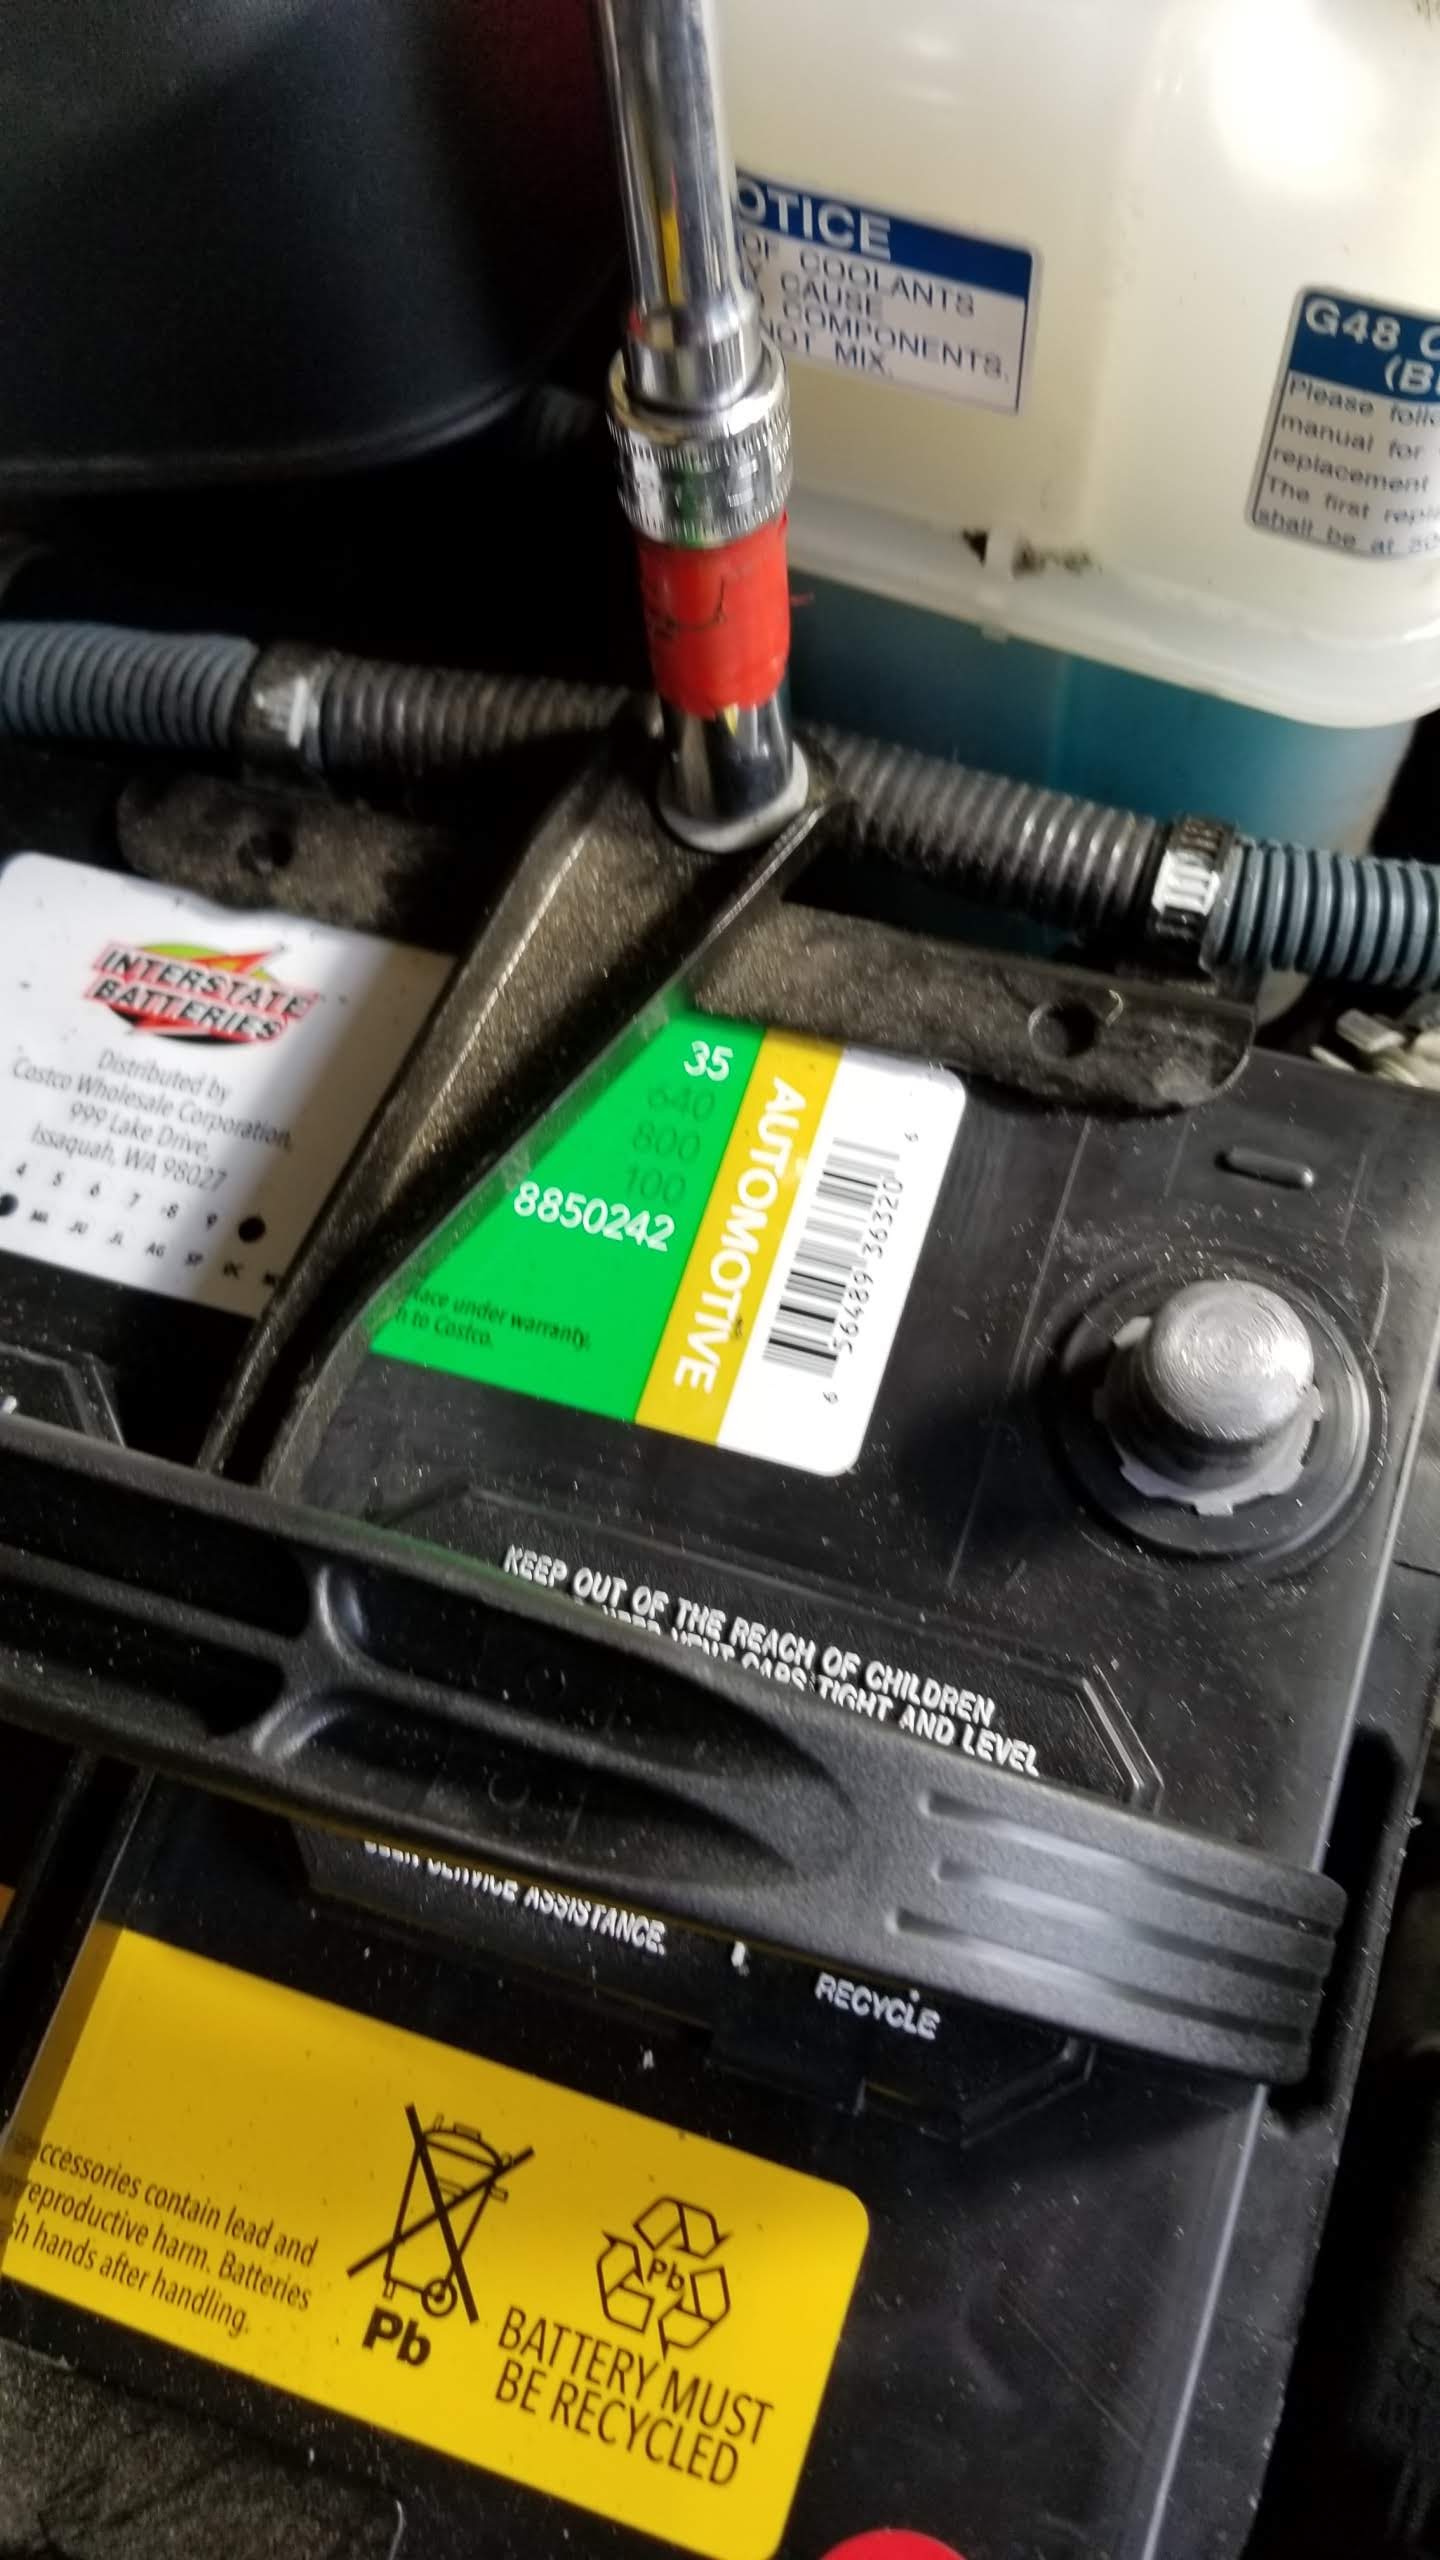
Remove the 12V battery:

After removing the 12v battery, remove the HV service disconnect plug under the front passenger seat. I didn't get any pictures of this.
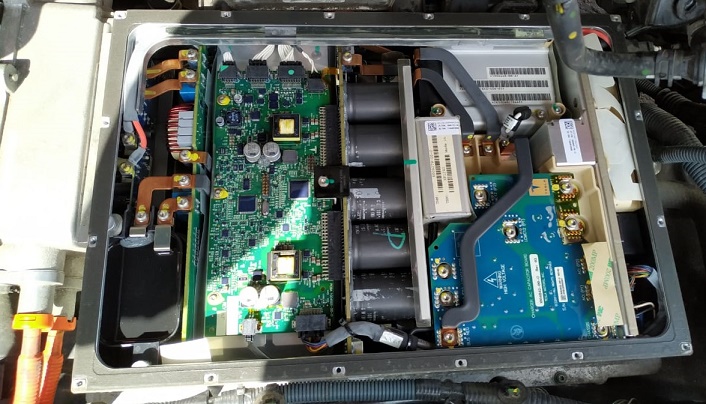
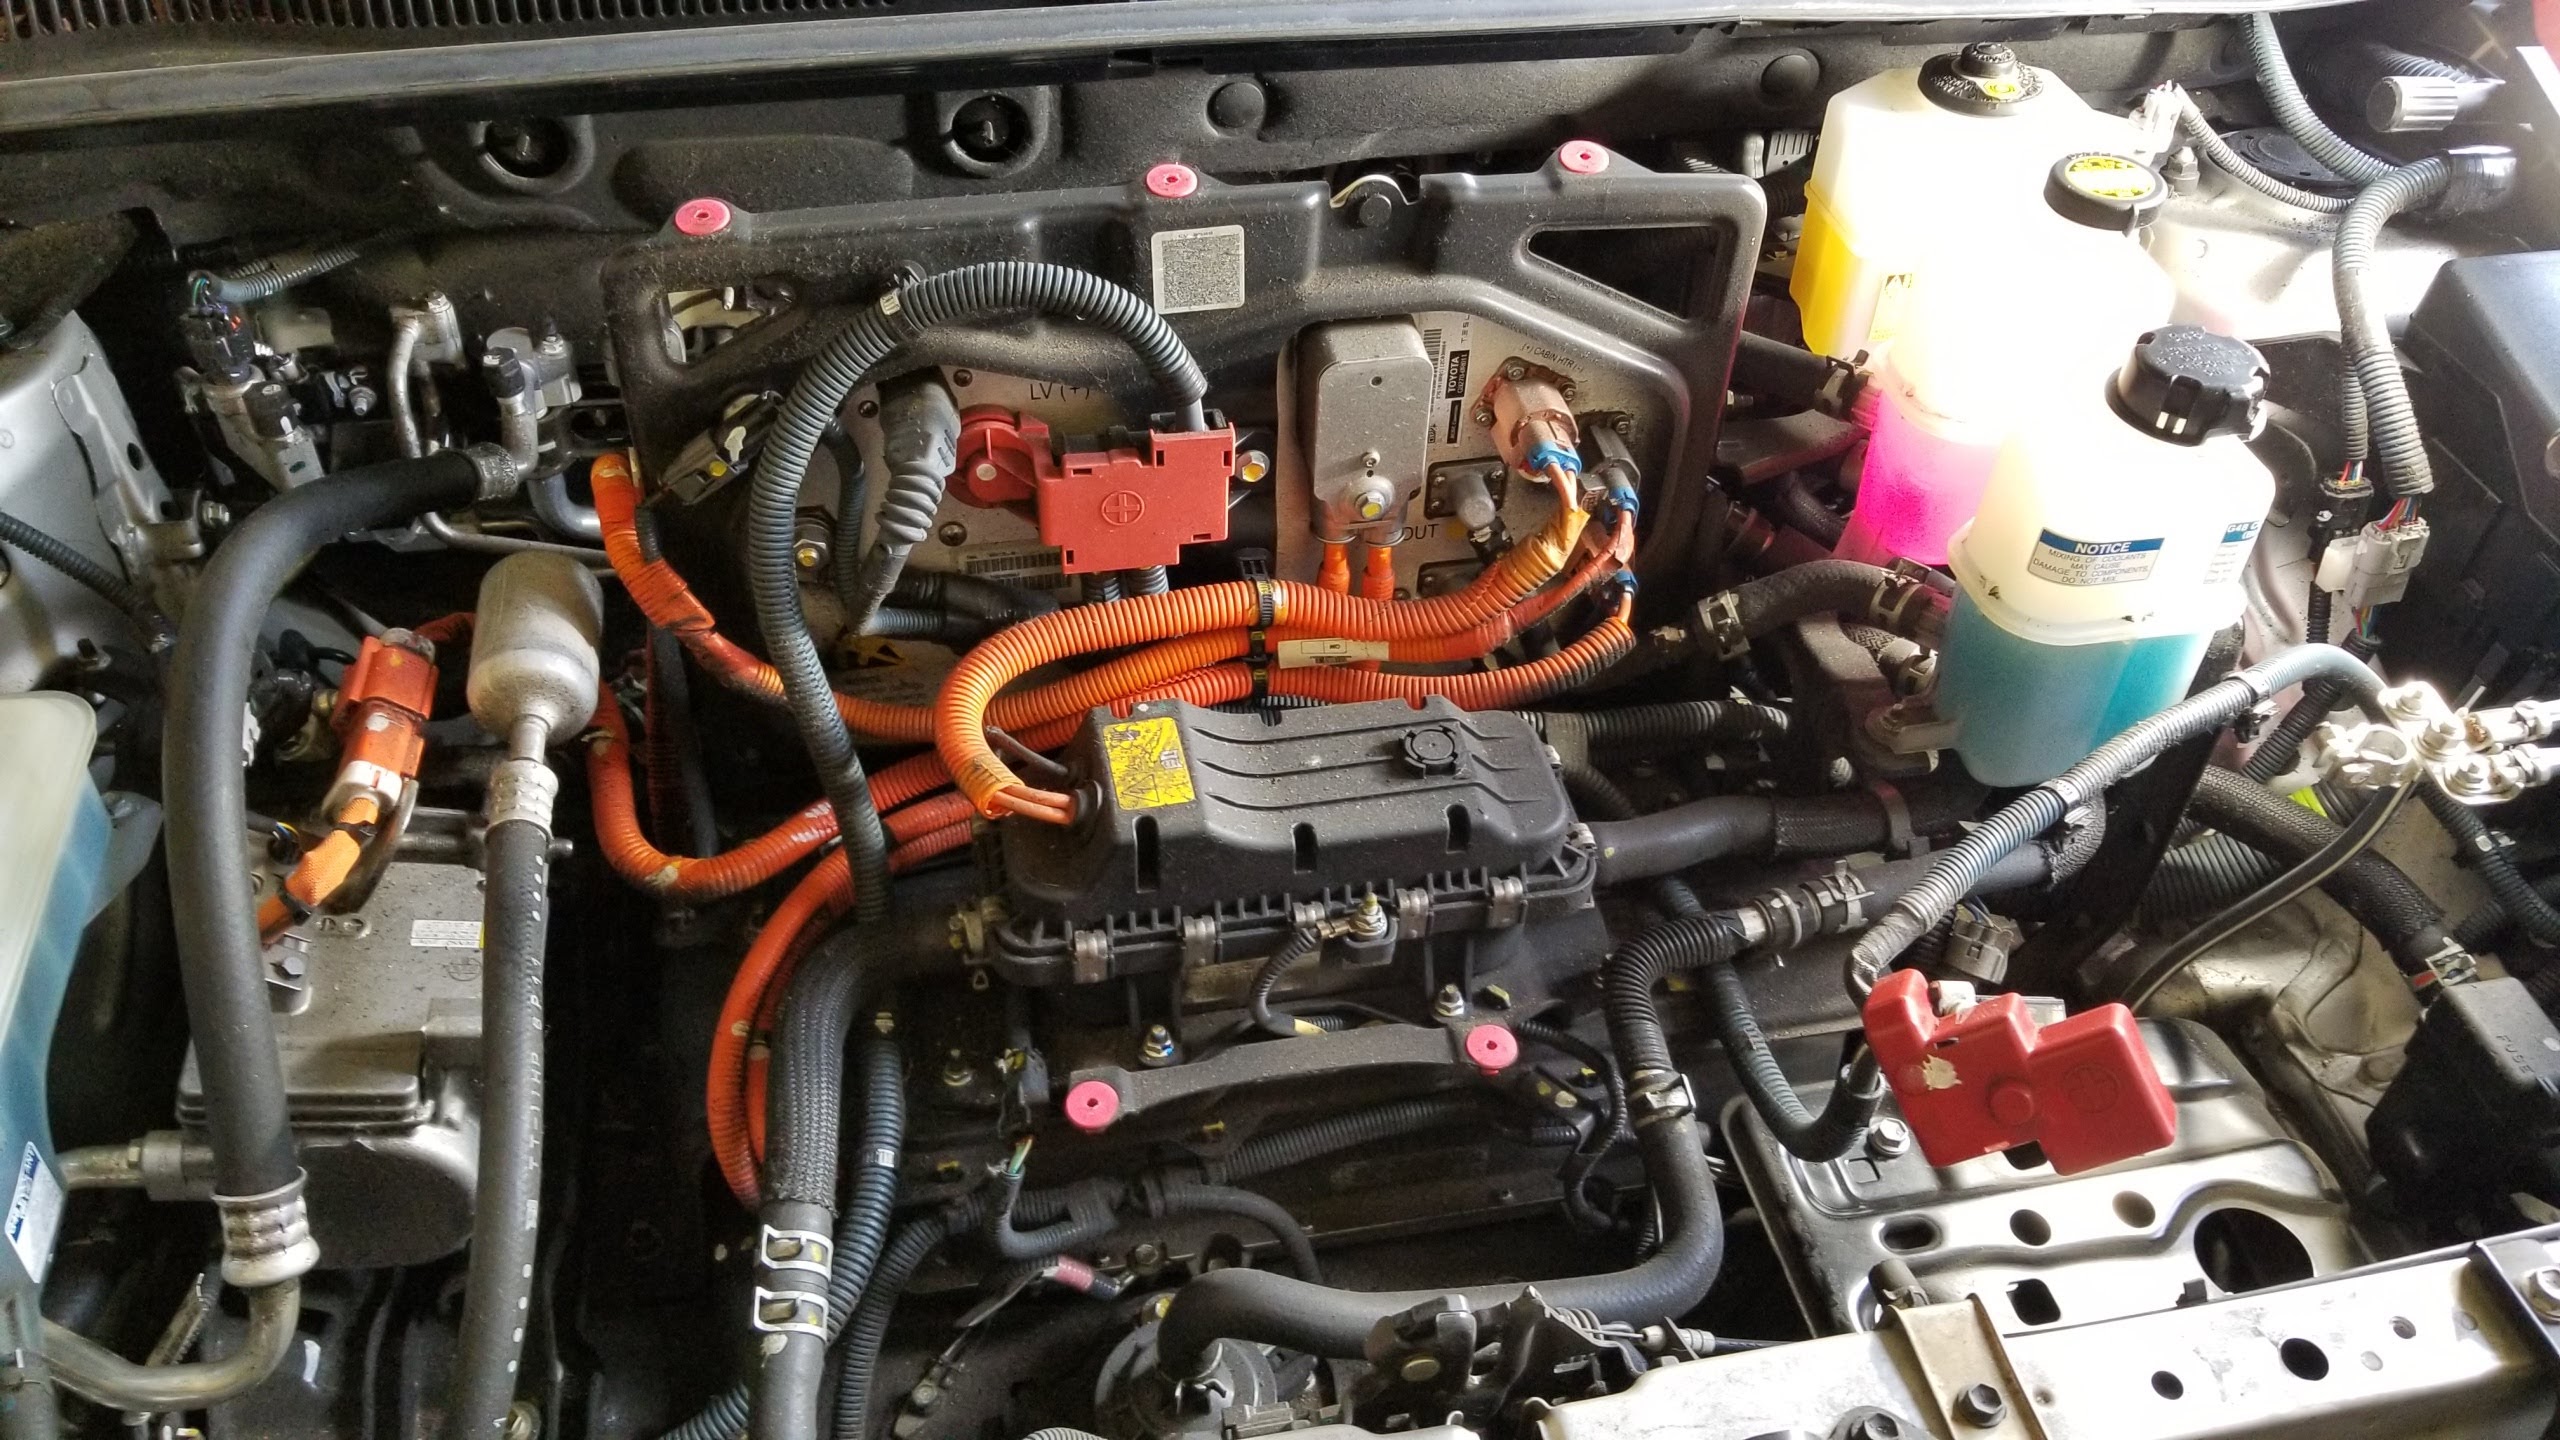
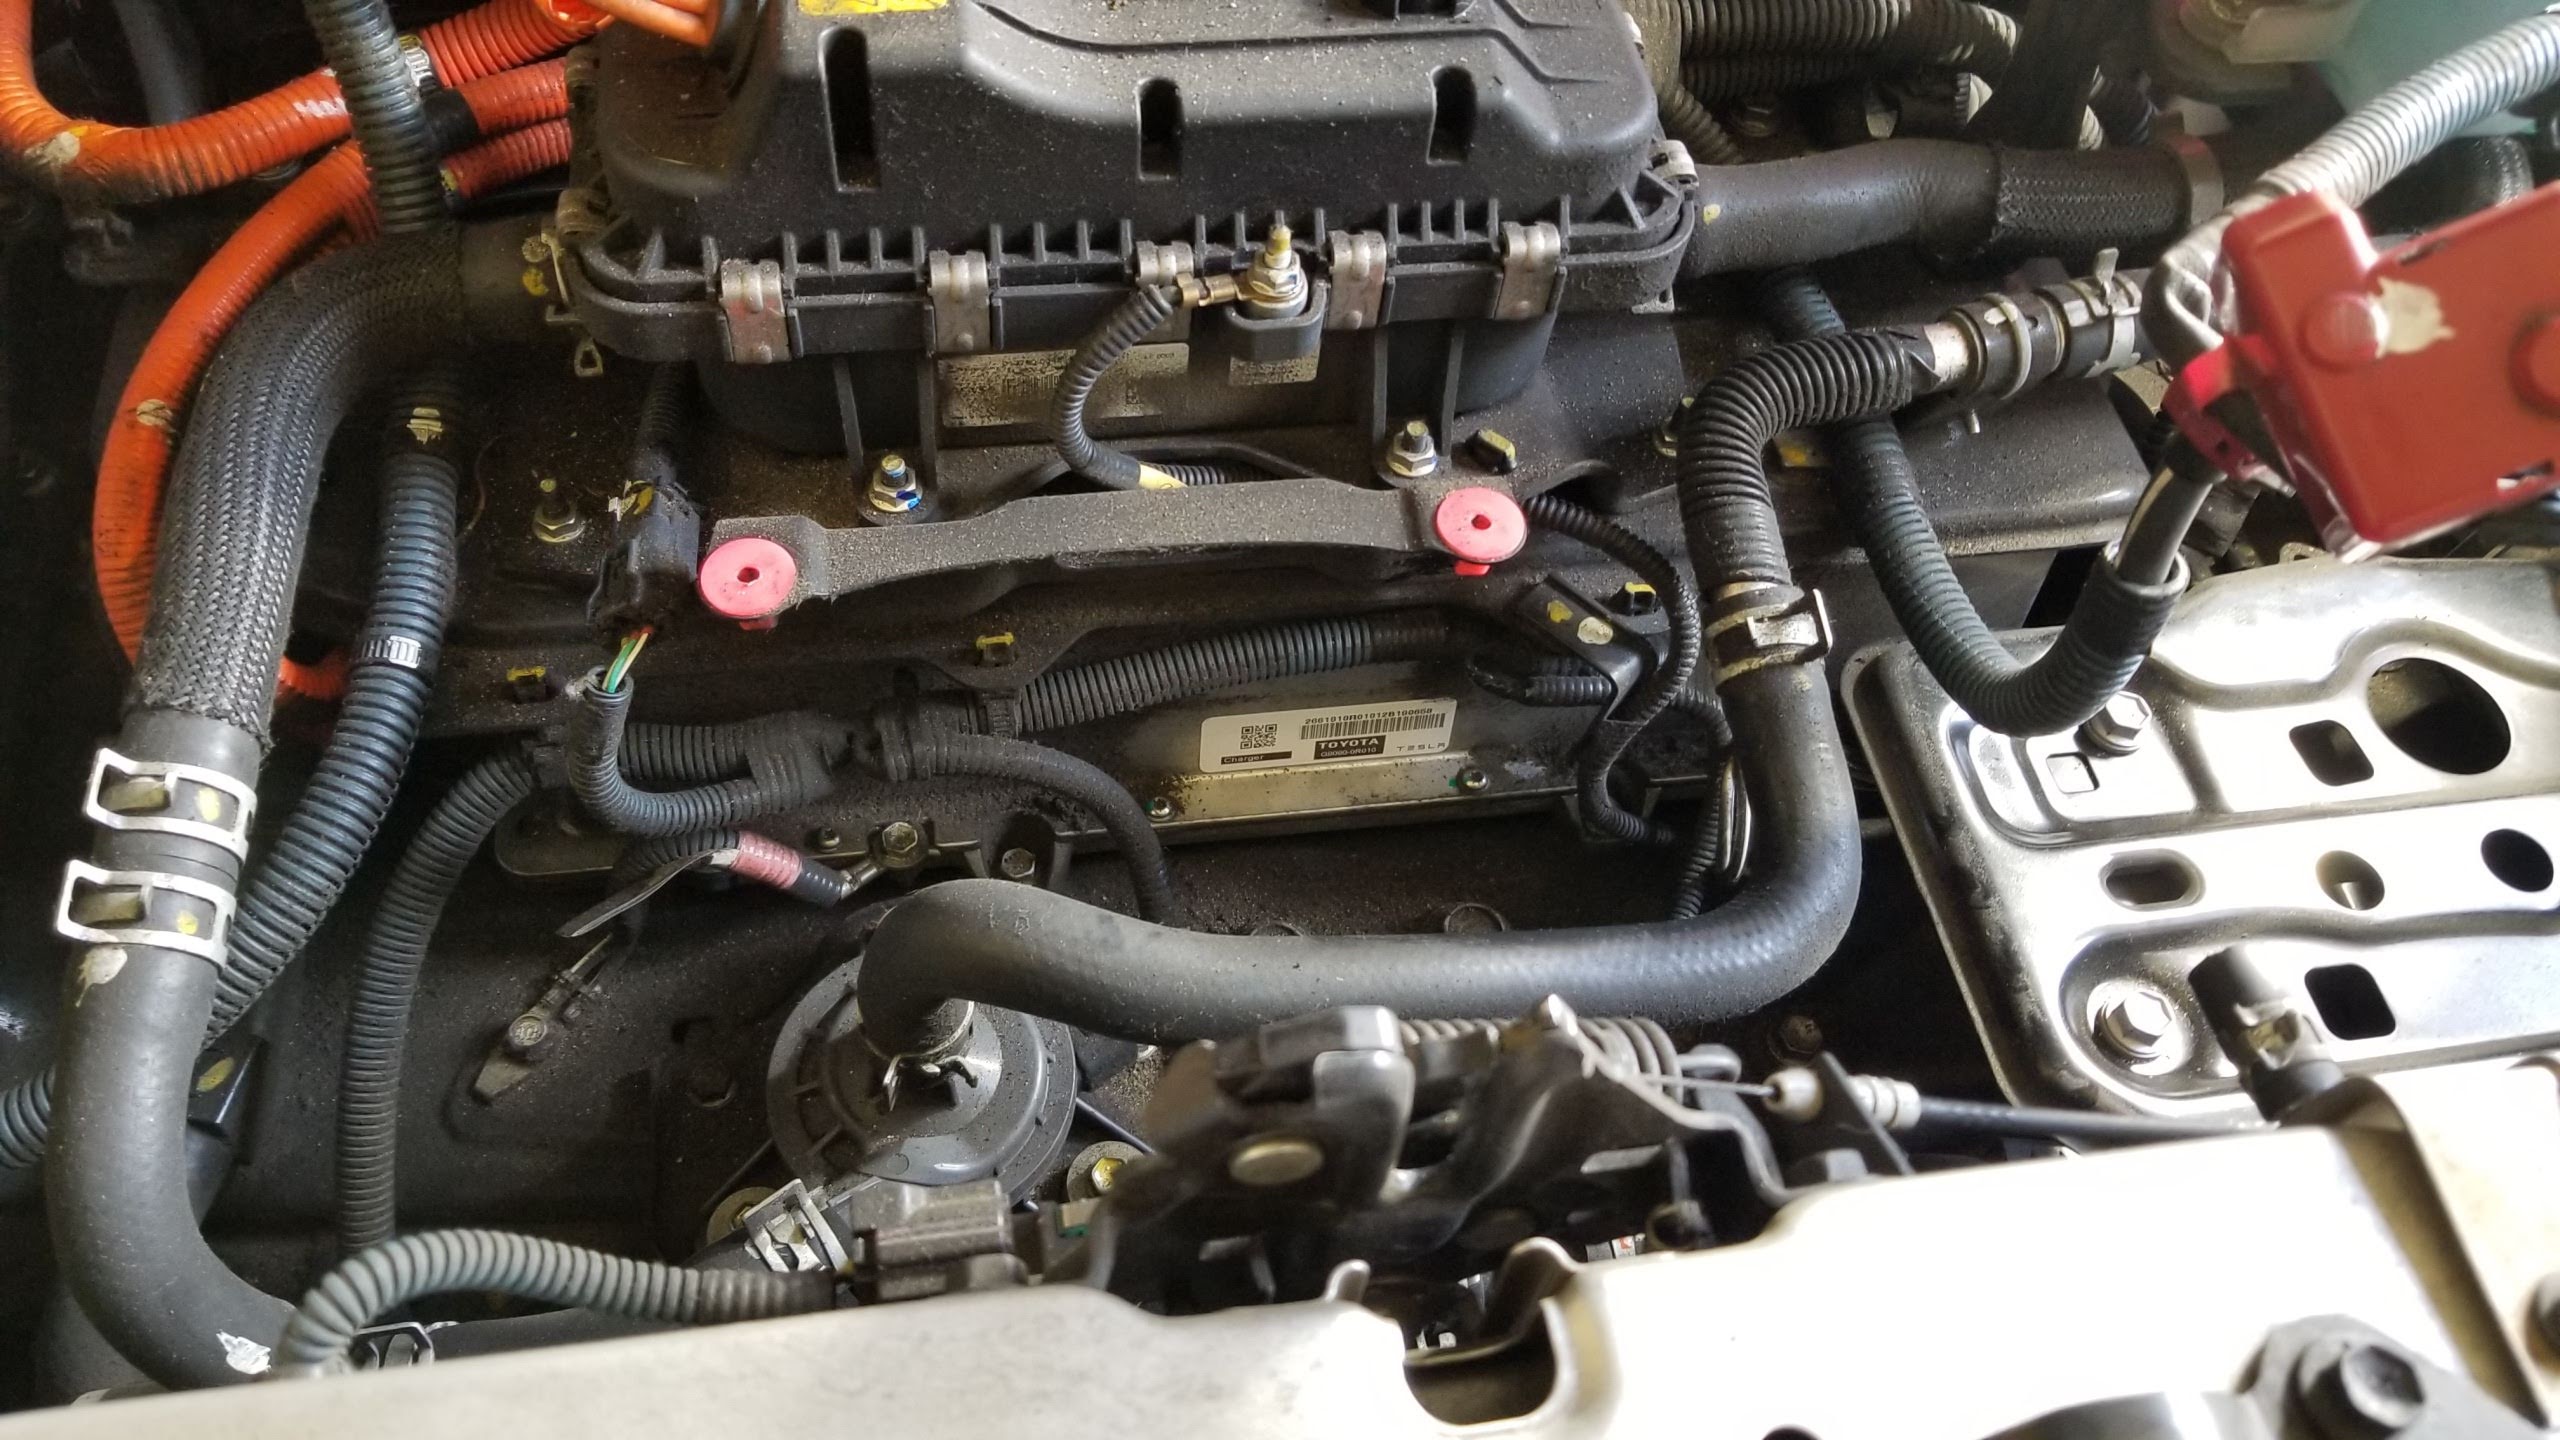
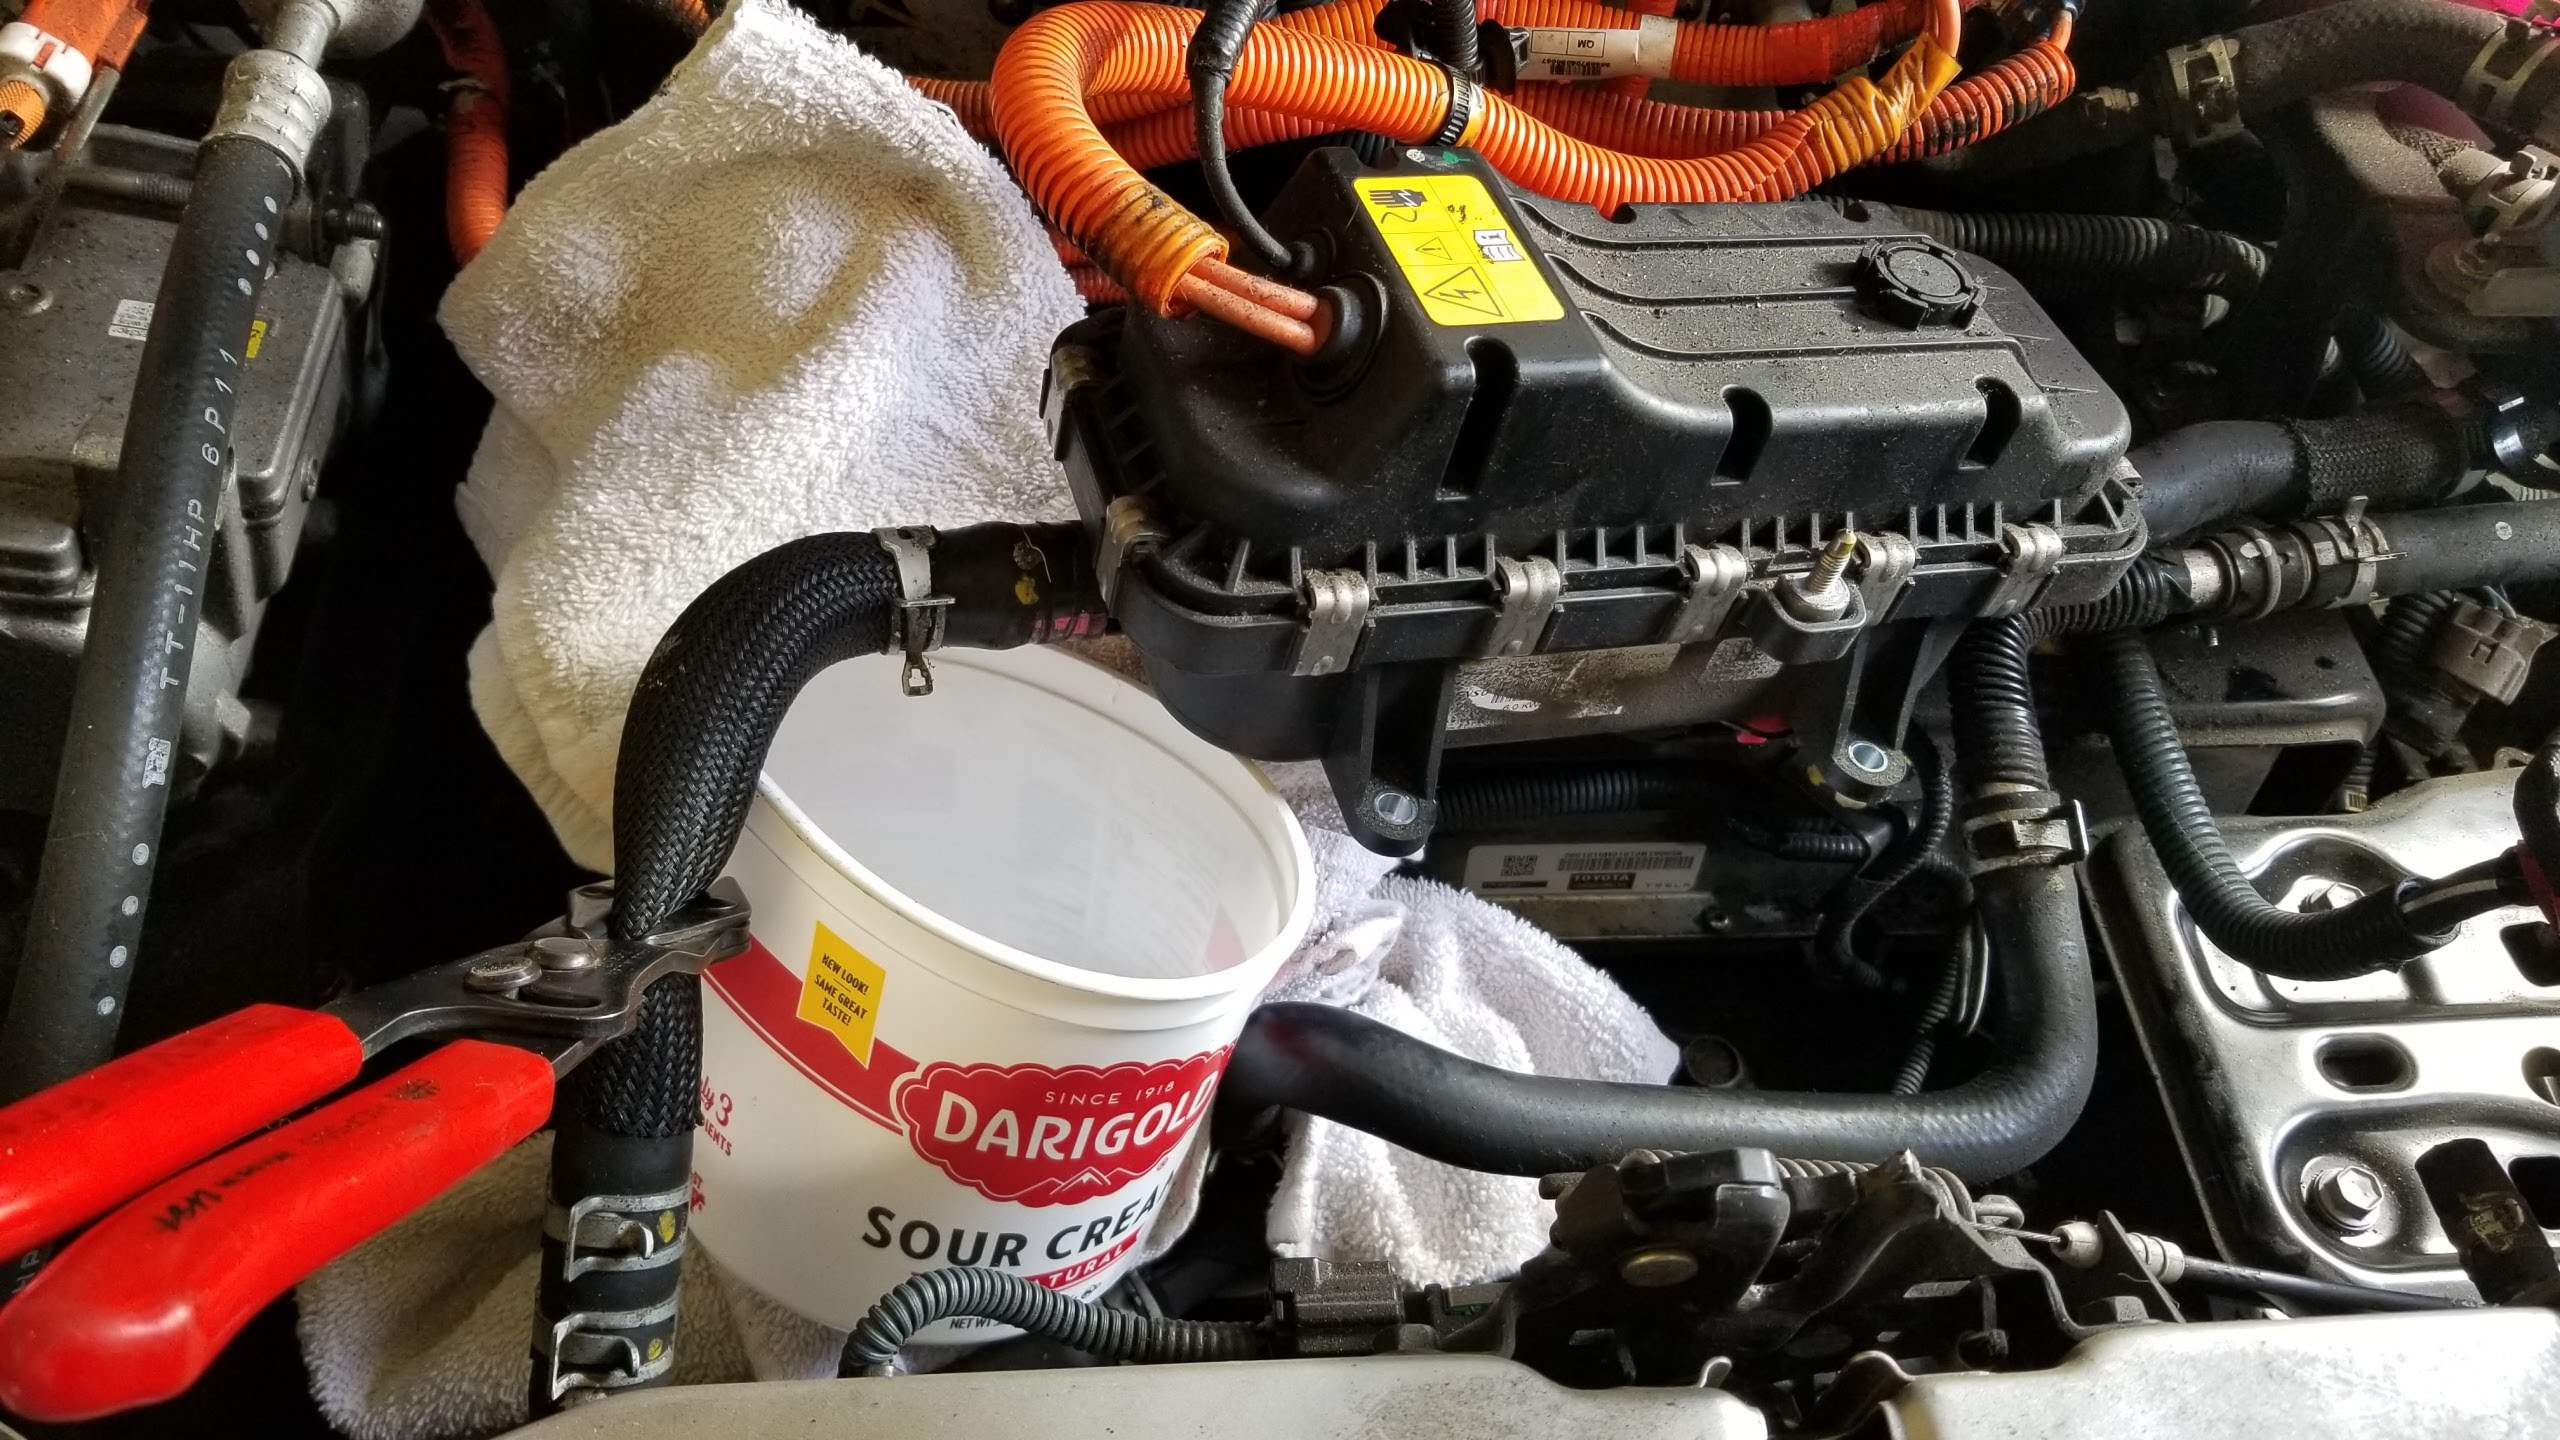
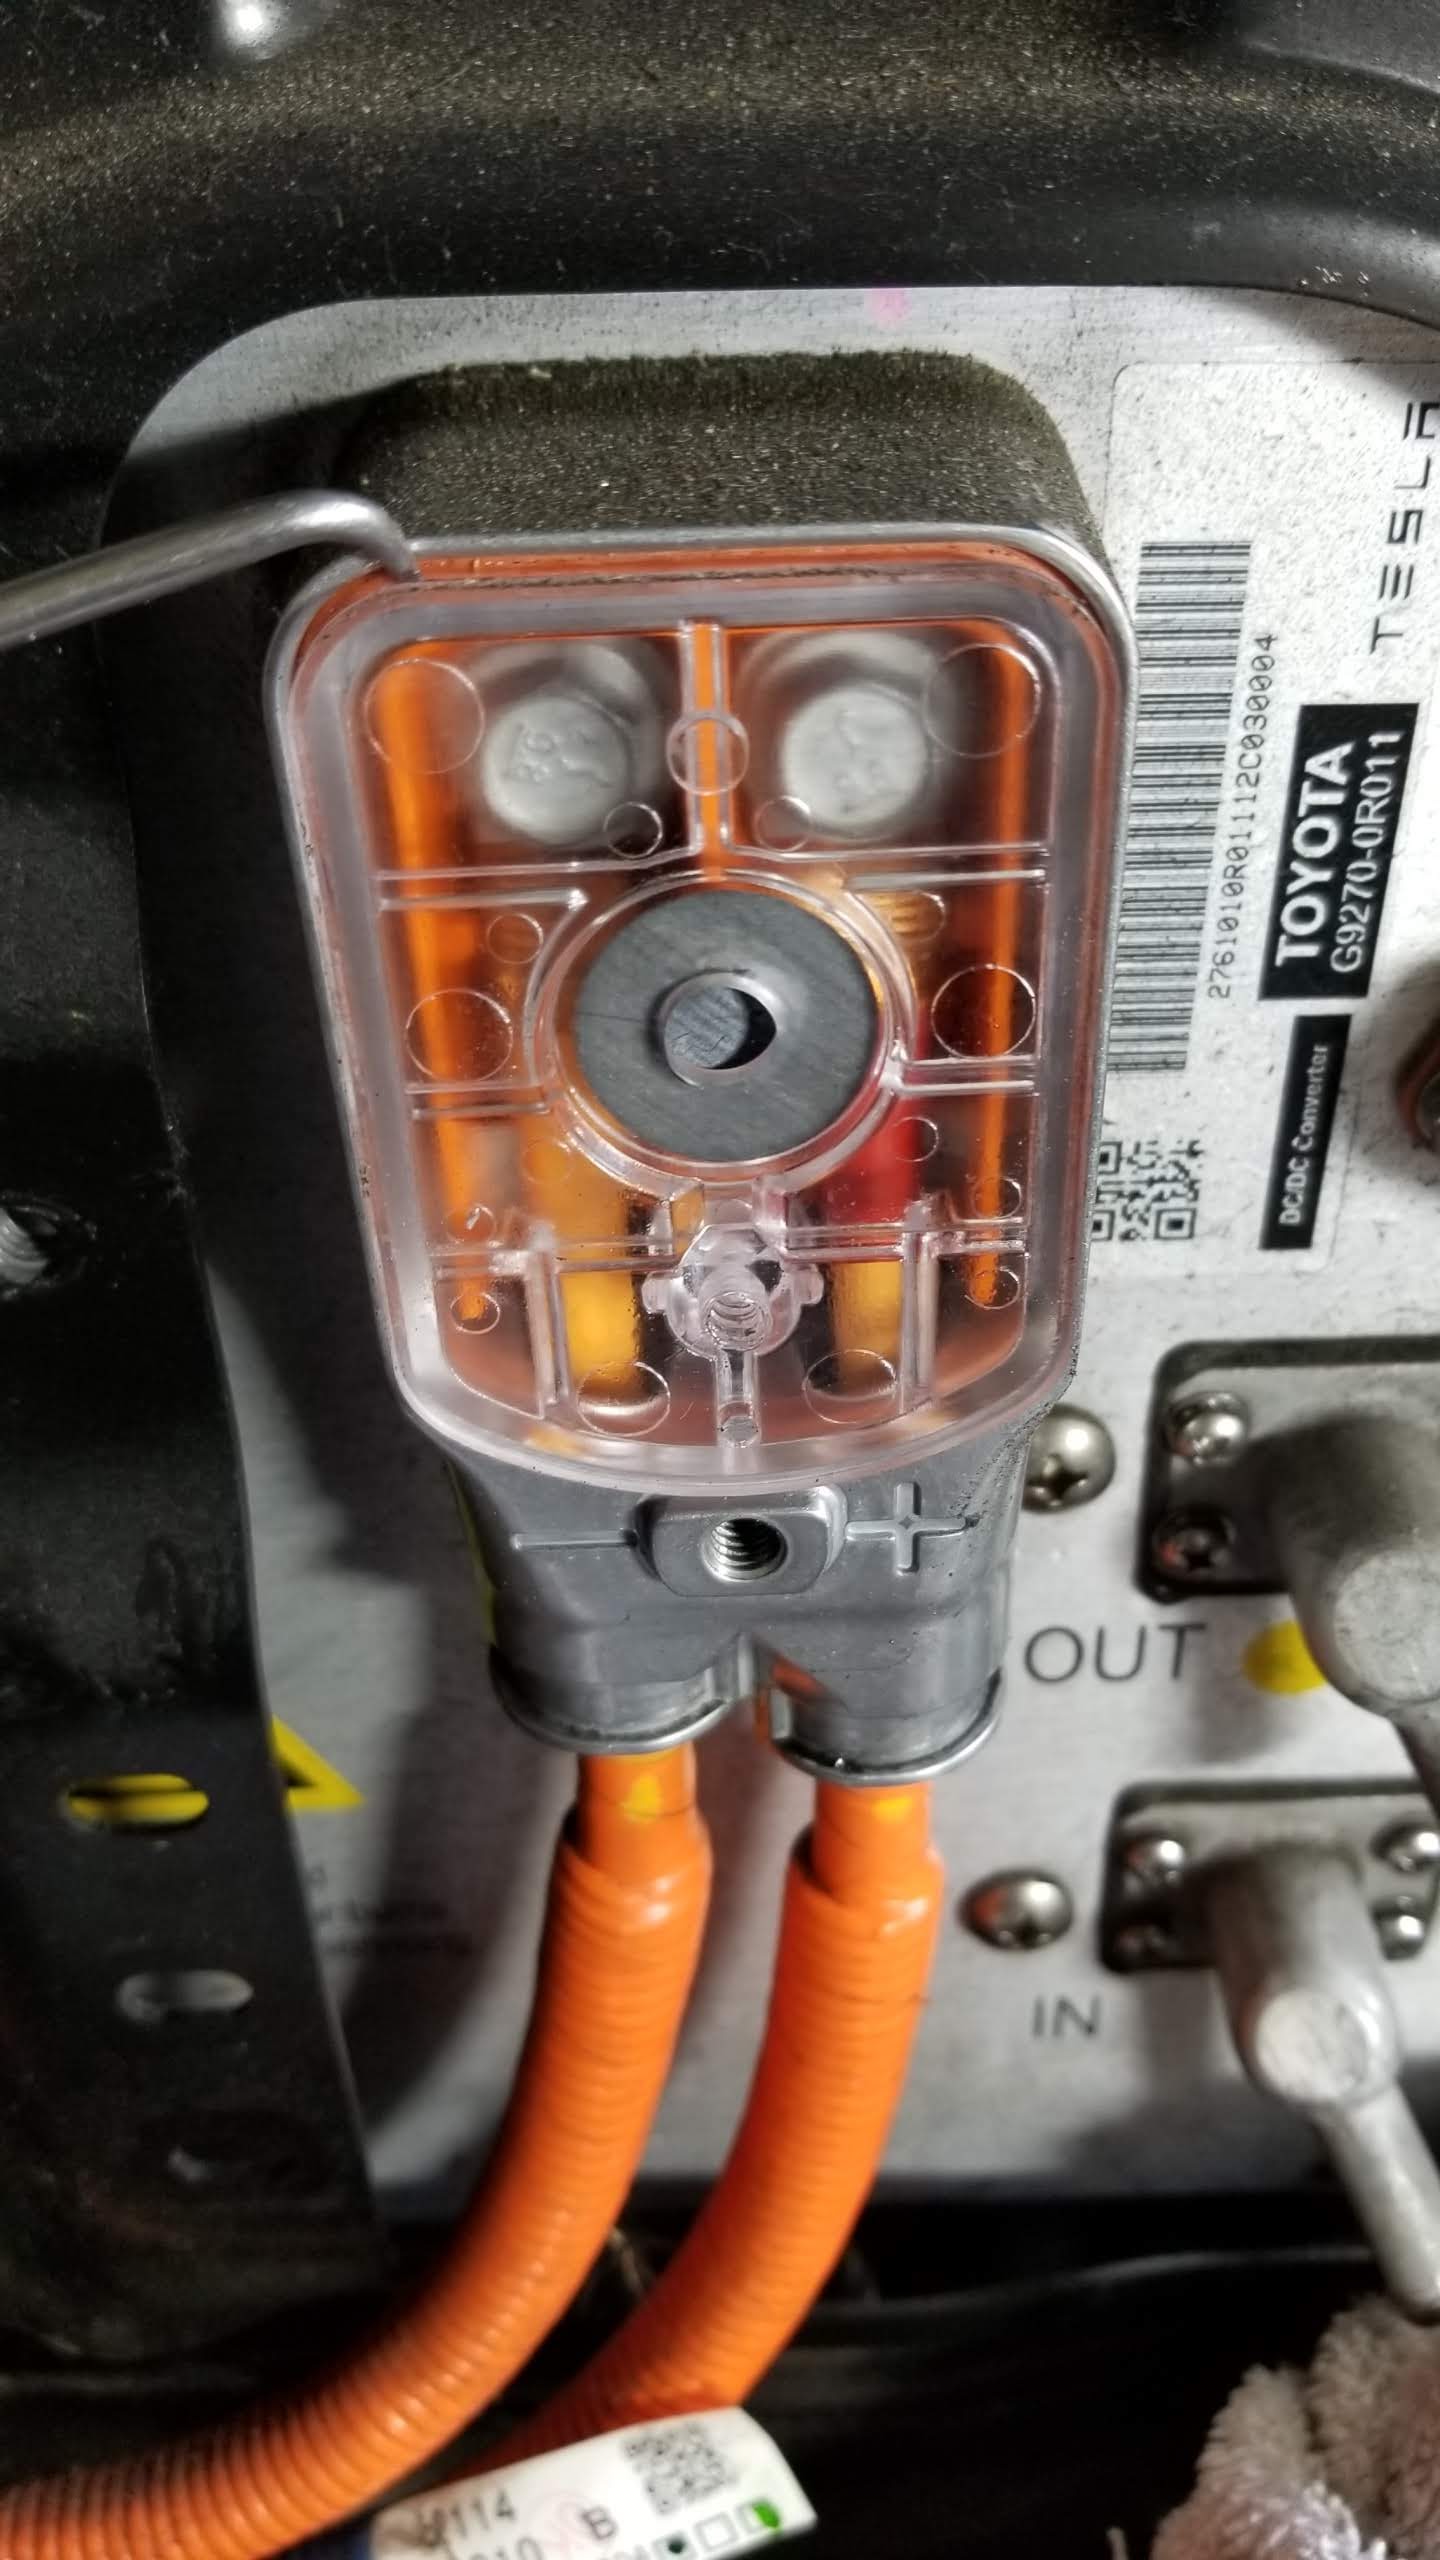
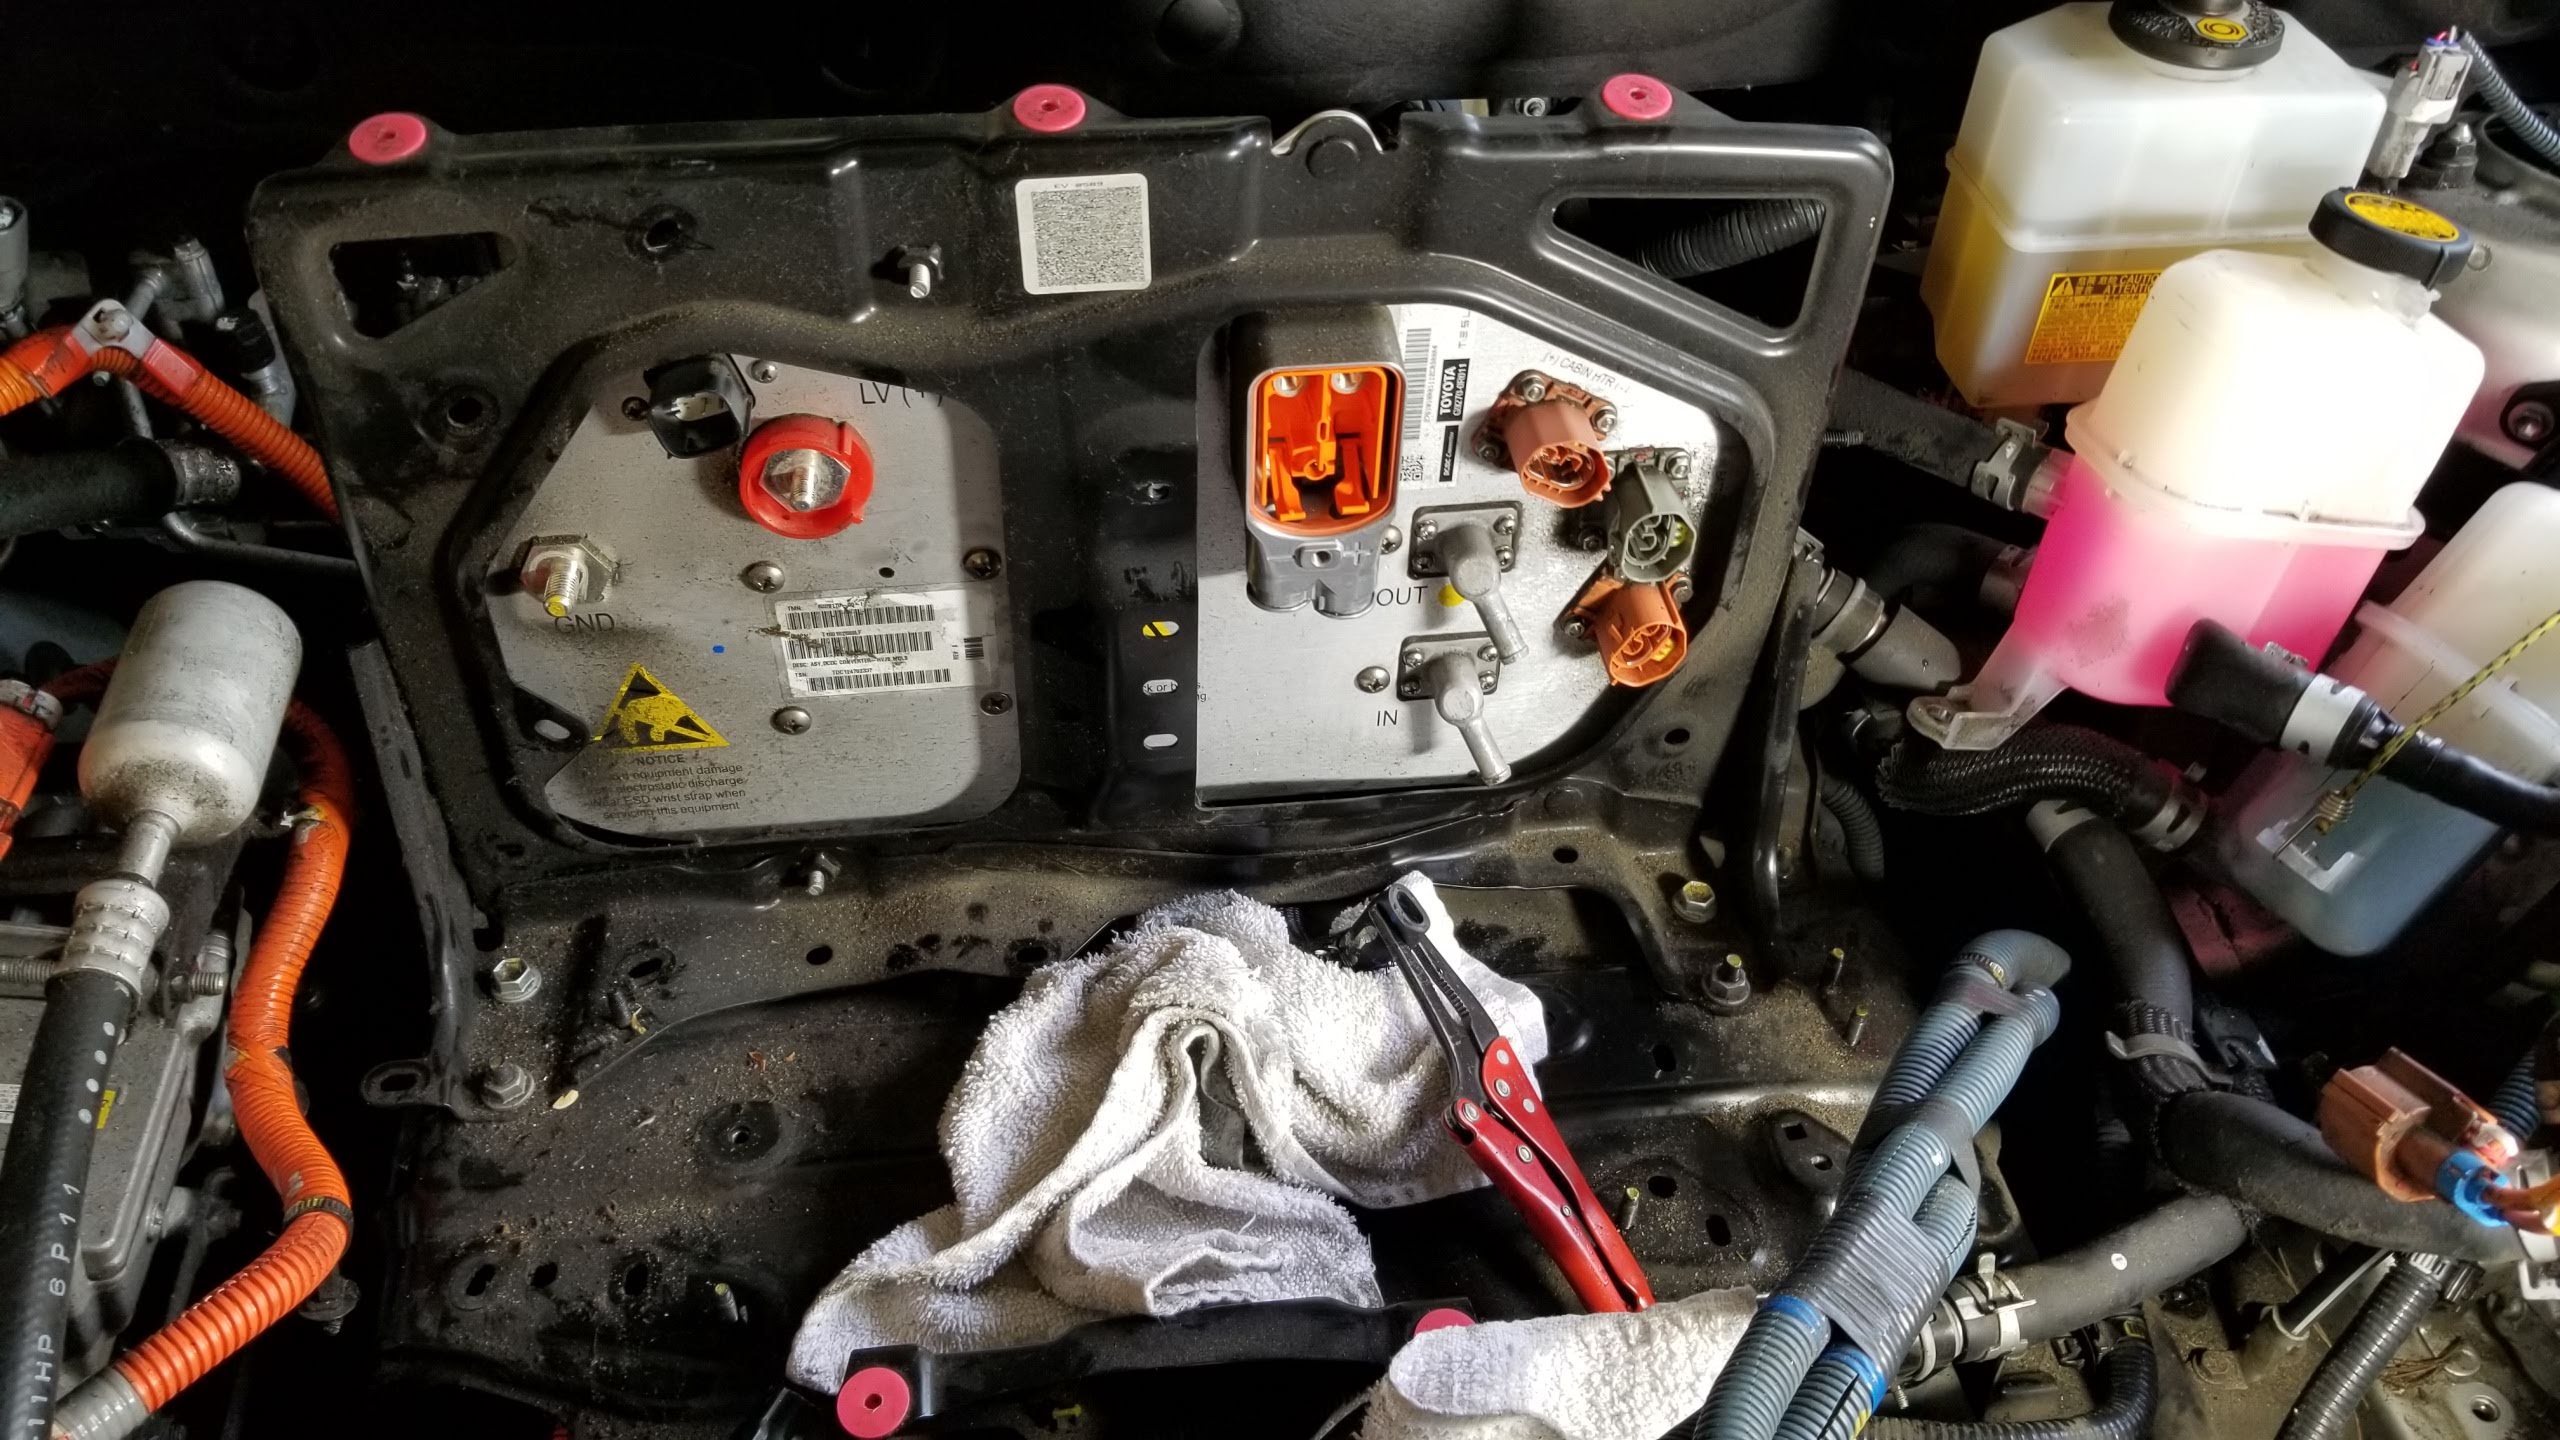
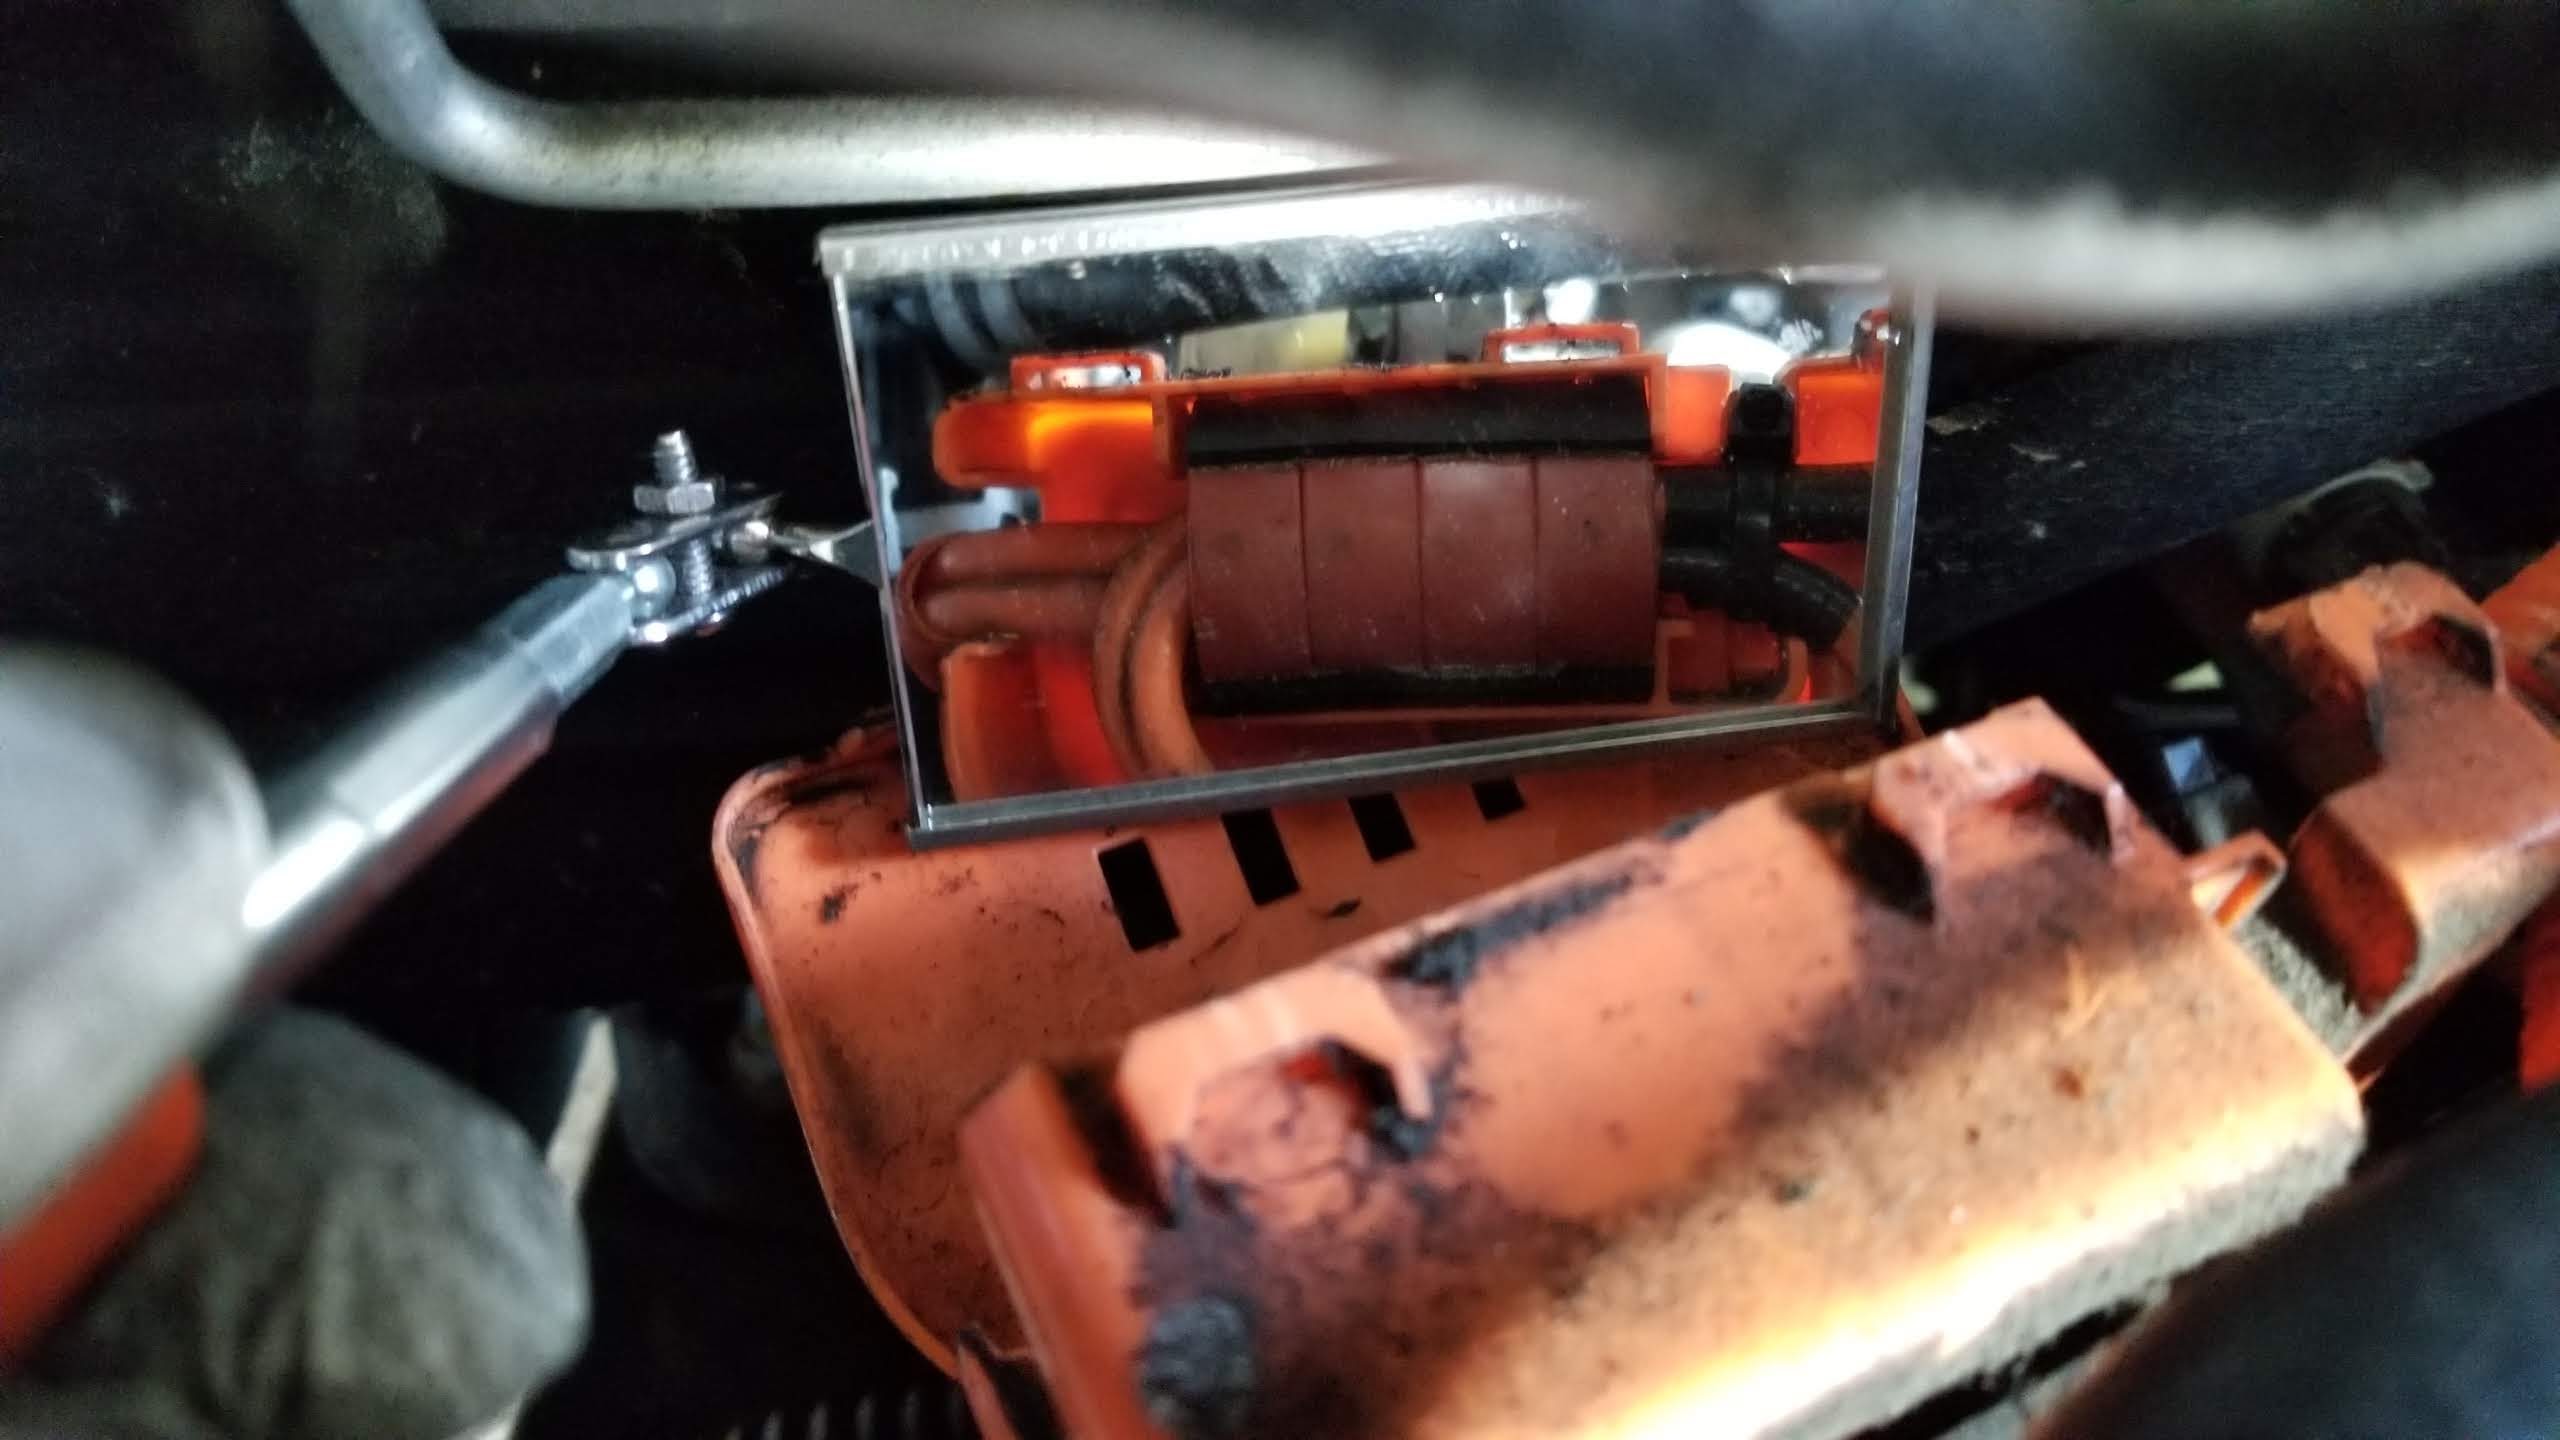
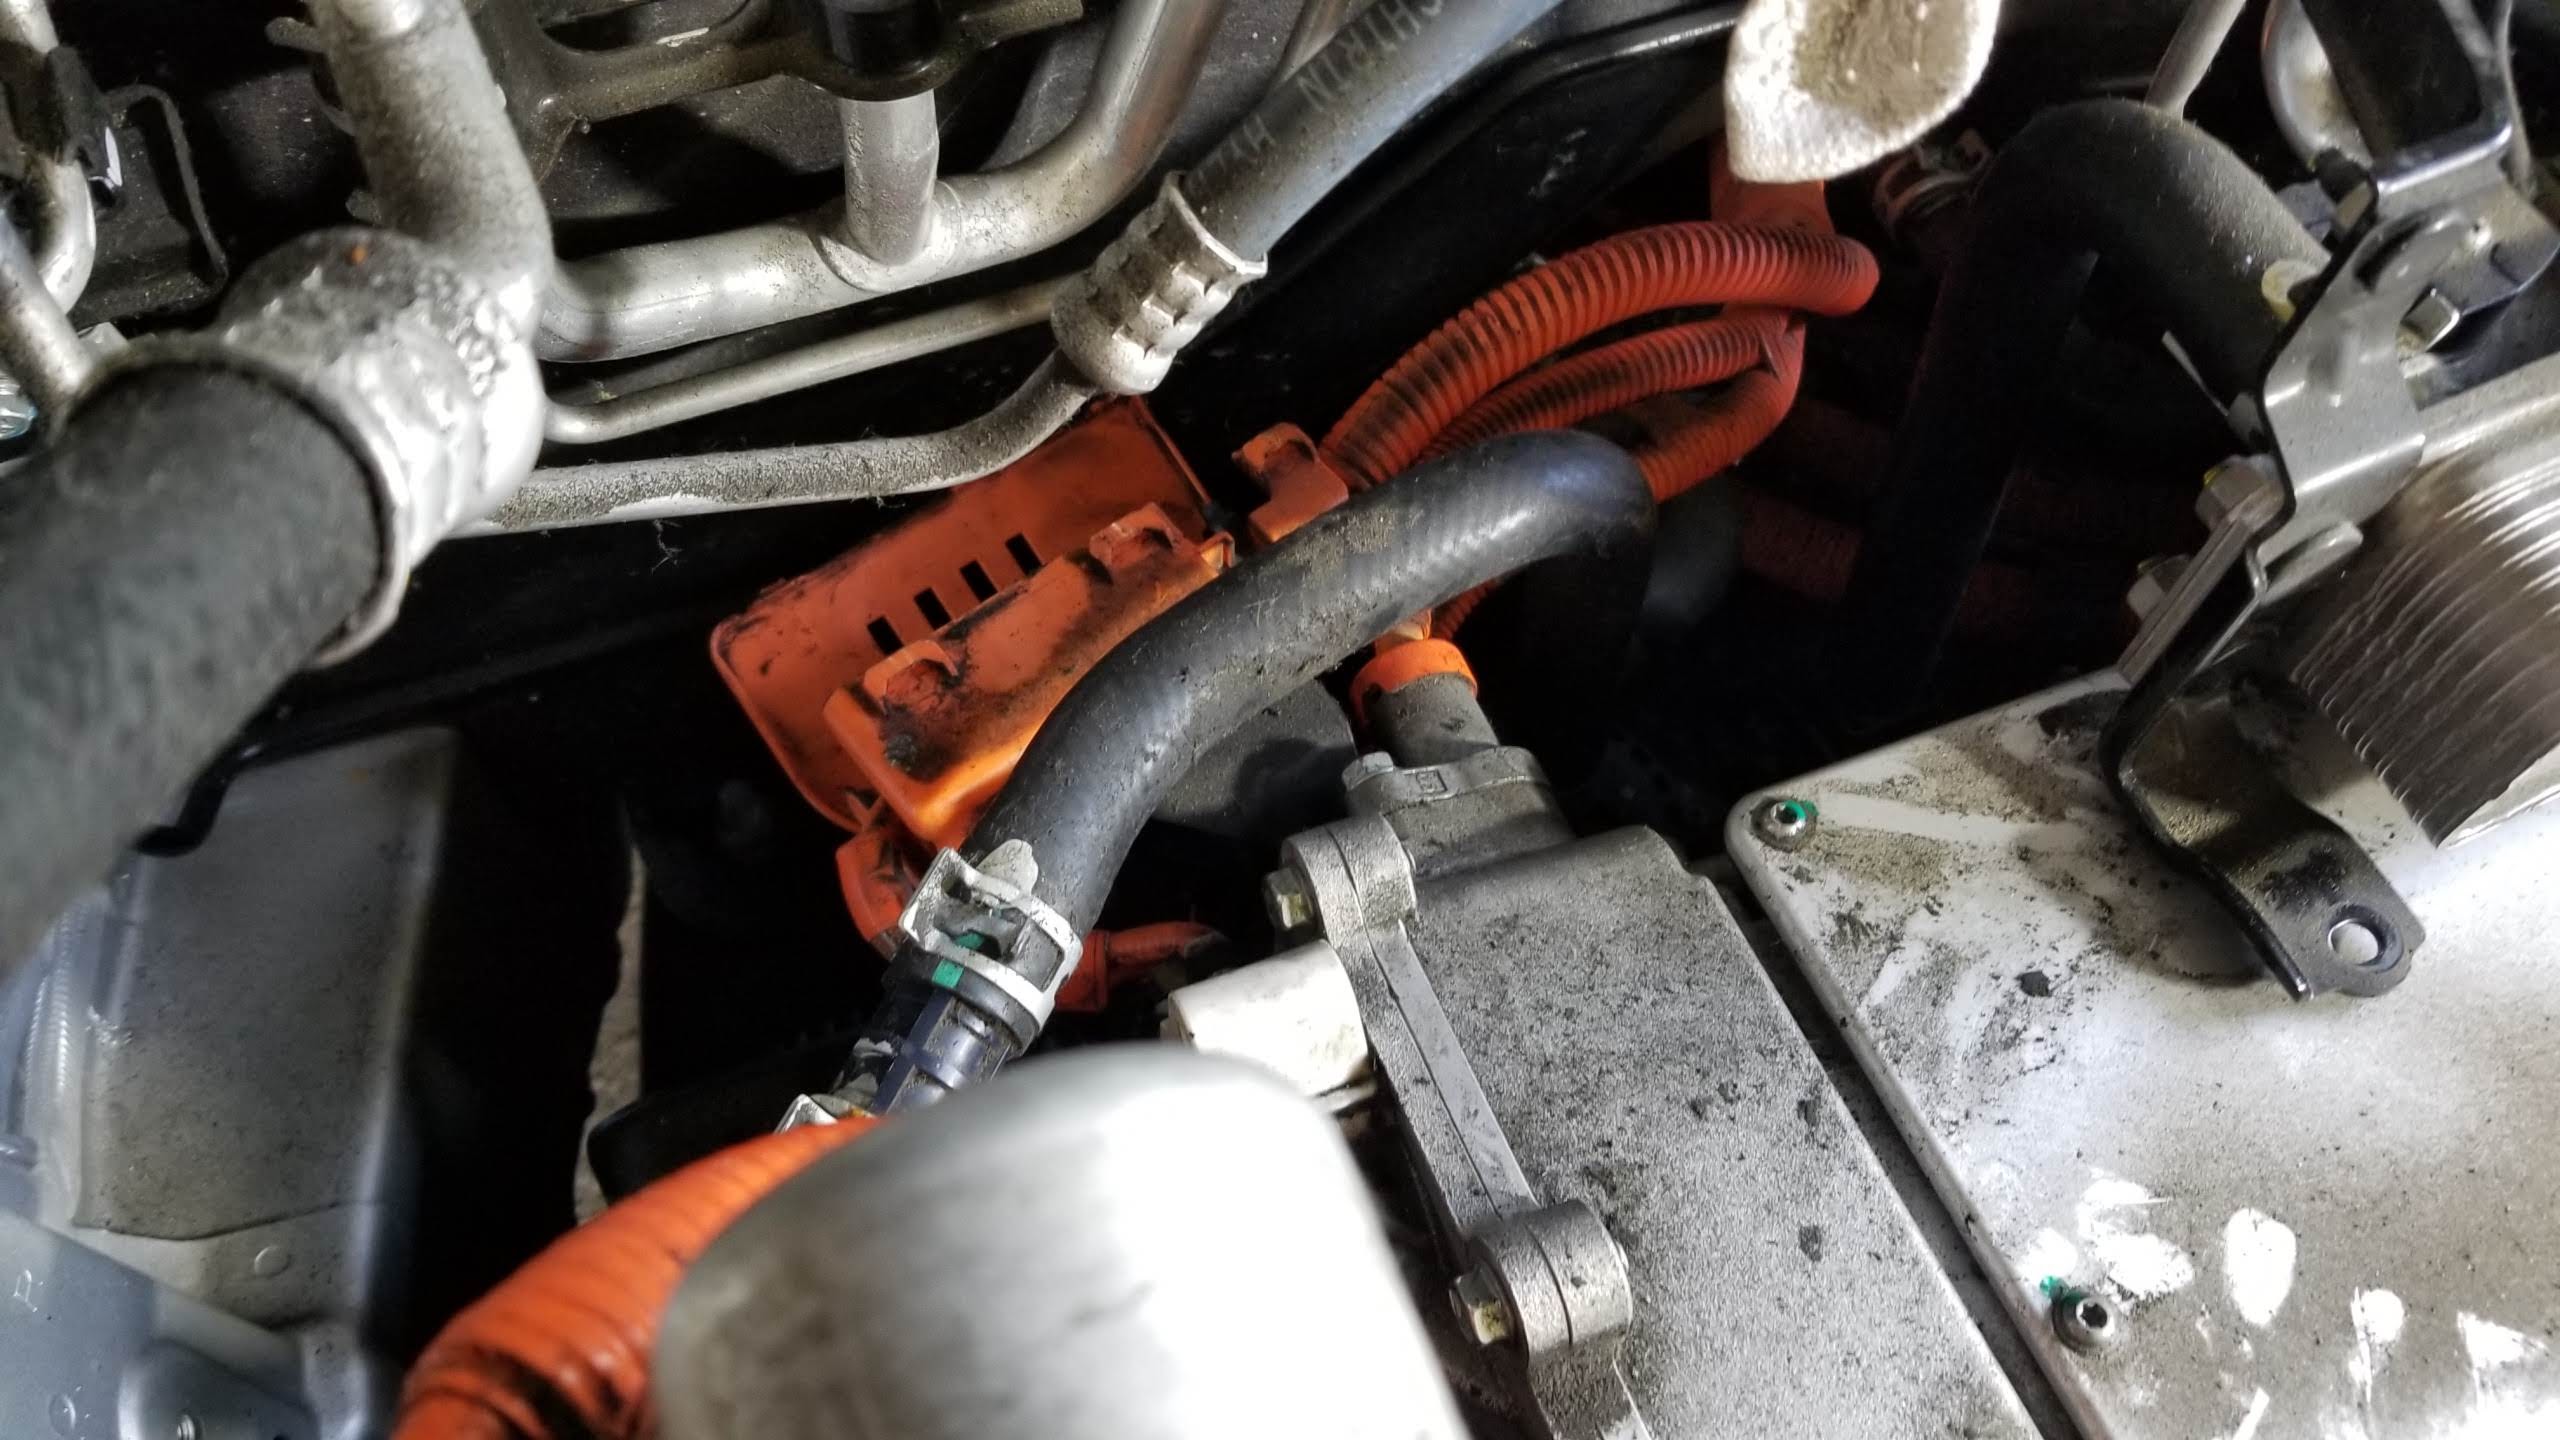
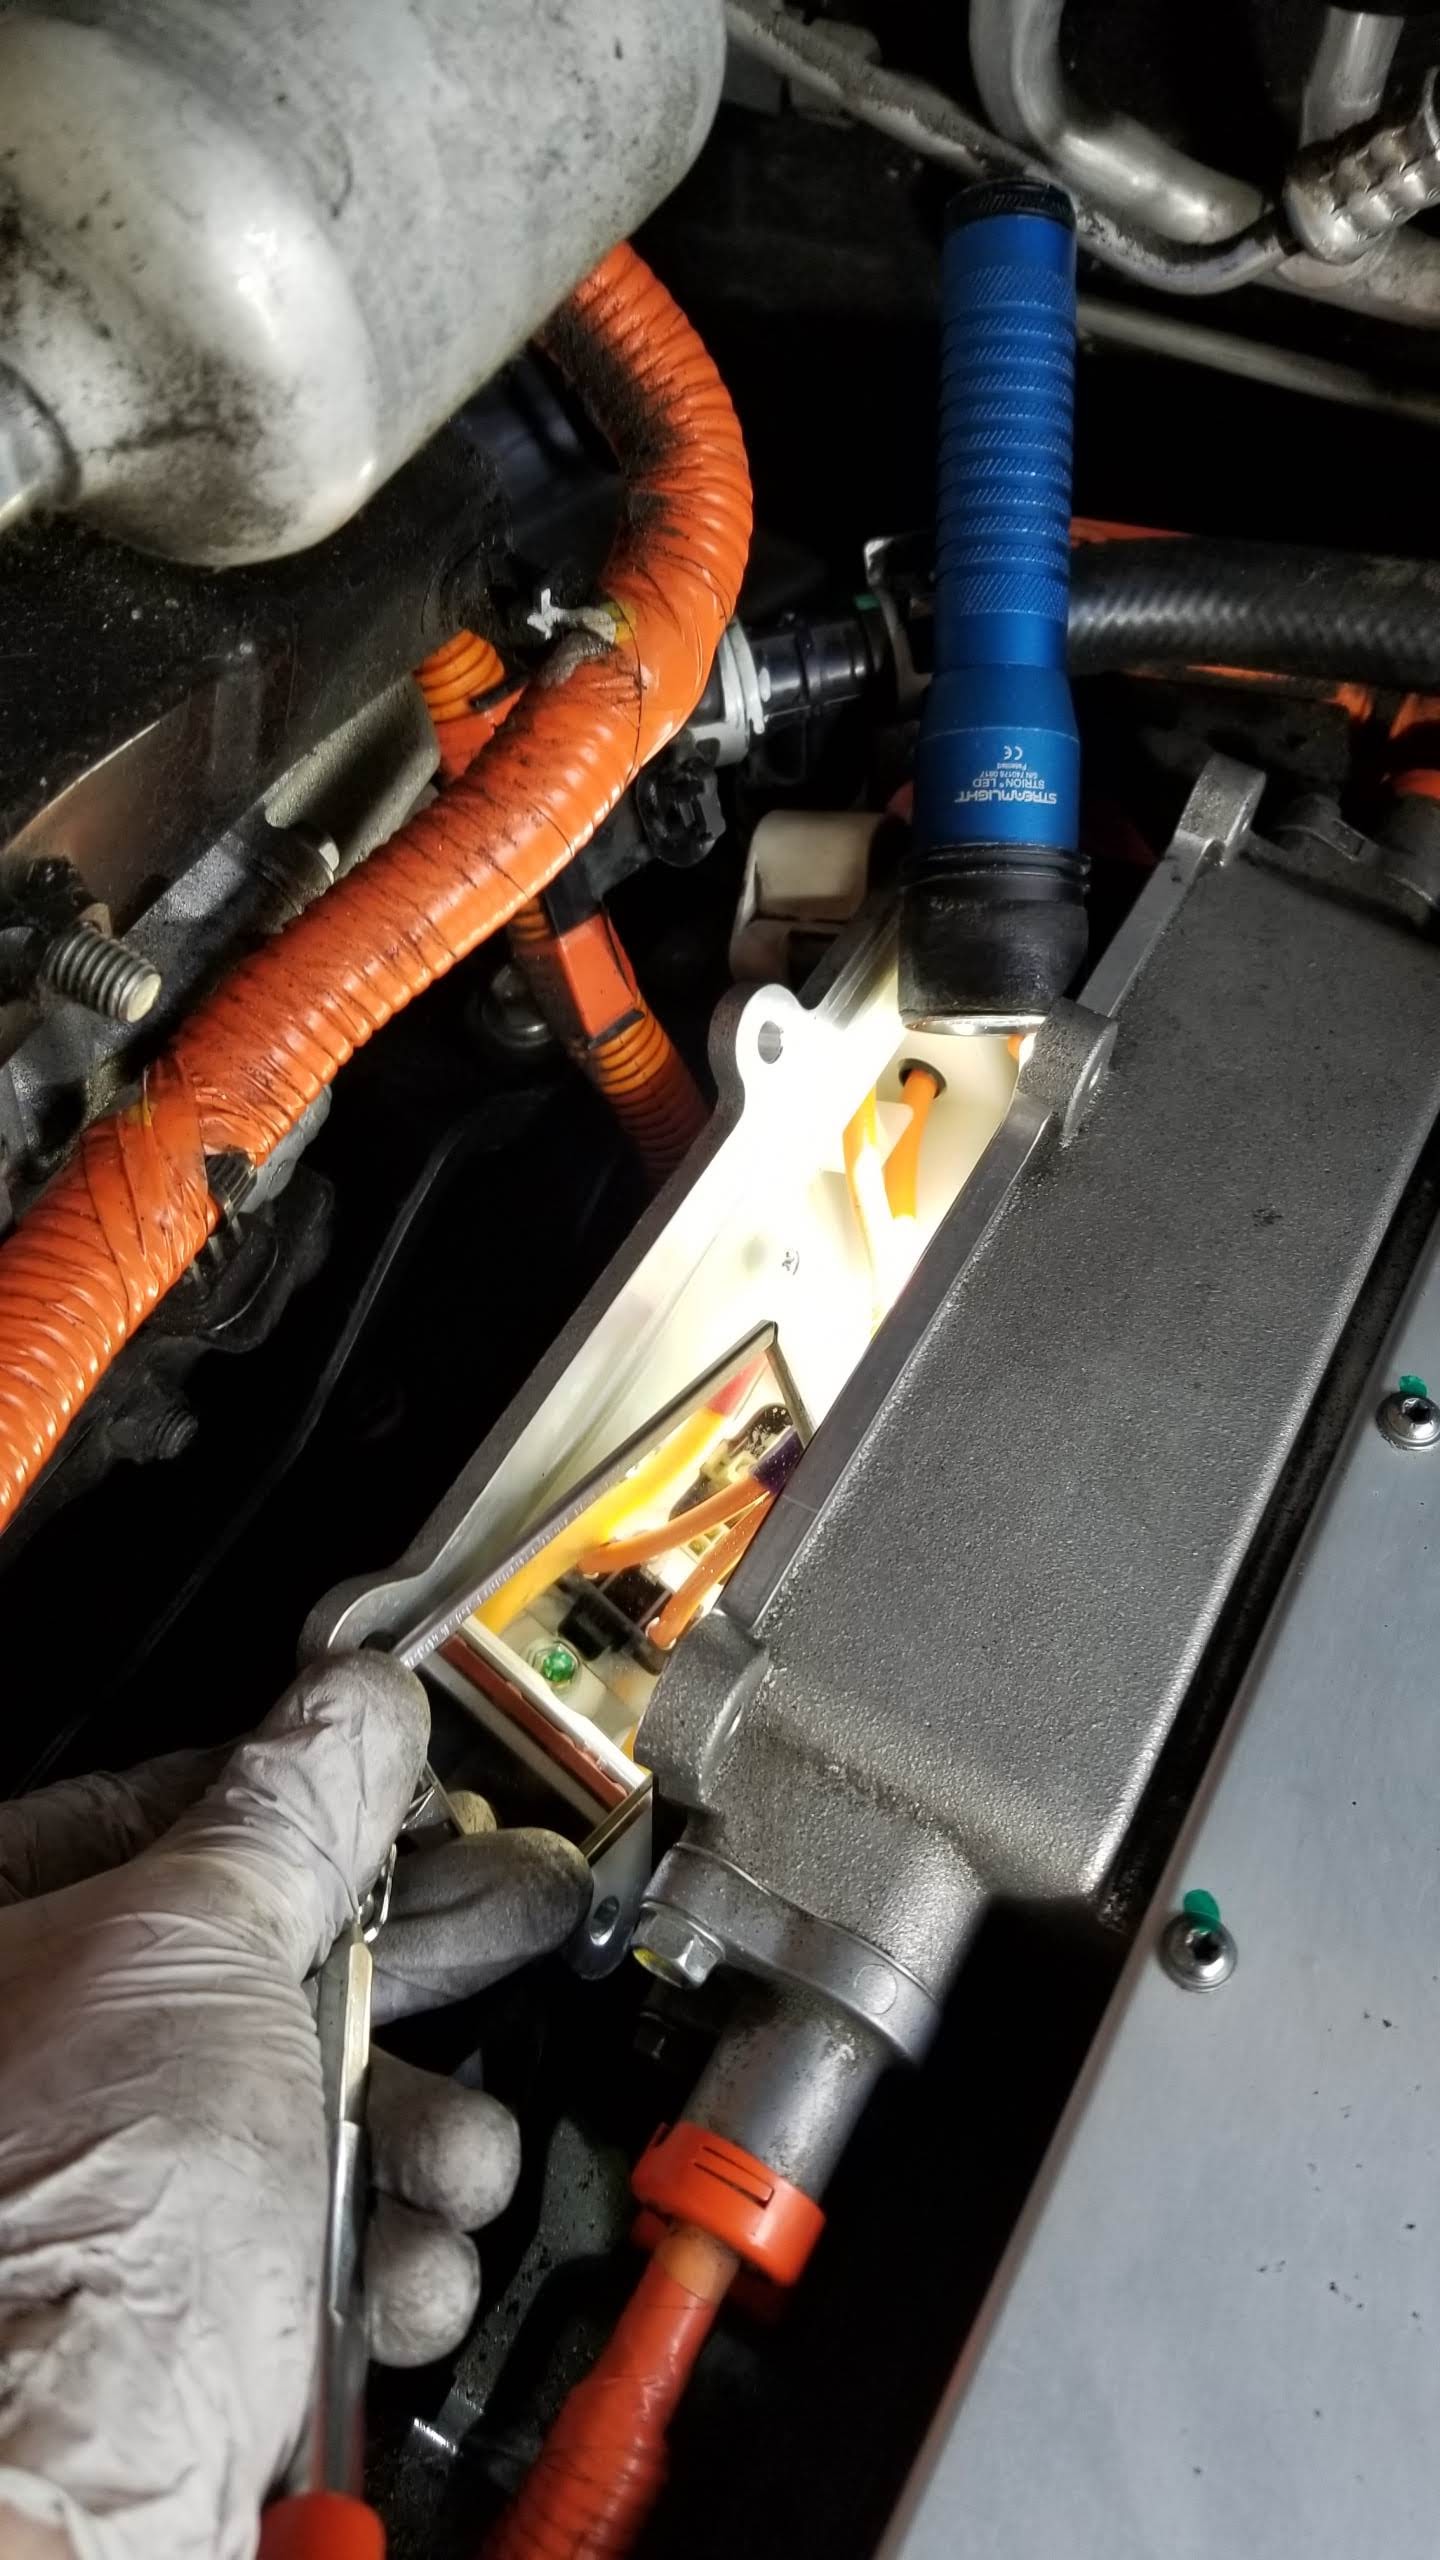
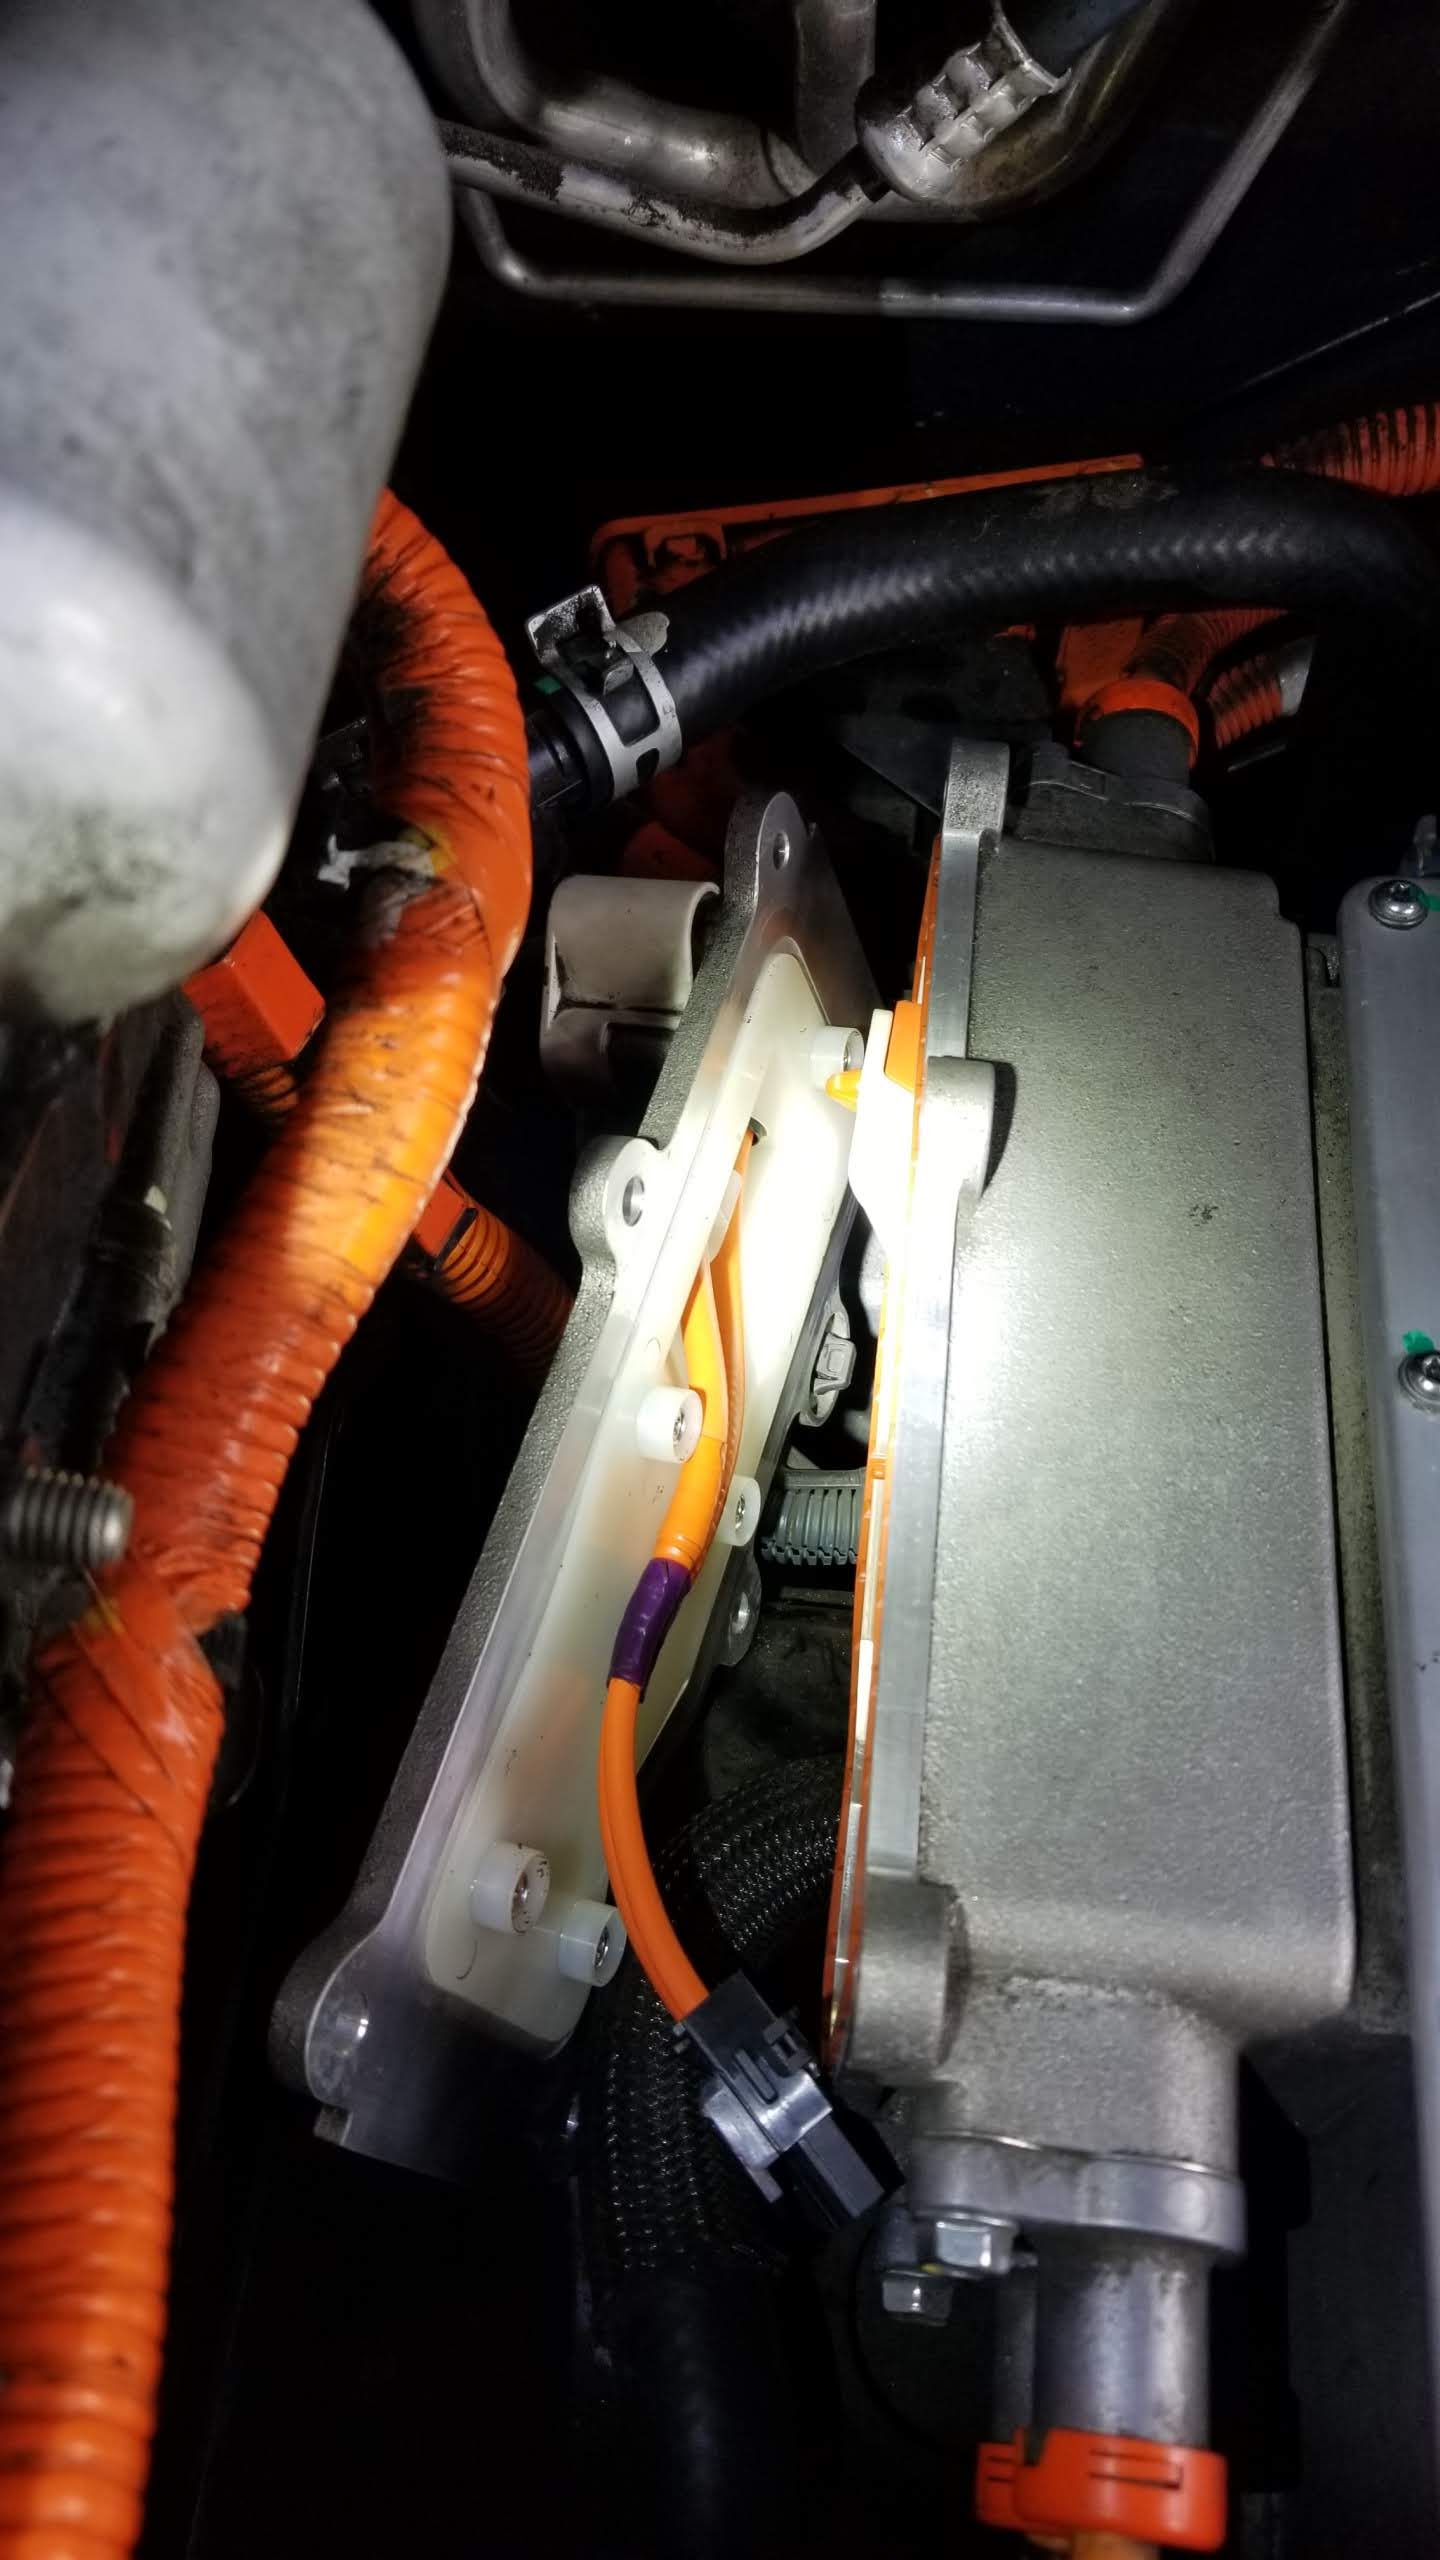
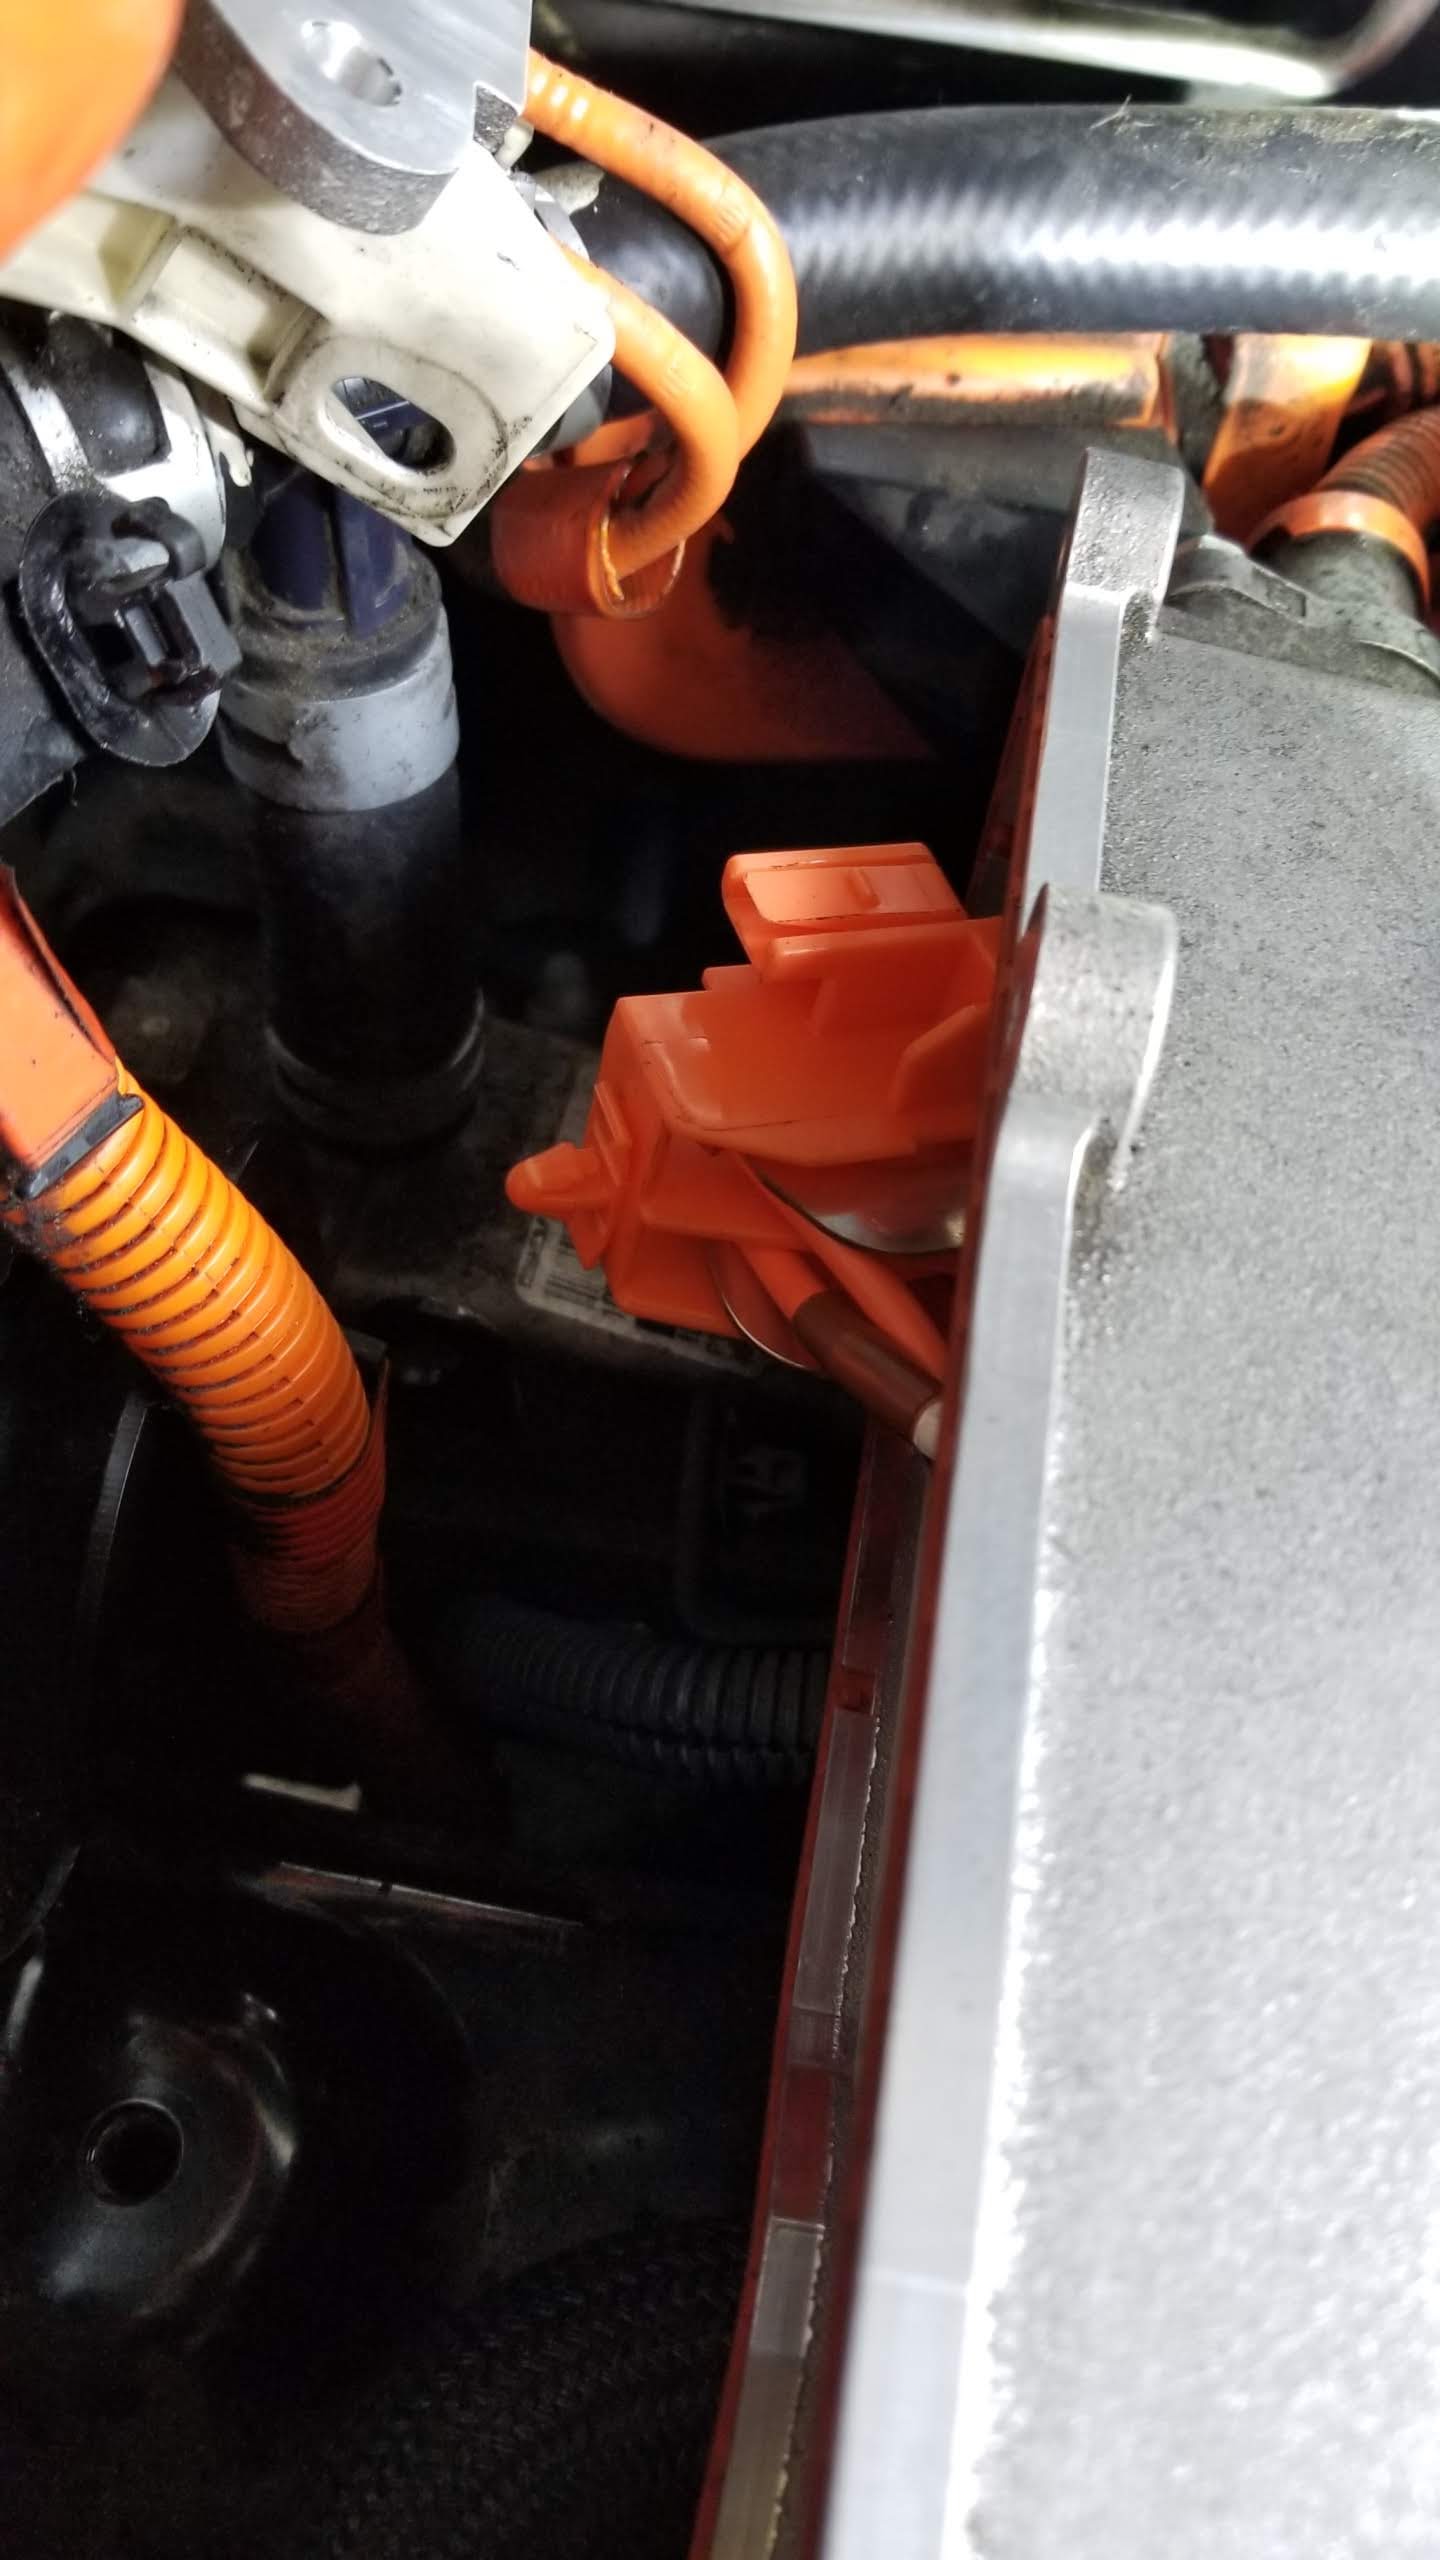
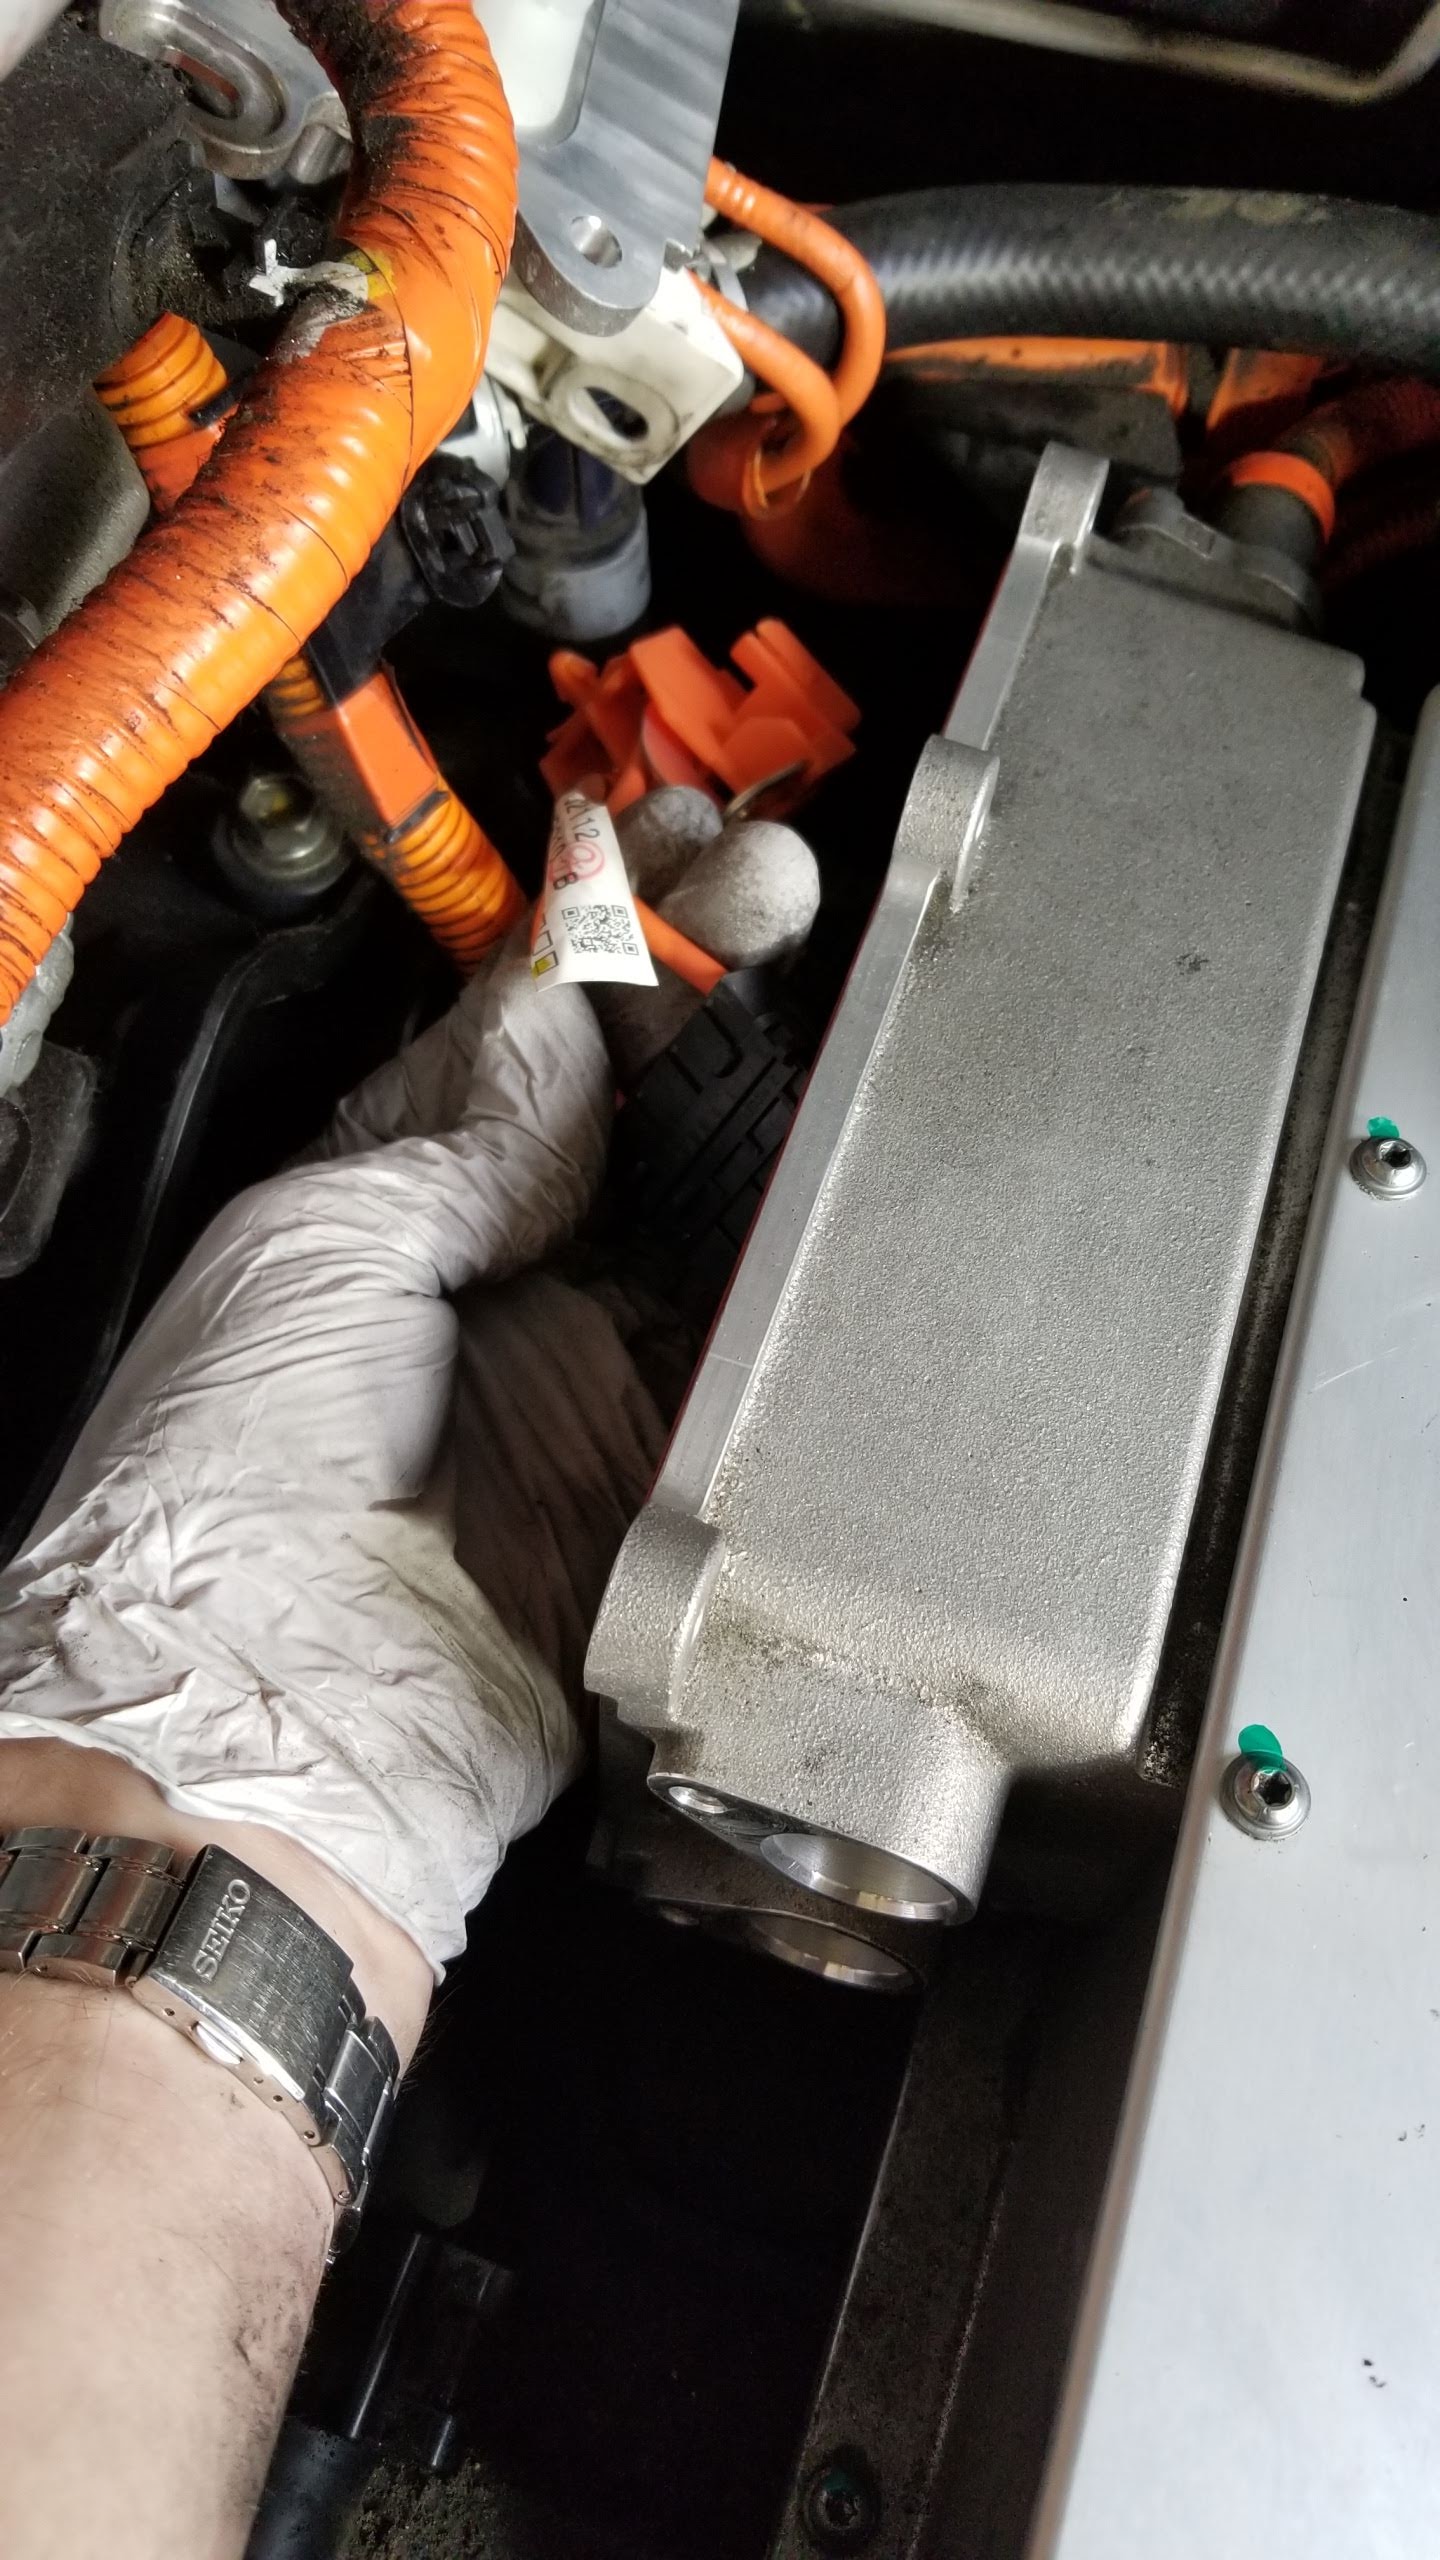
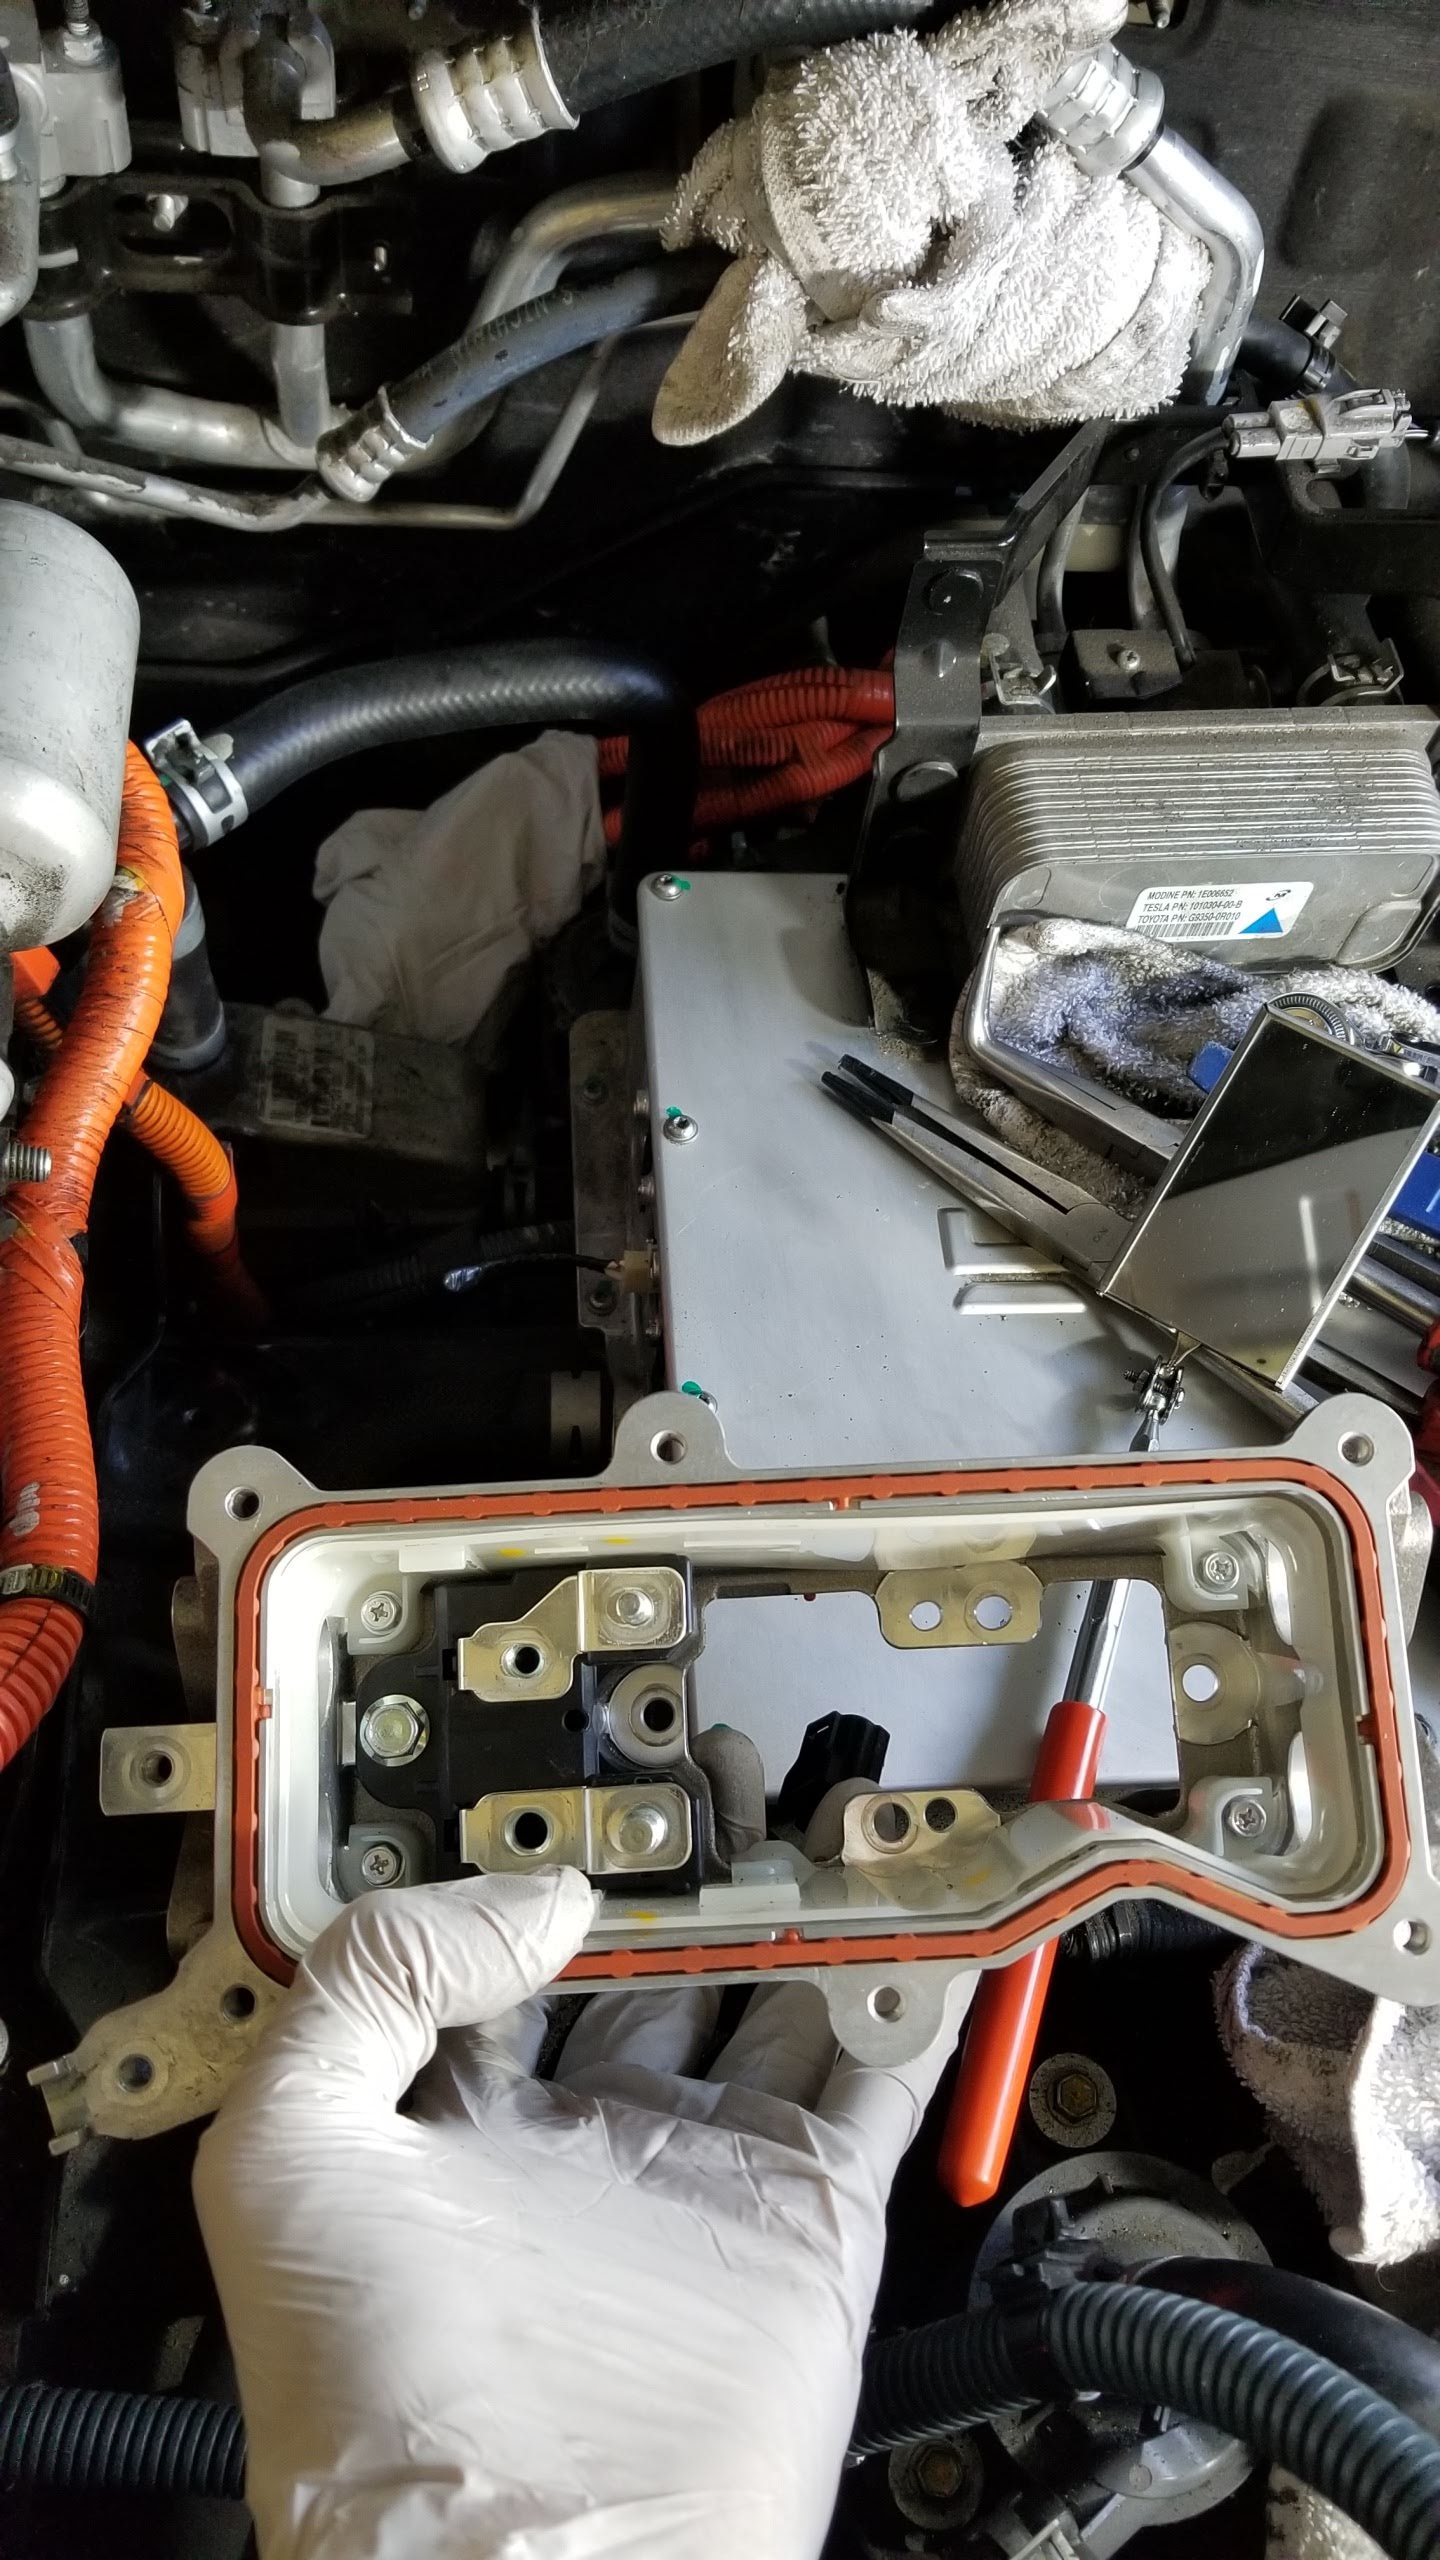
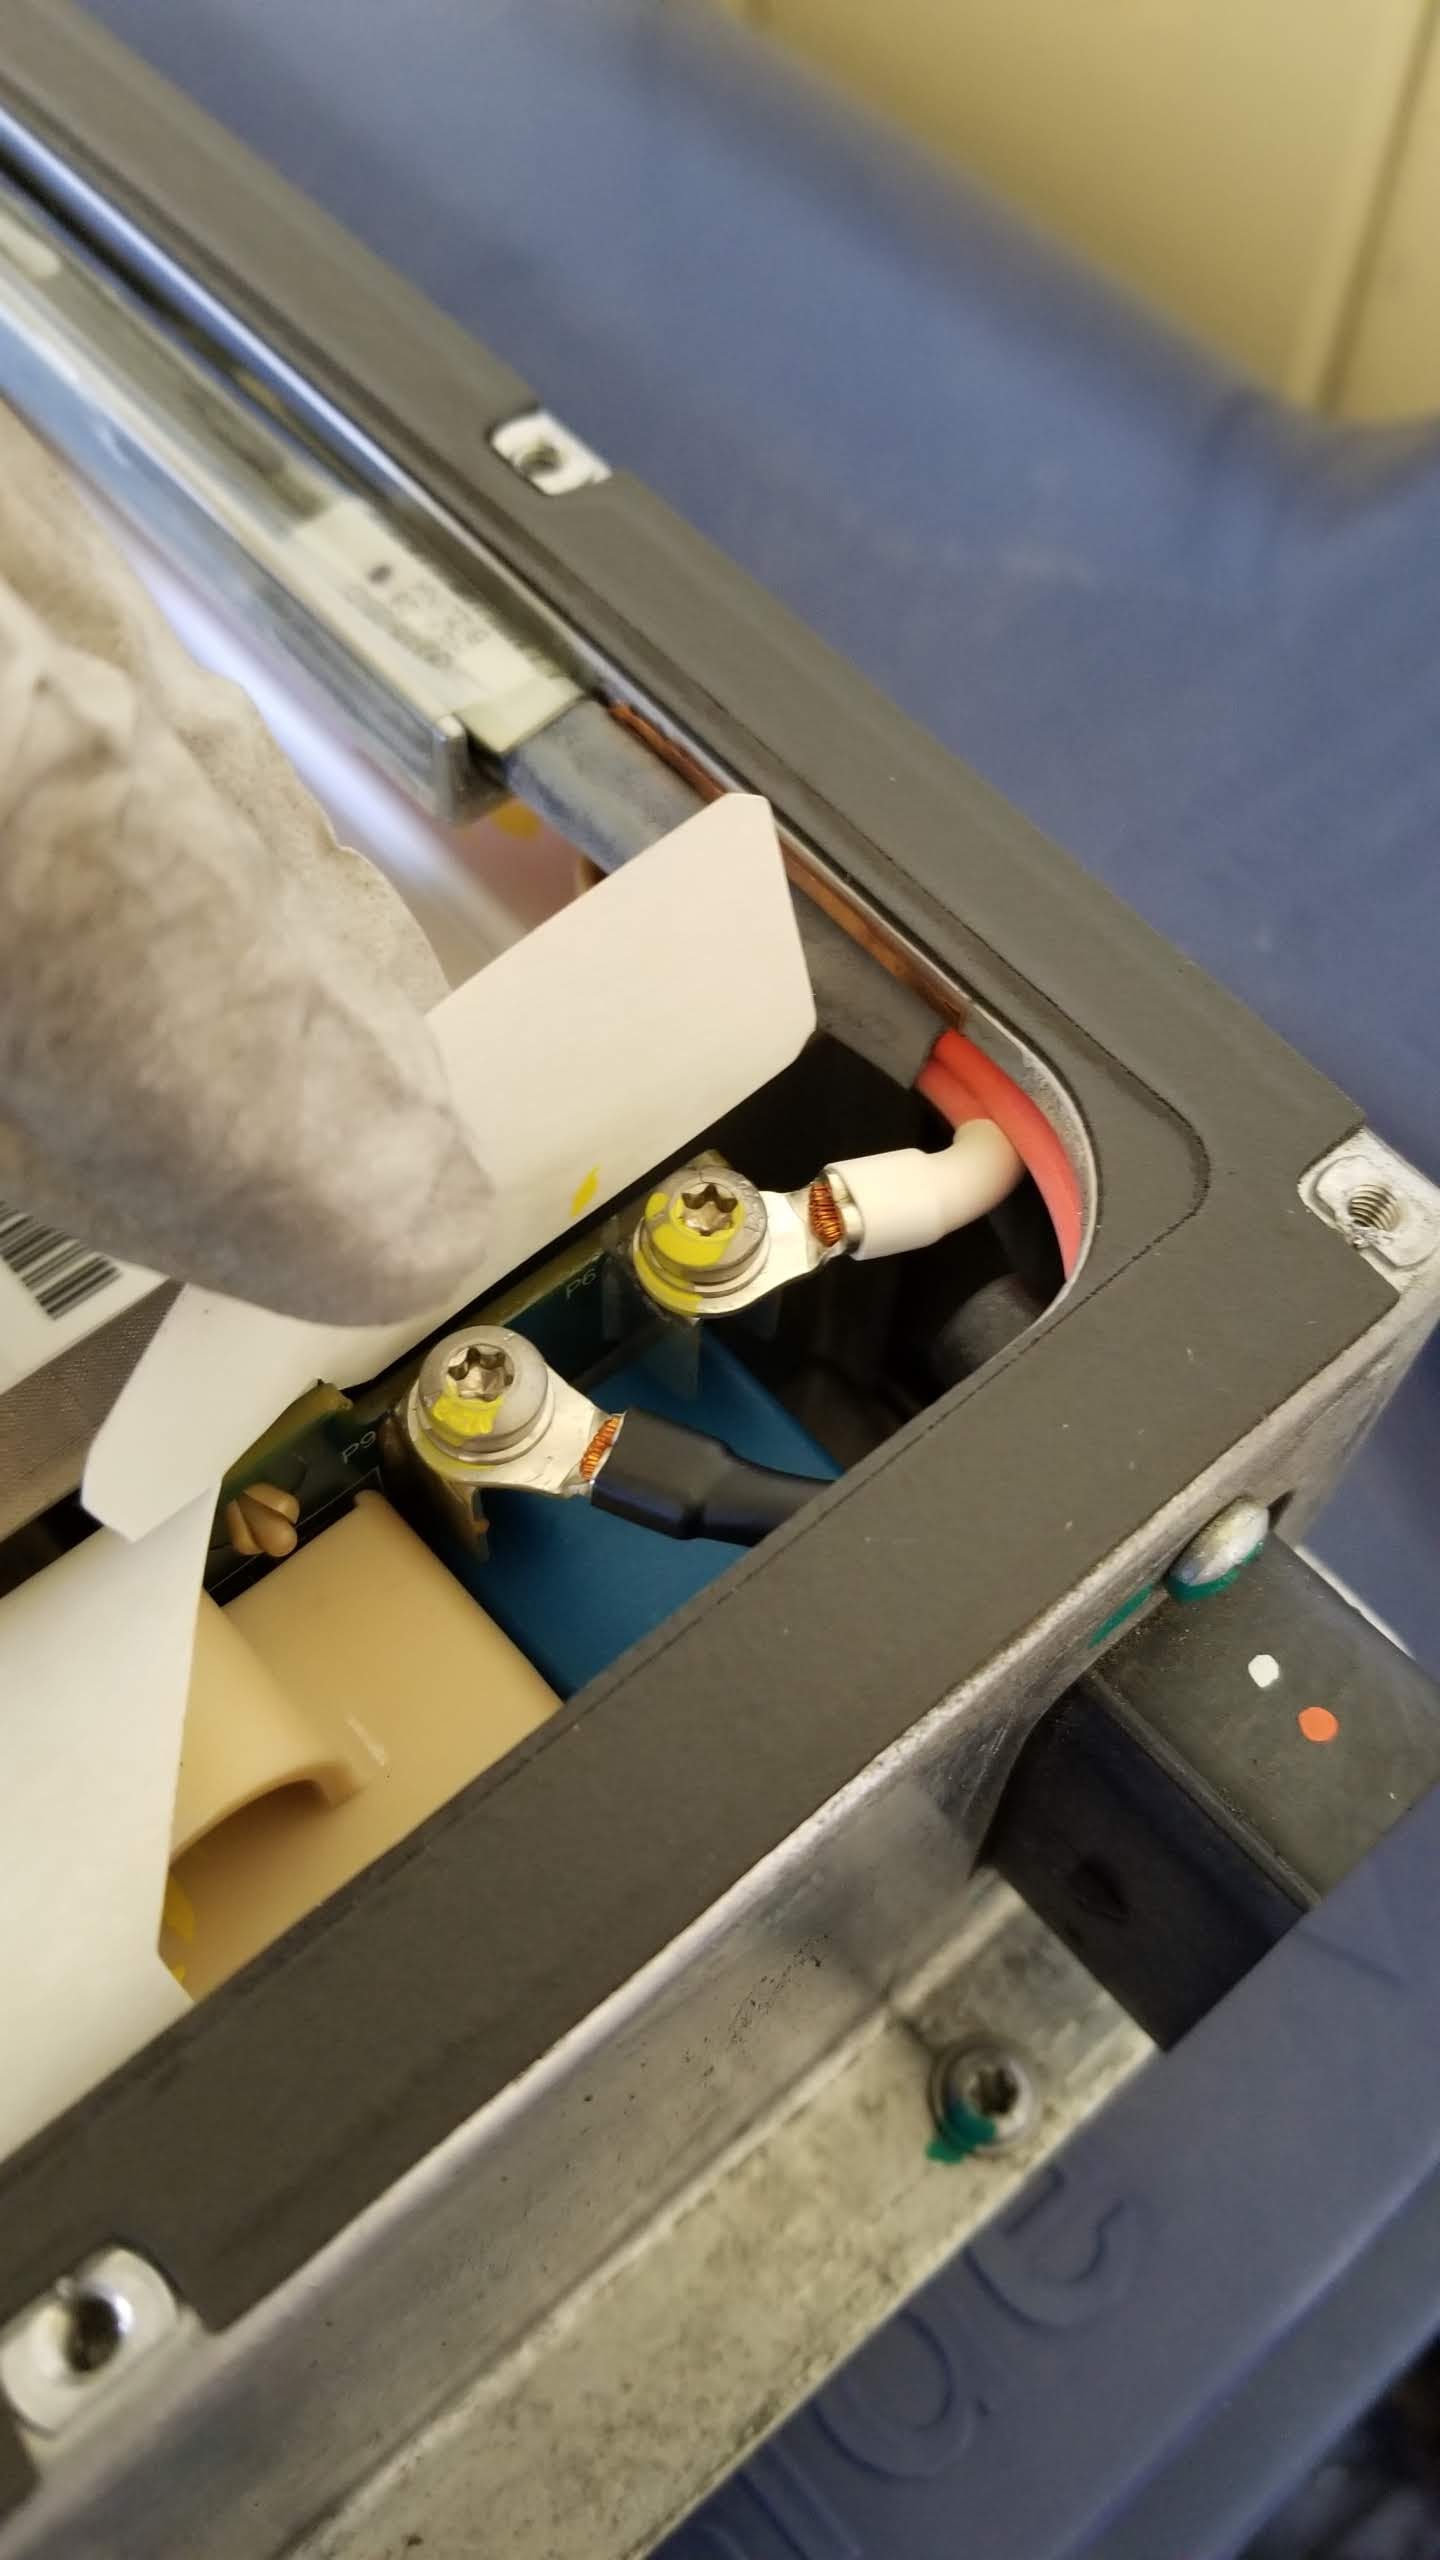
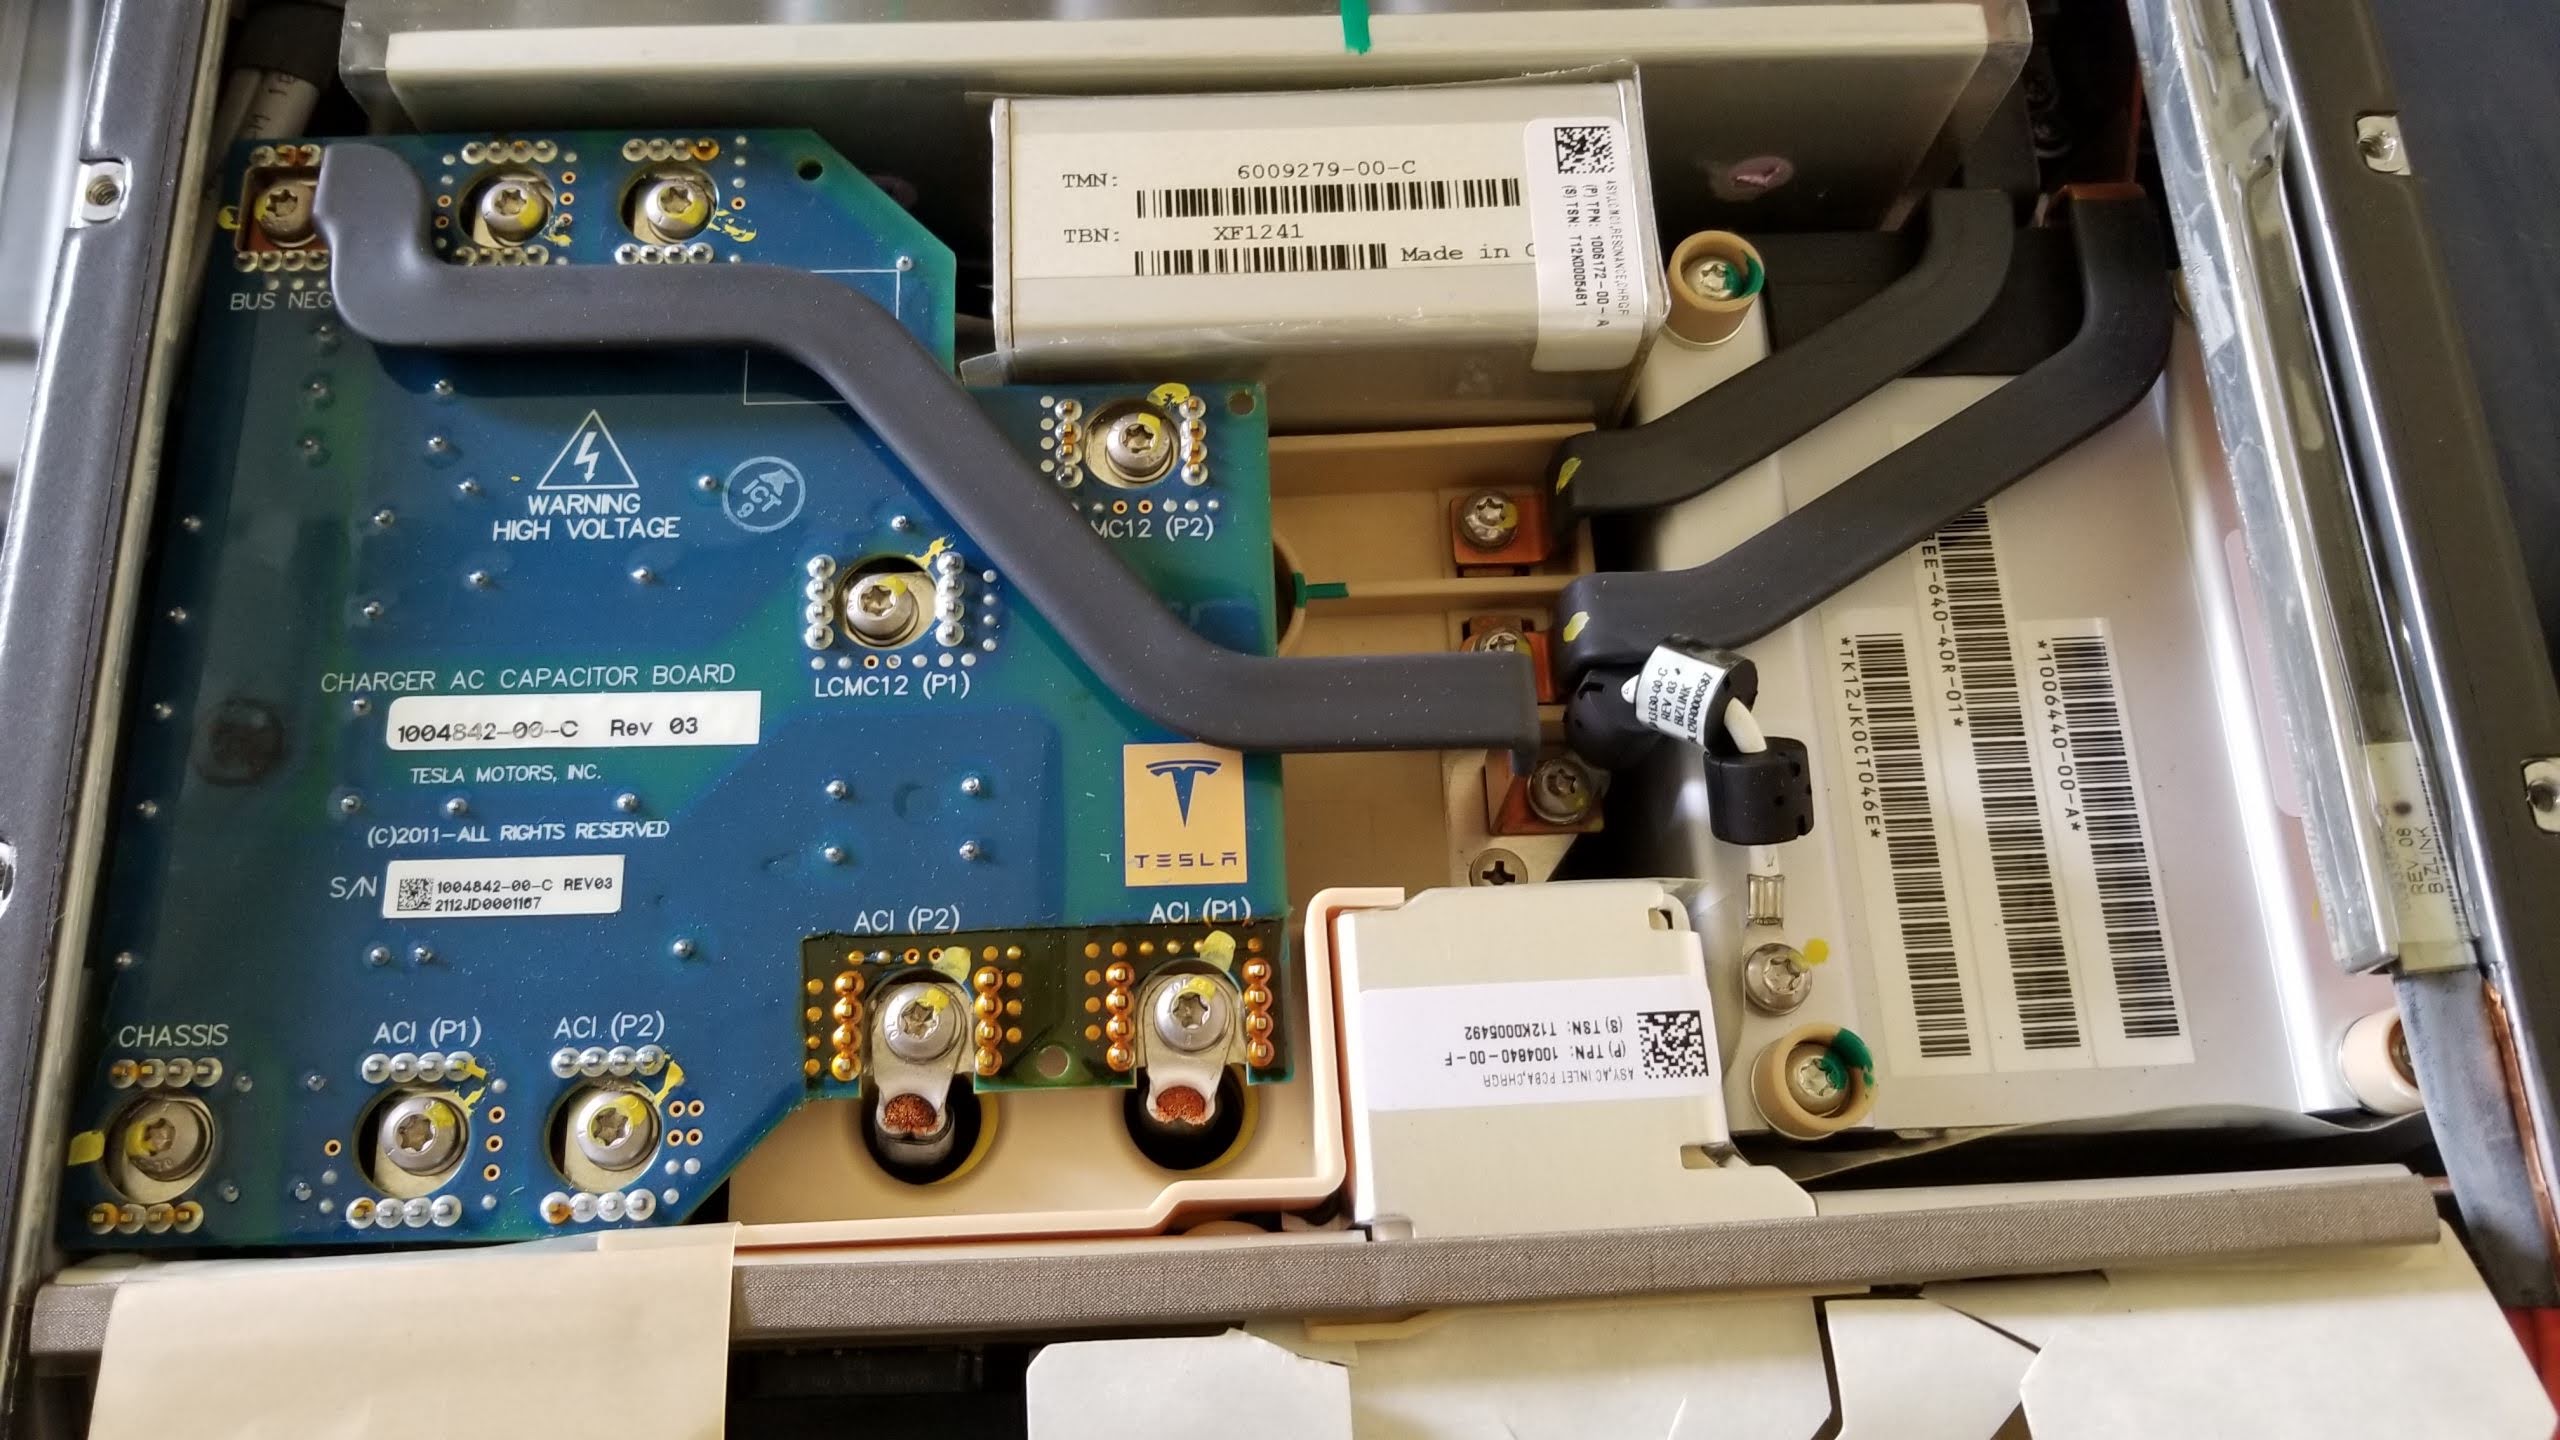
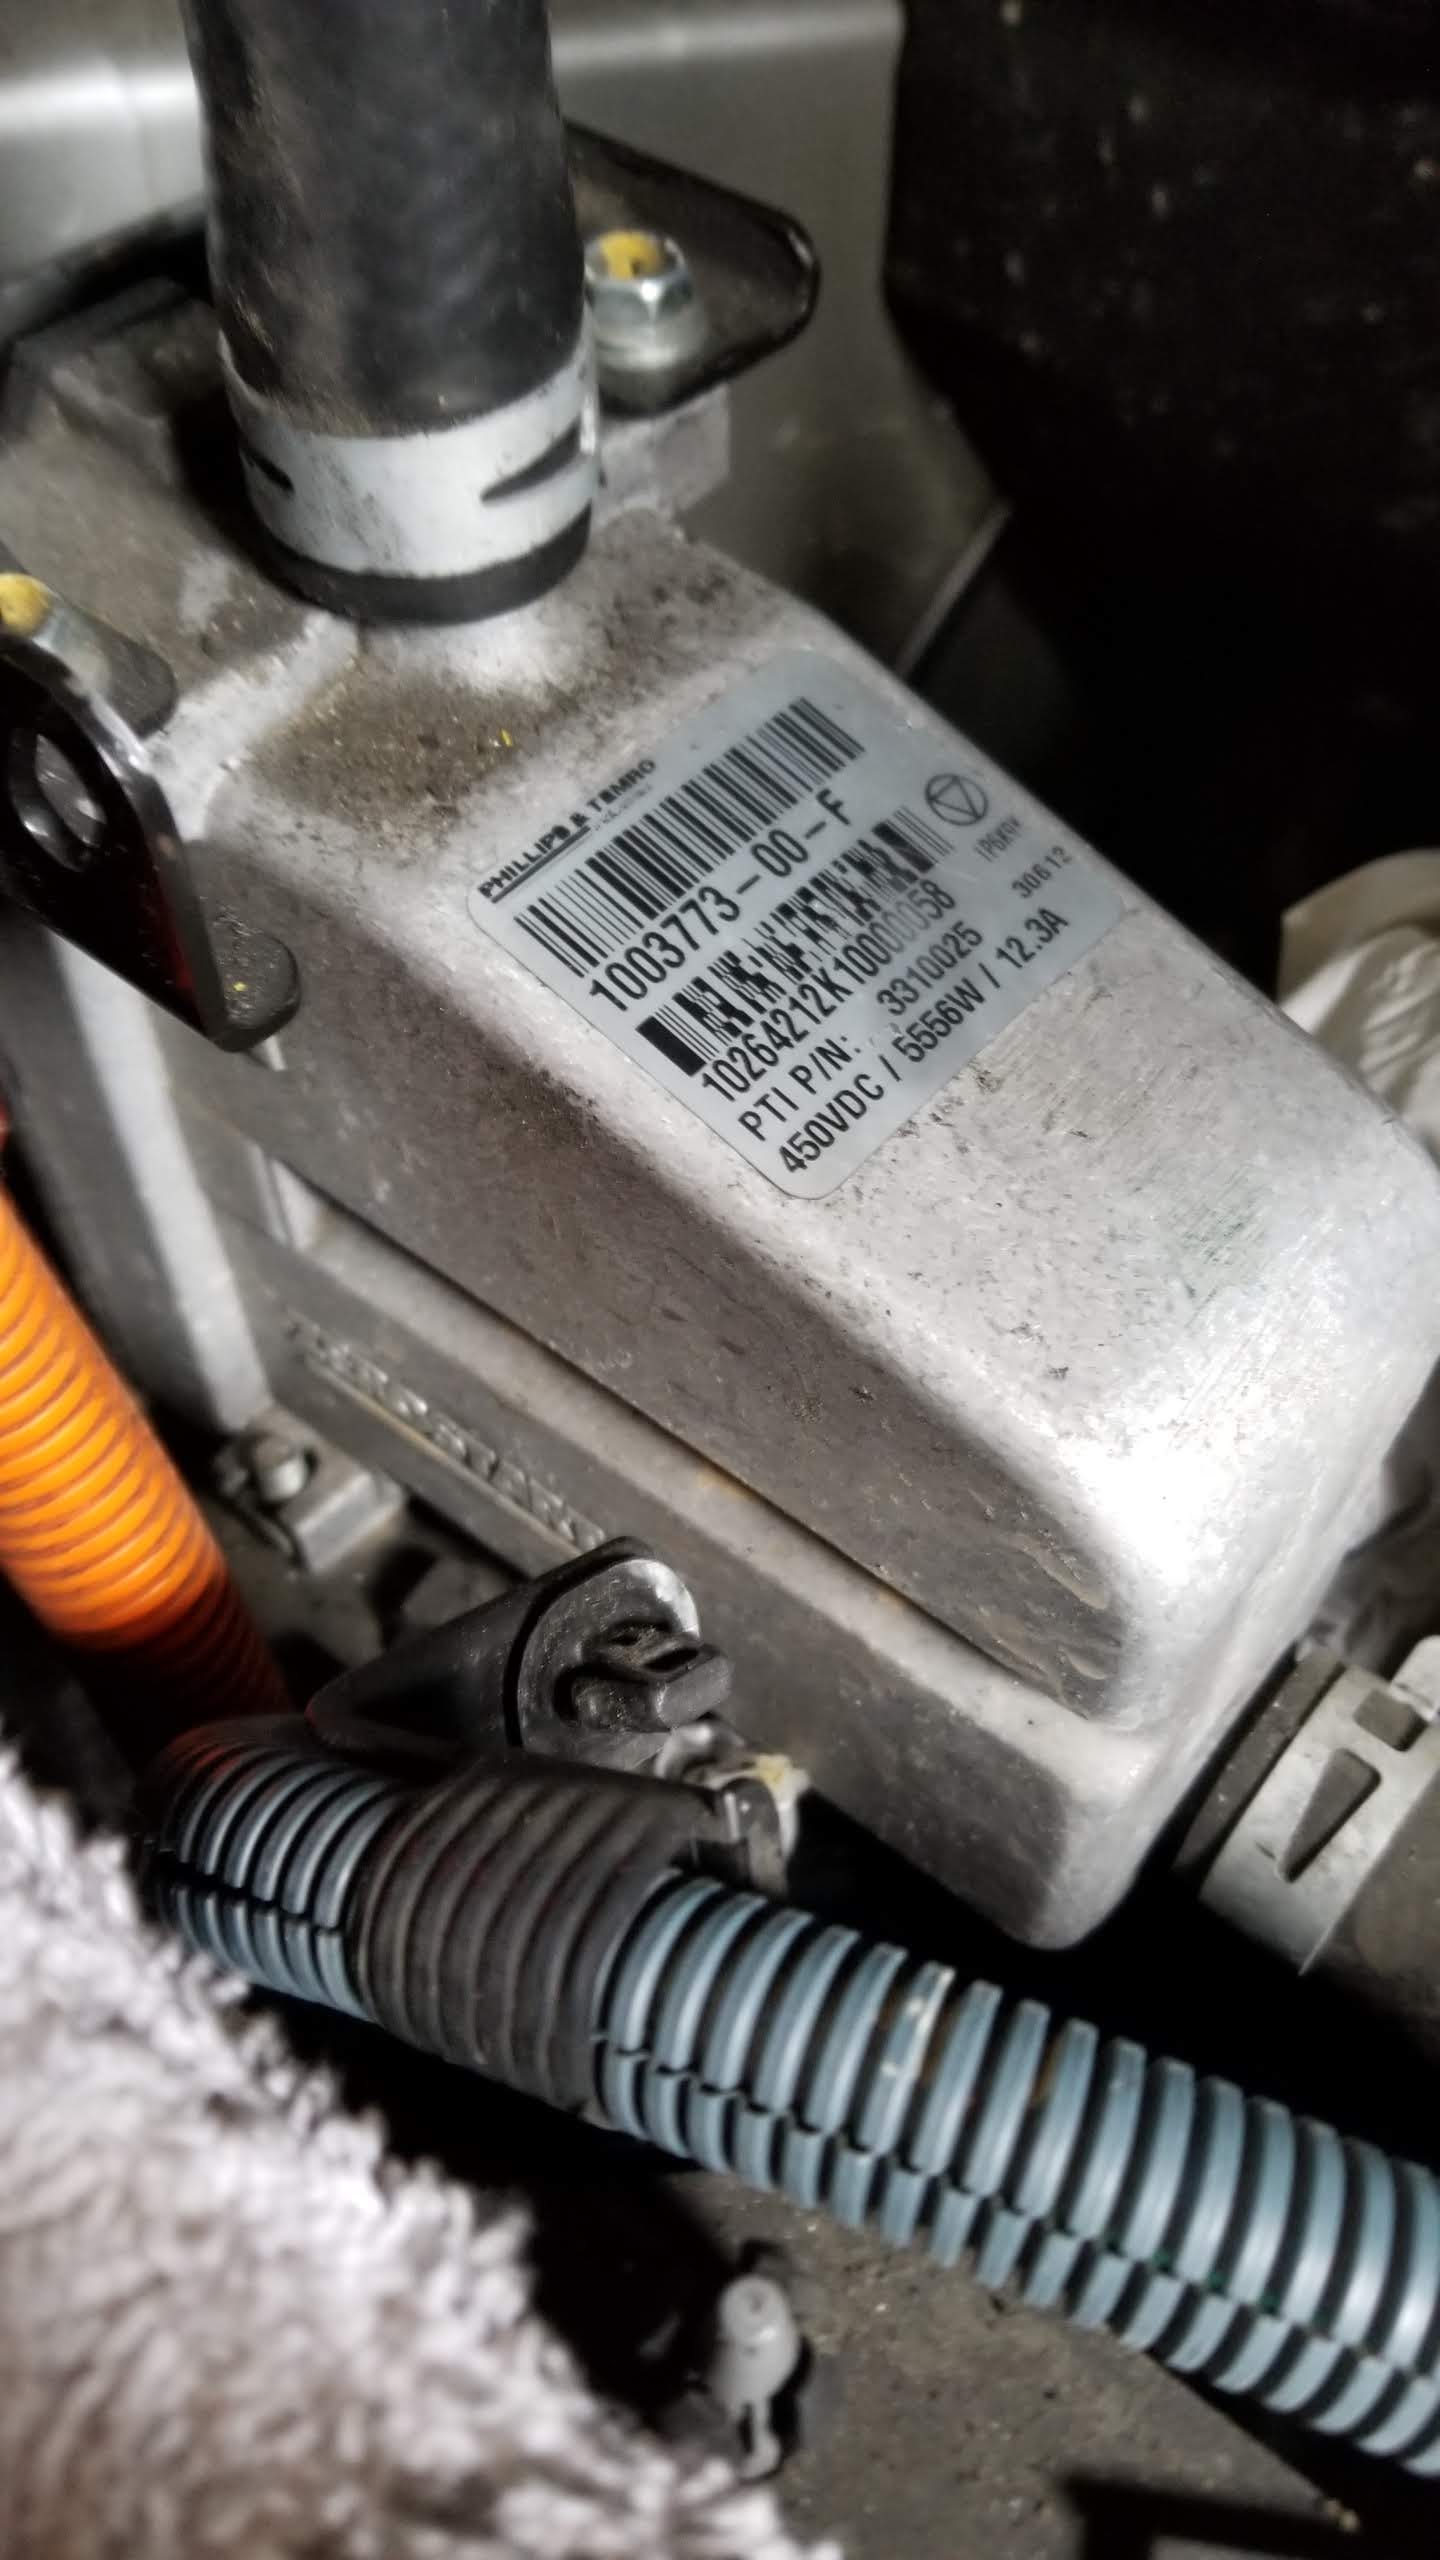
Also remove the black cover for the DC-DC converter / cabin coolant heater and you will see this:

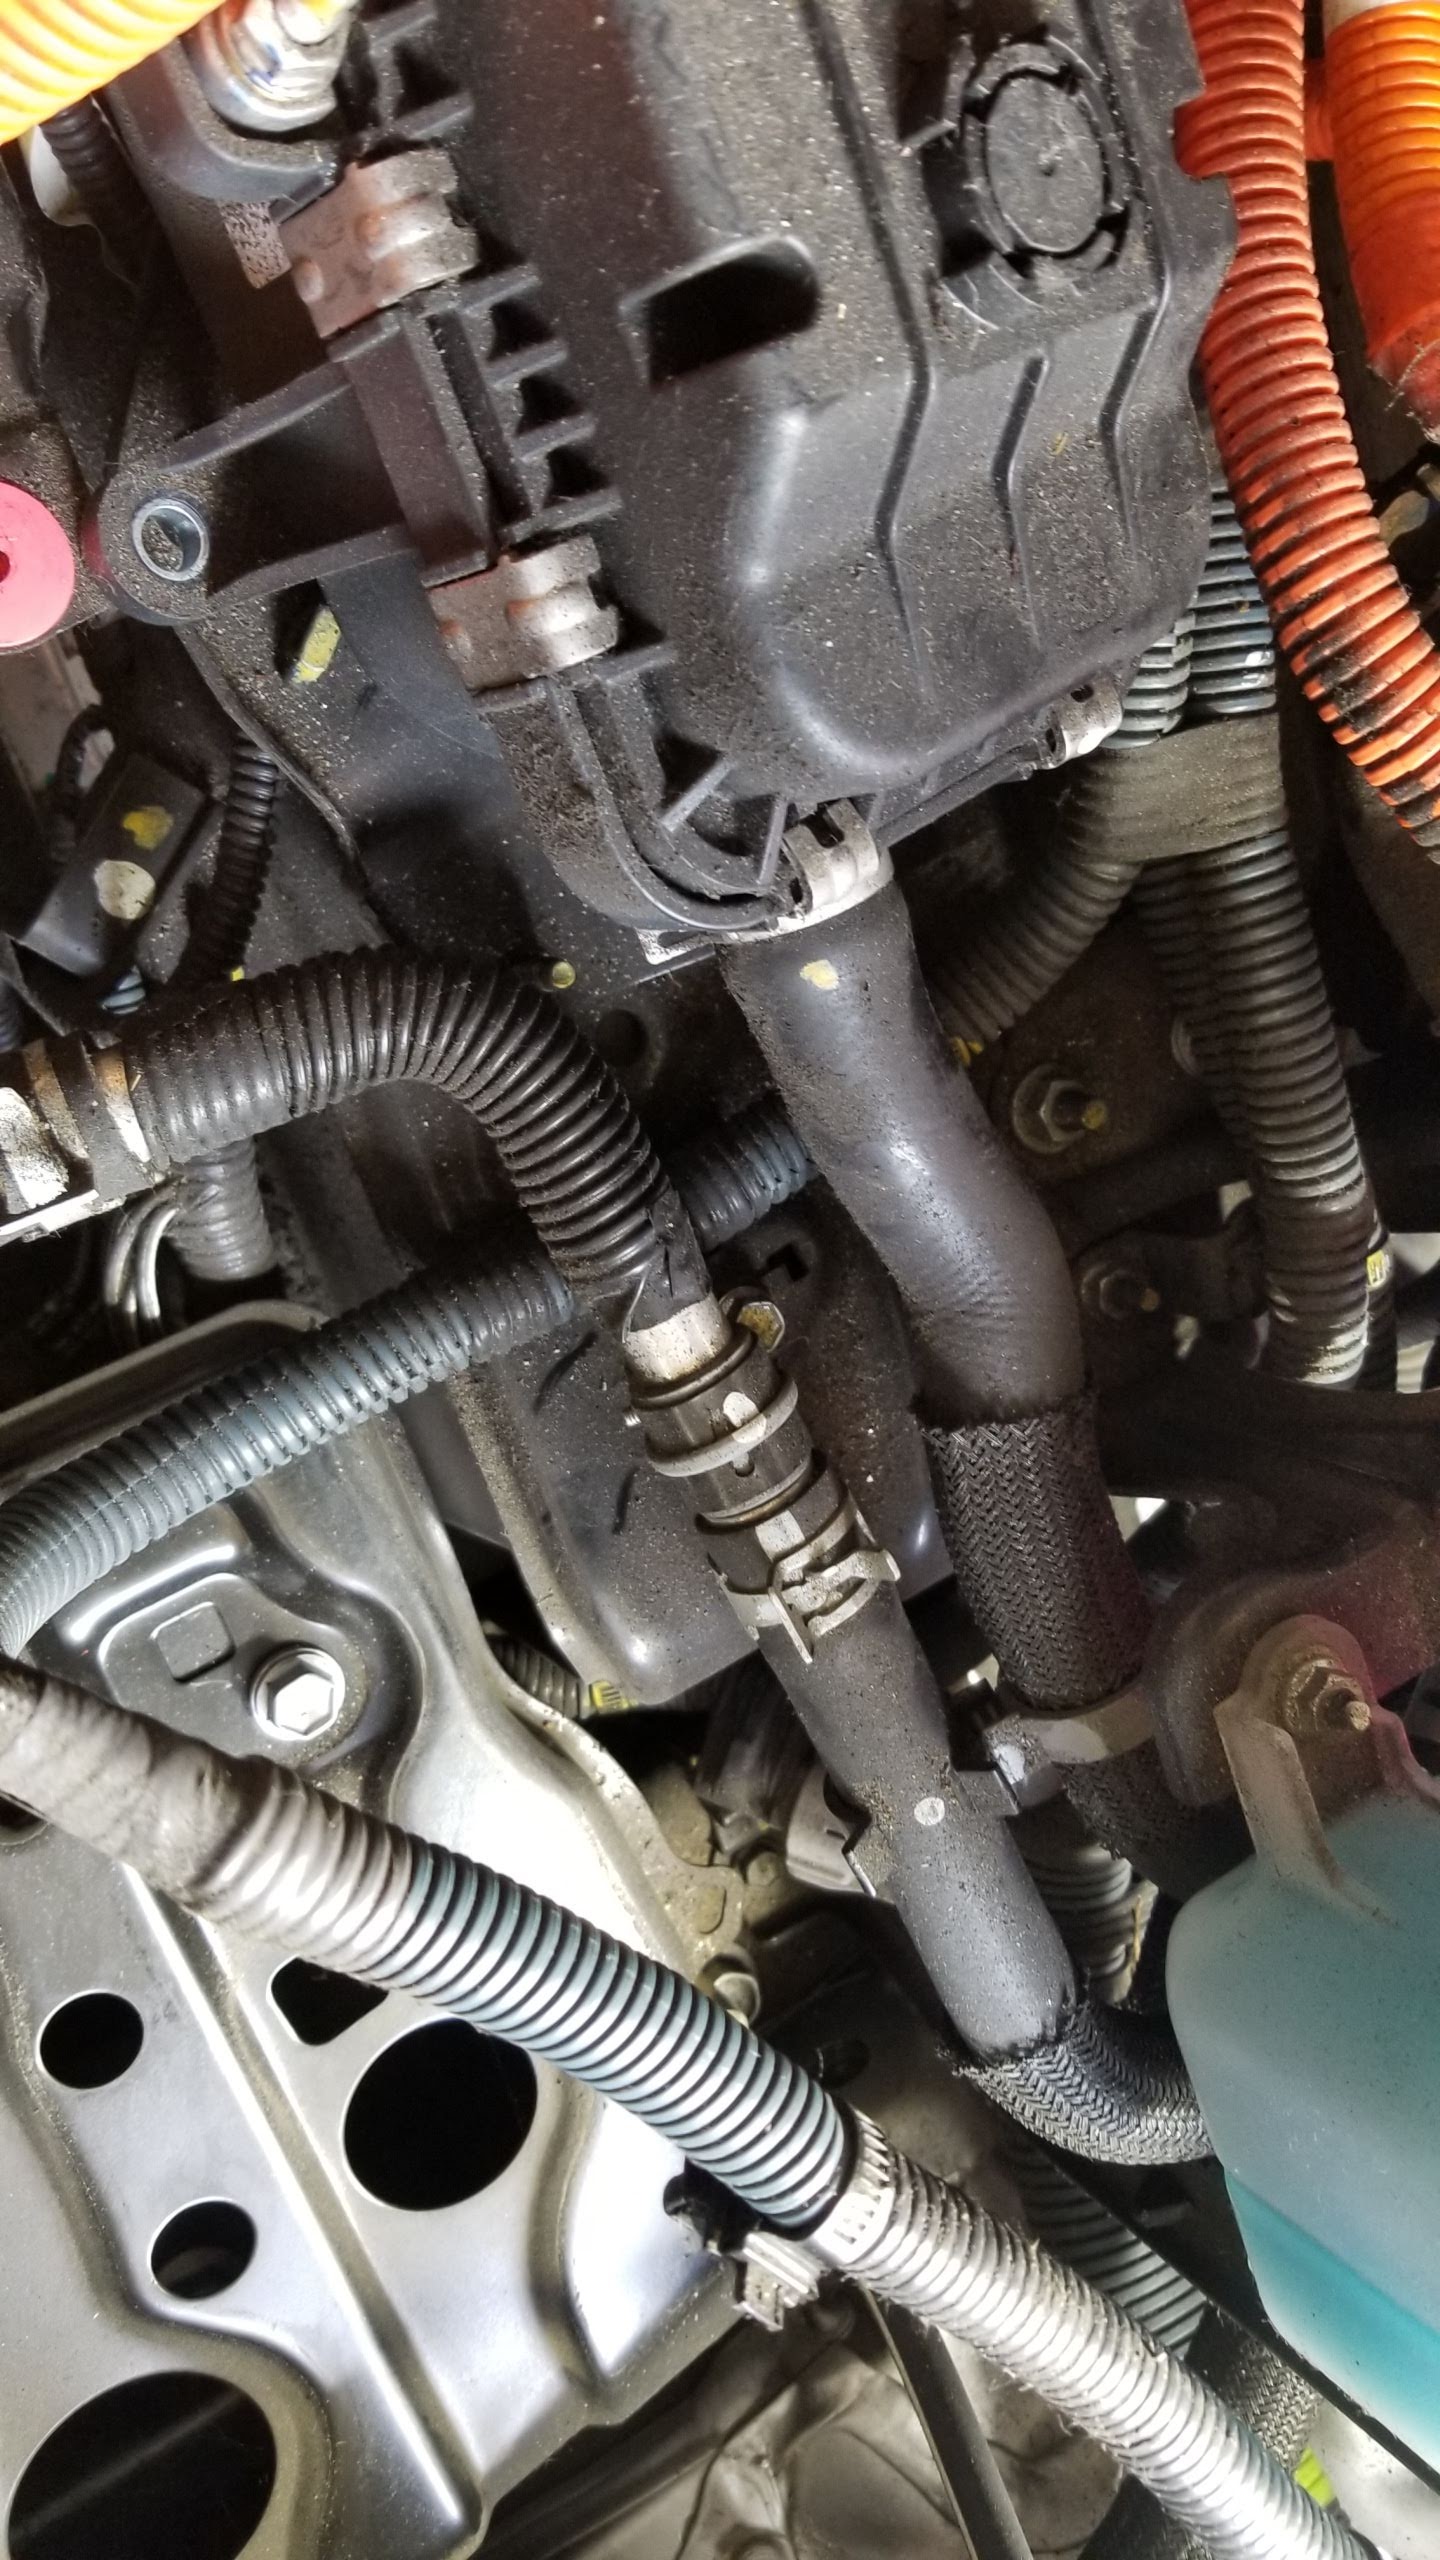
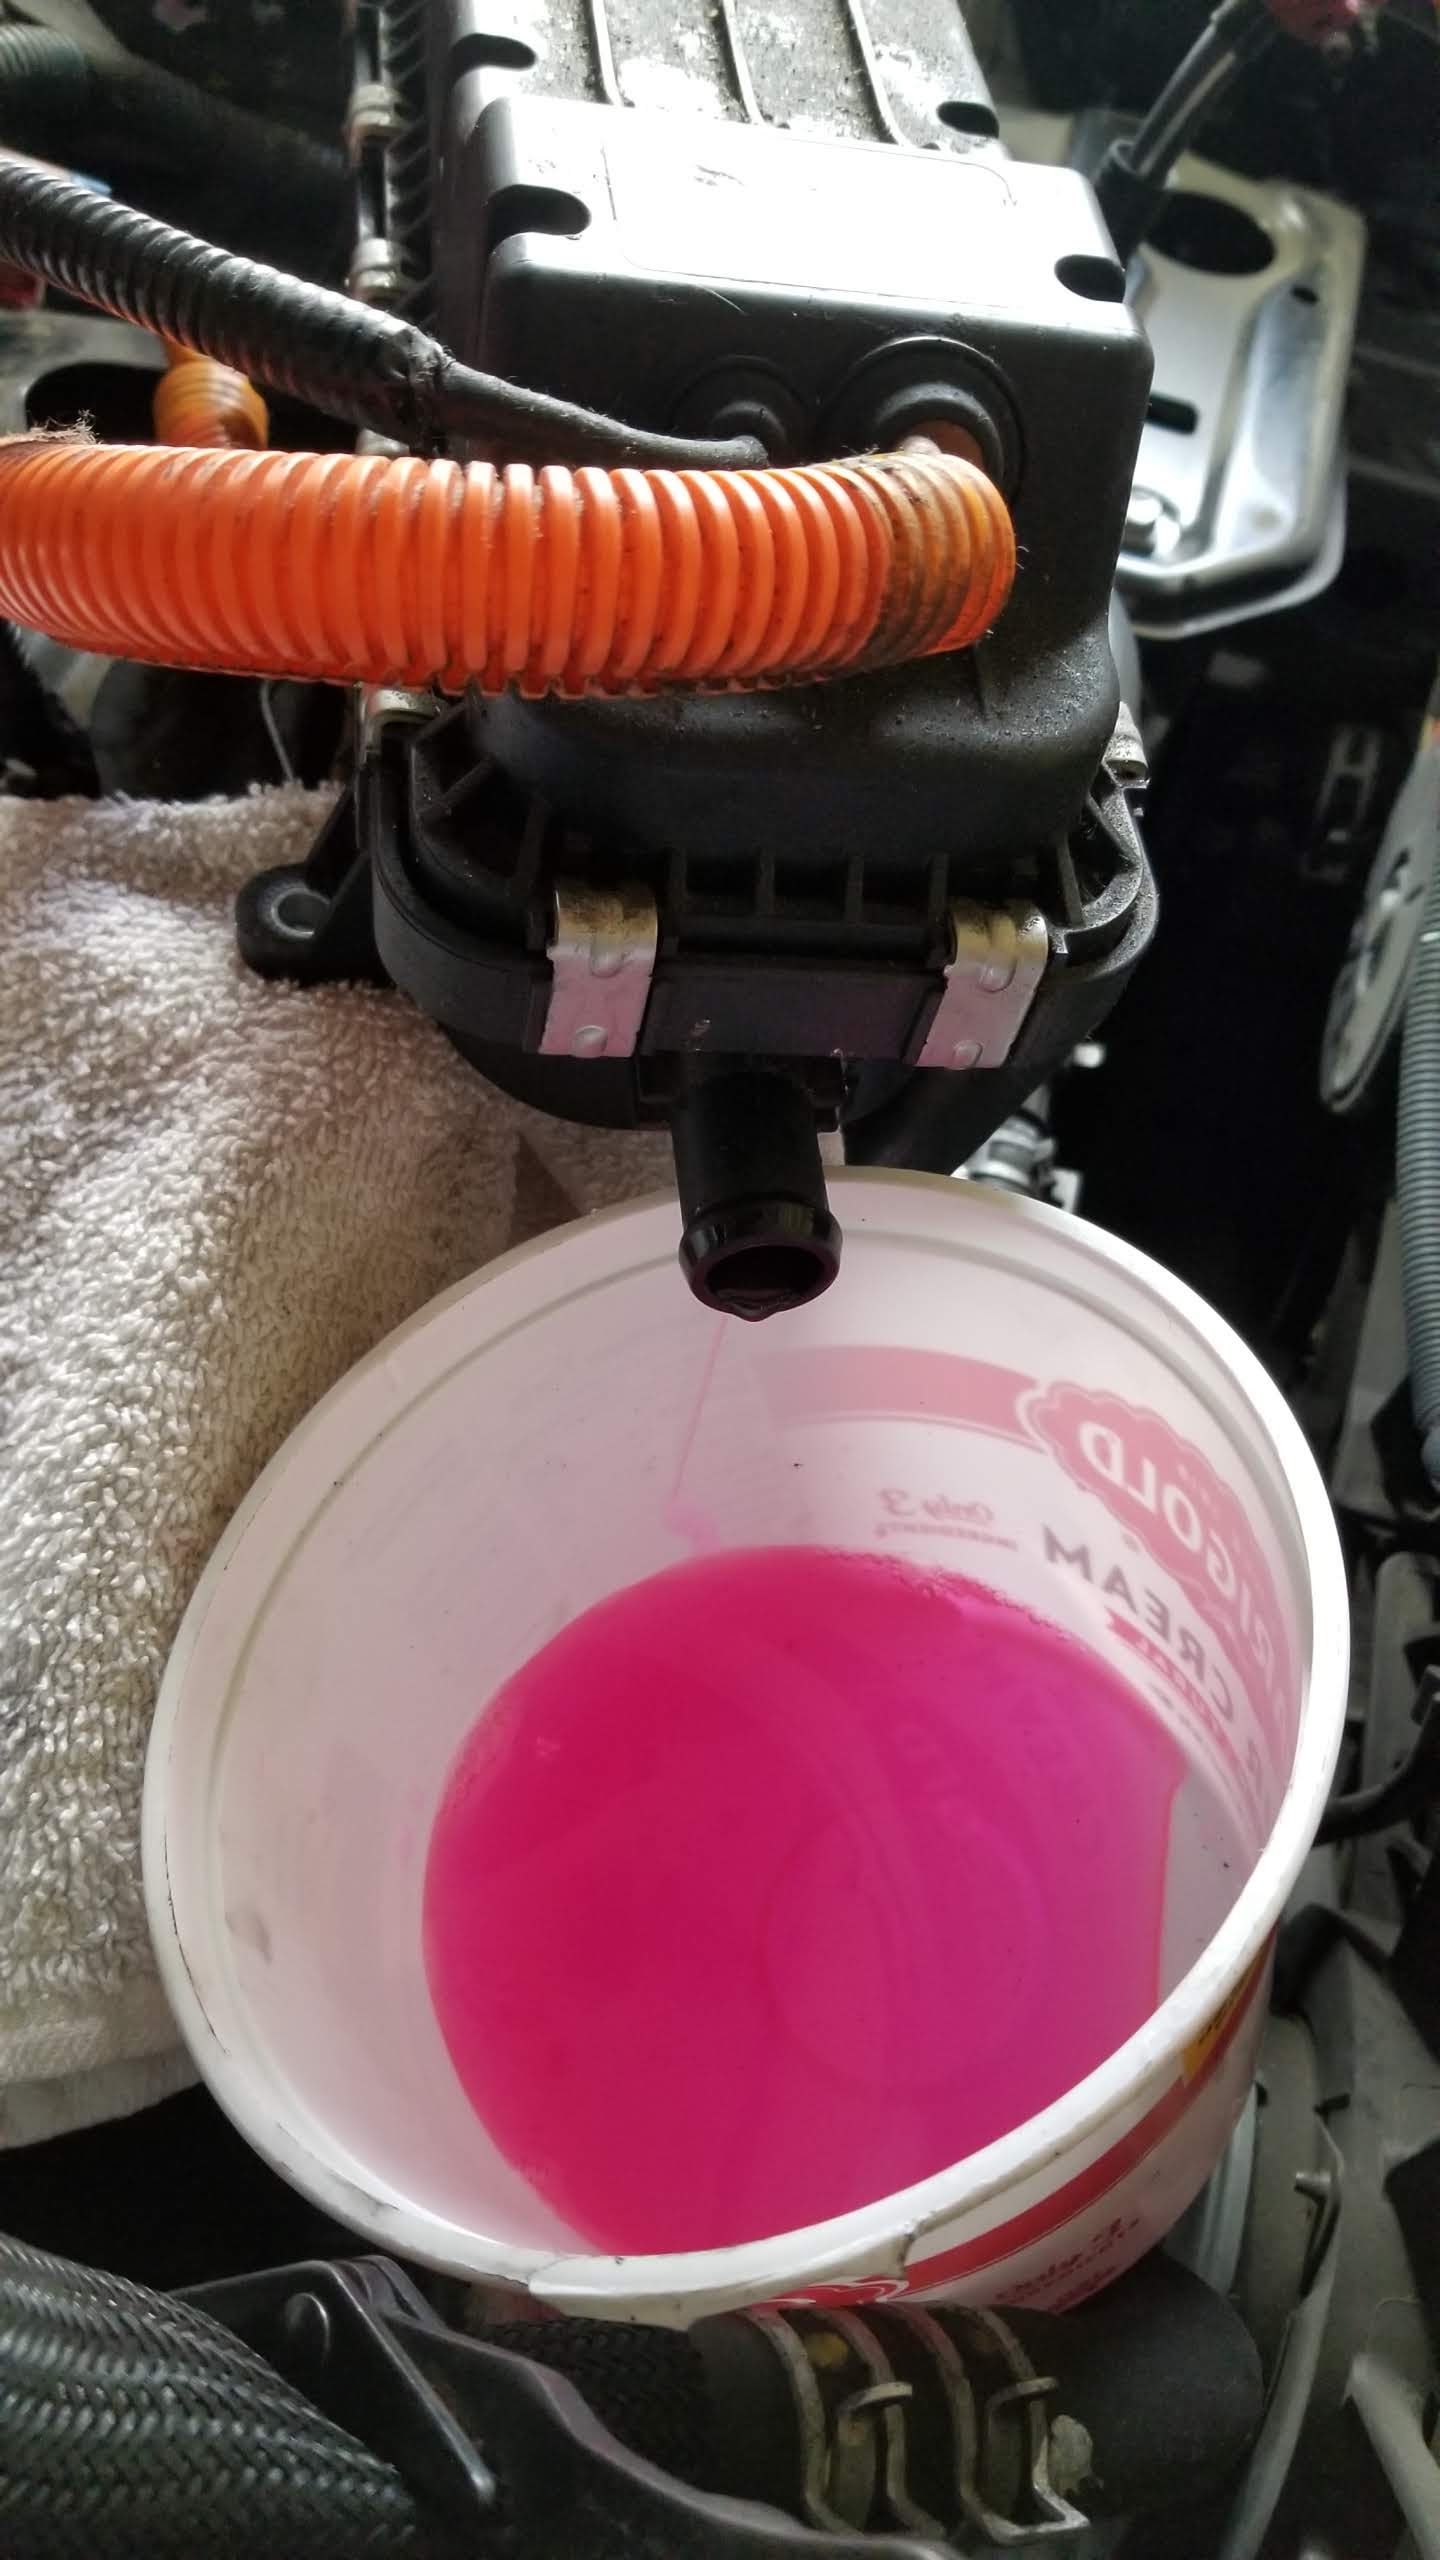
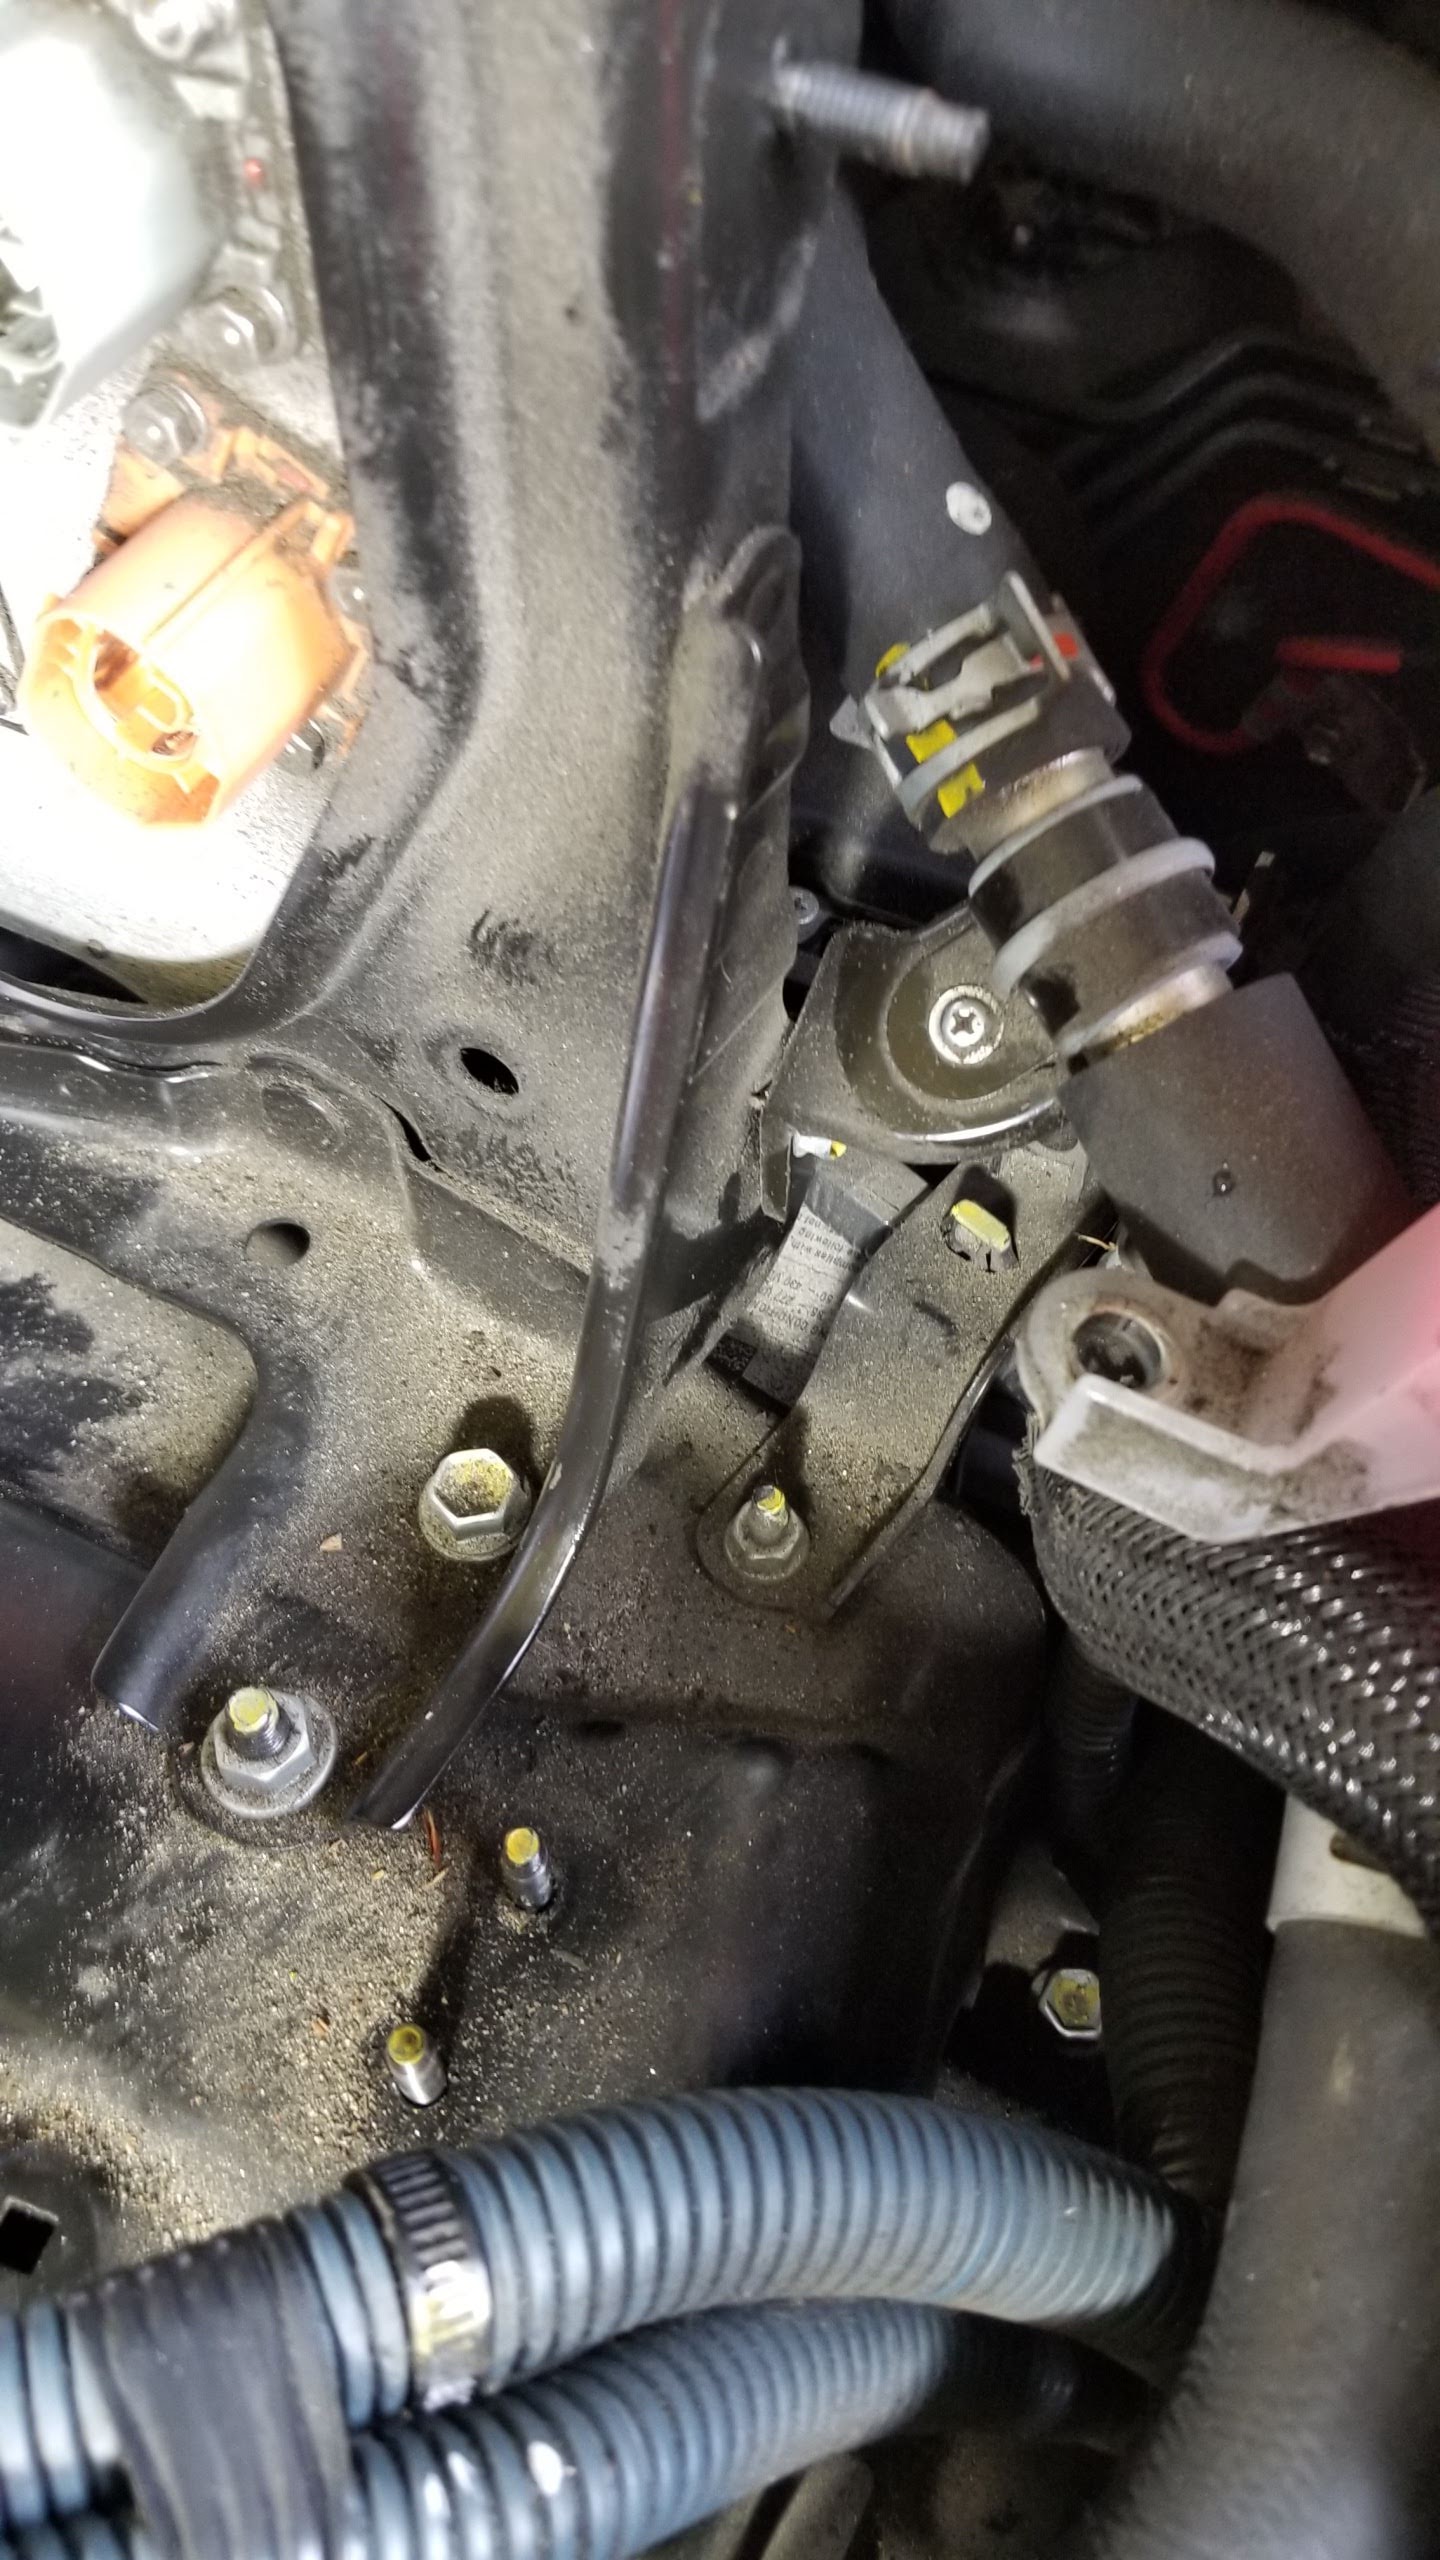
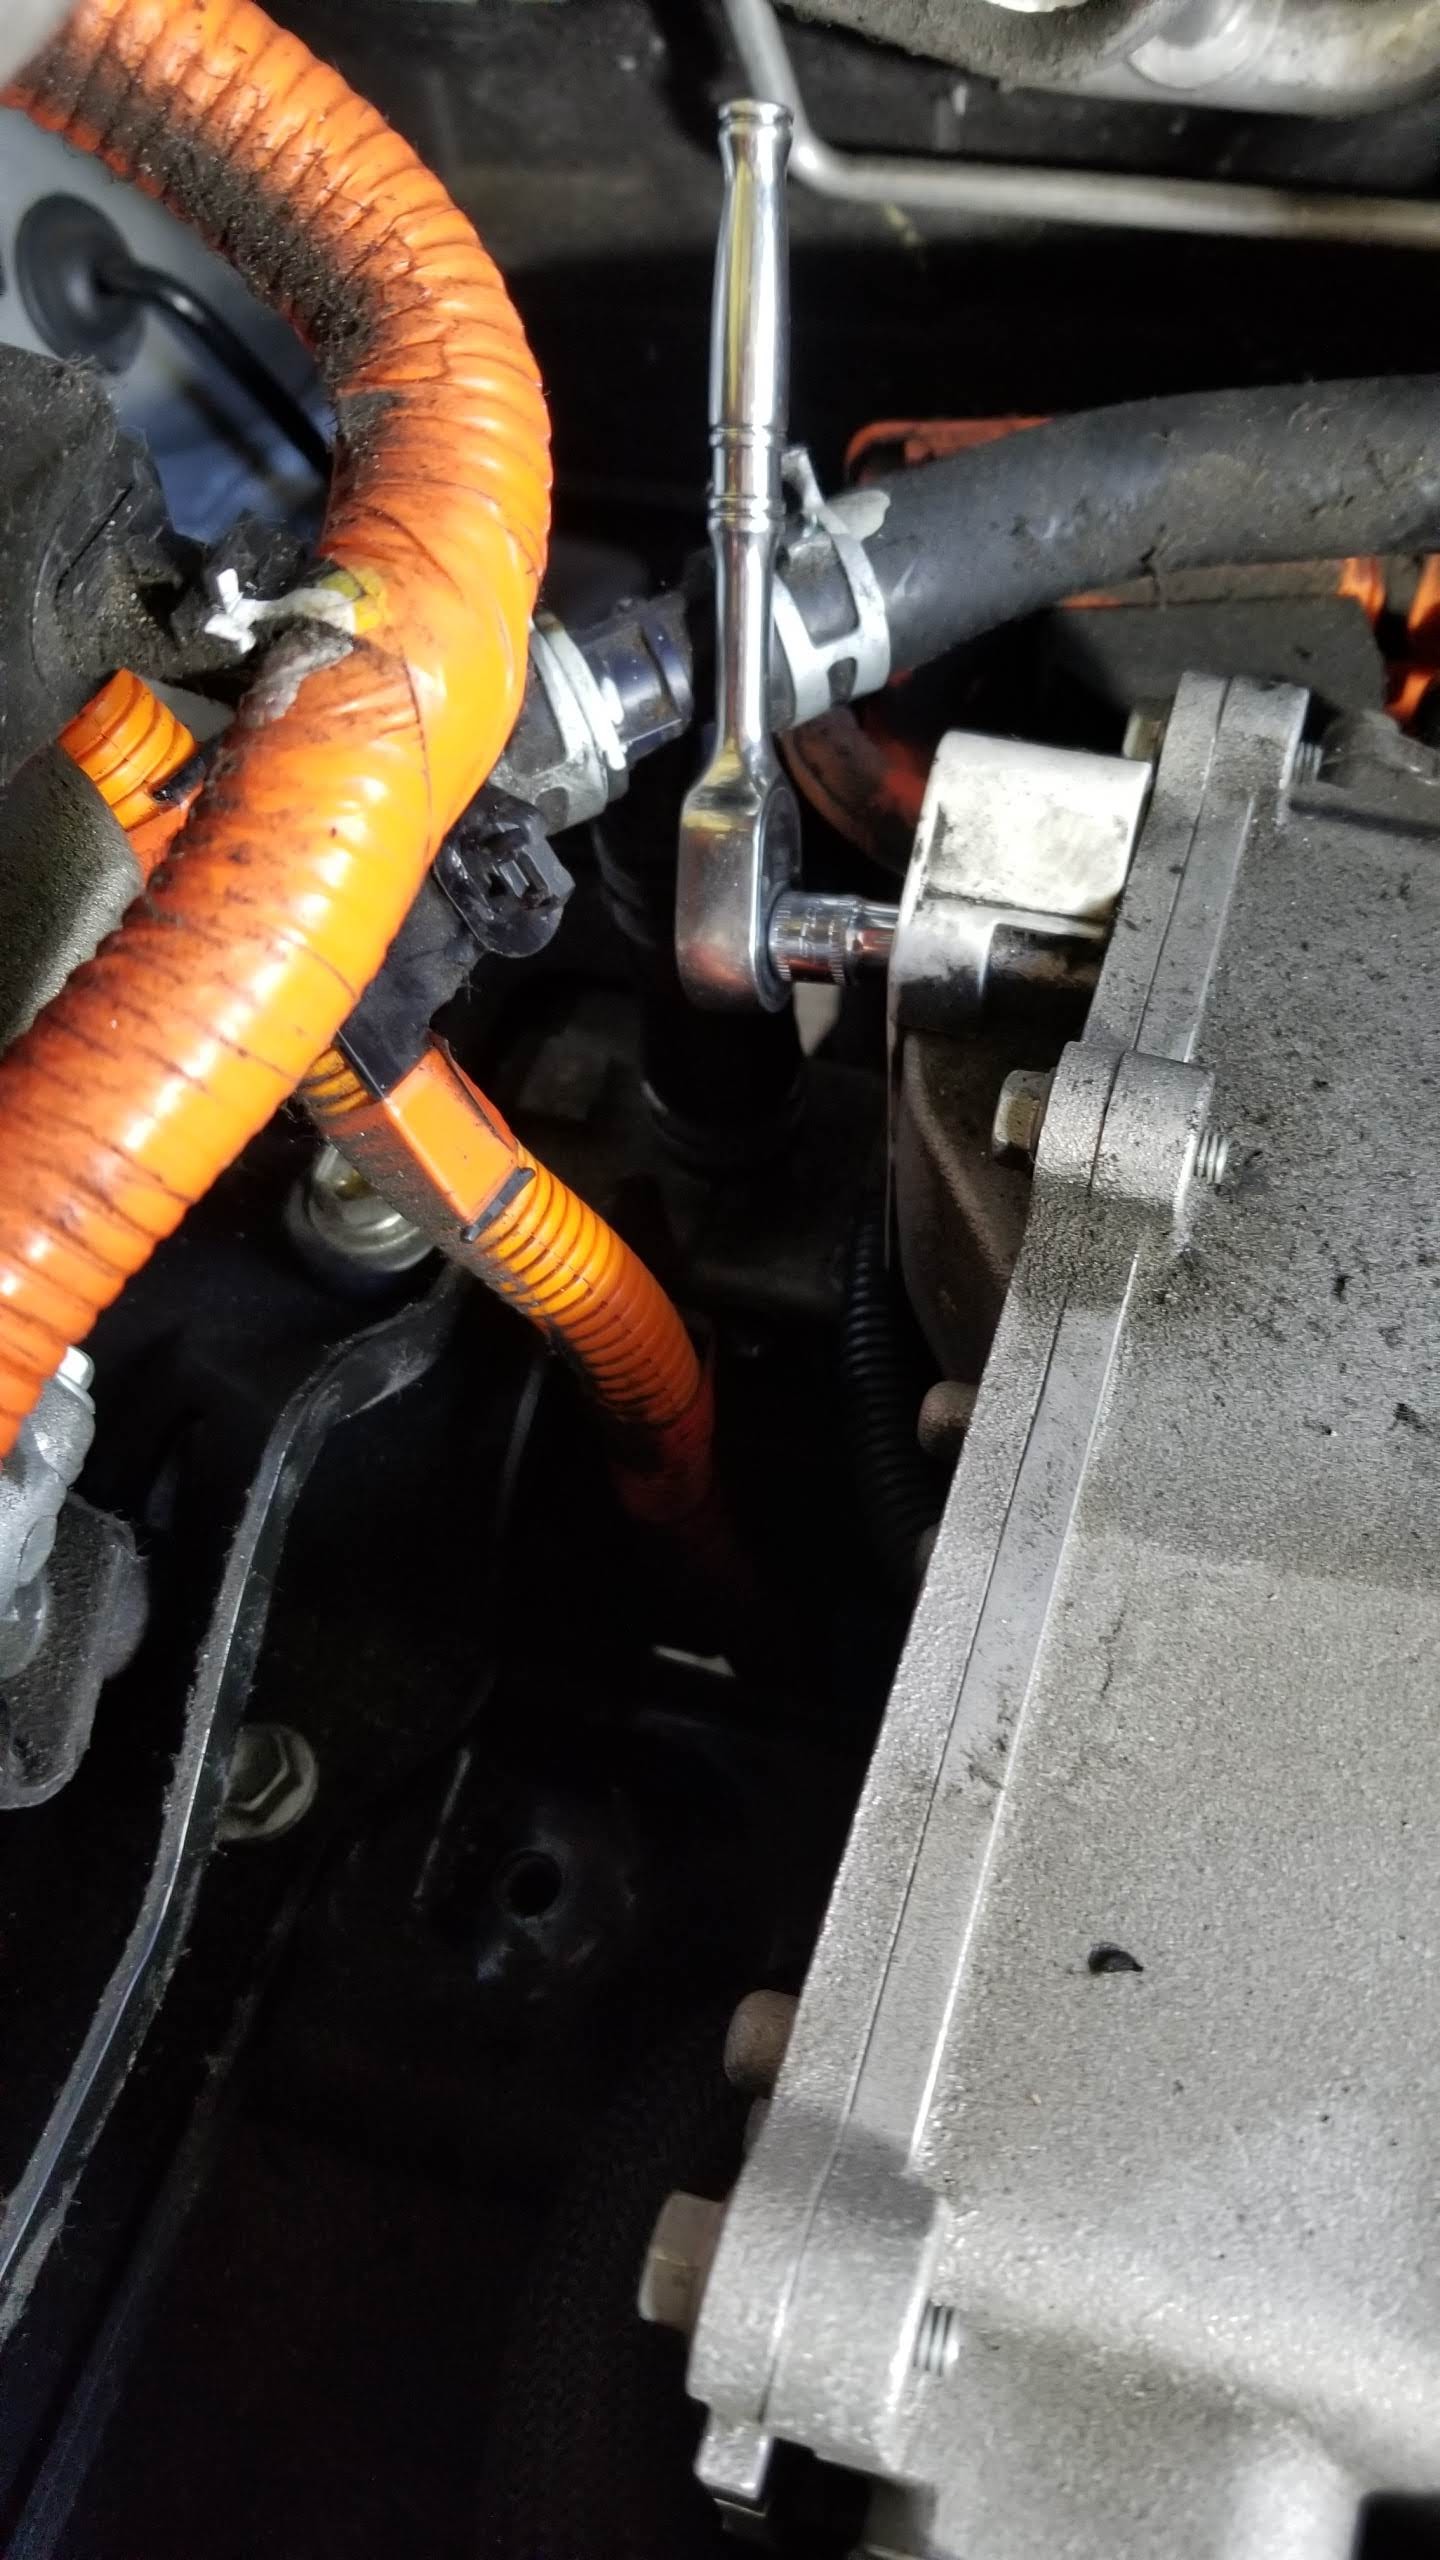
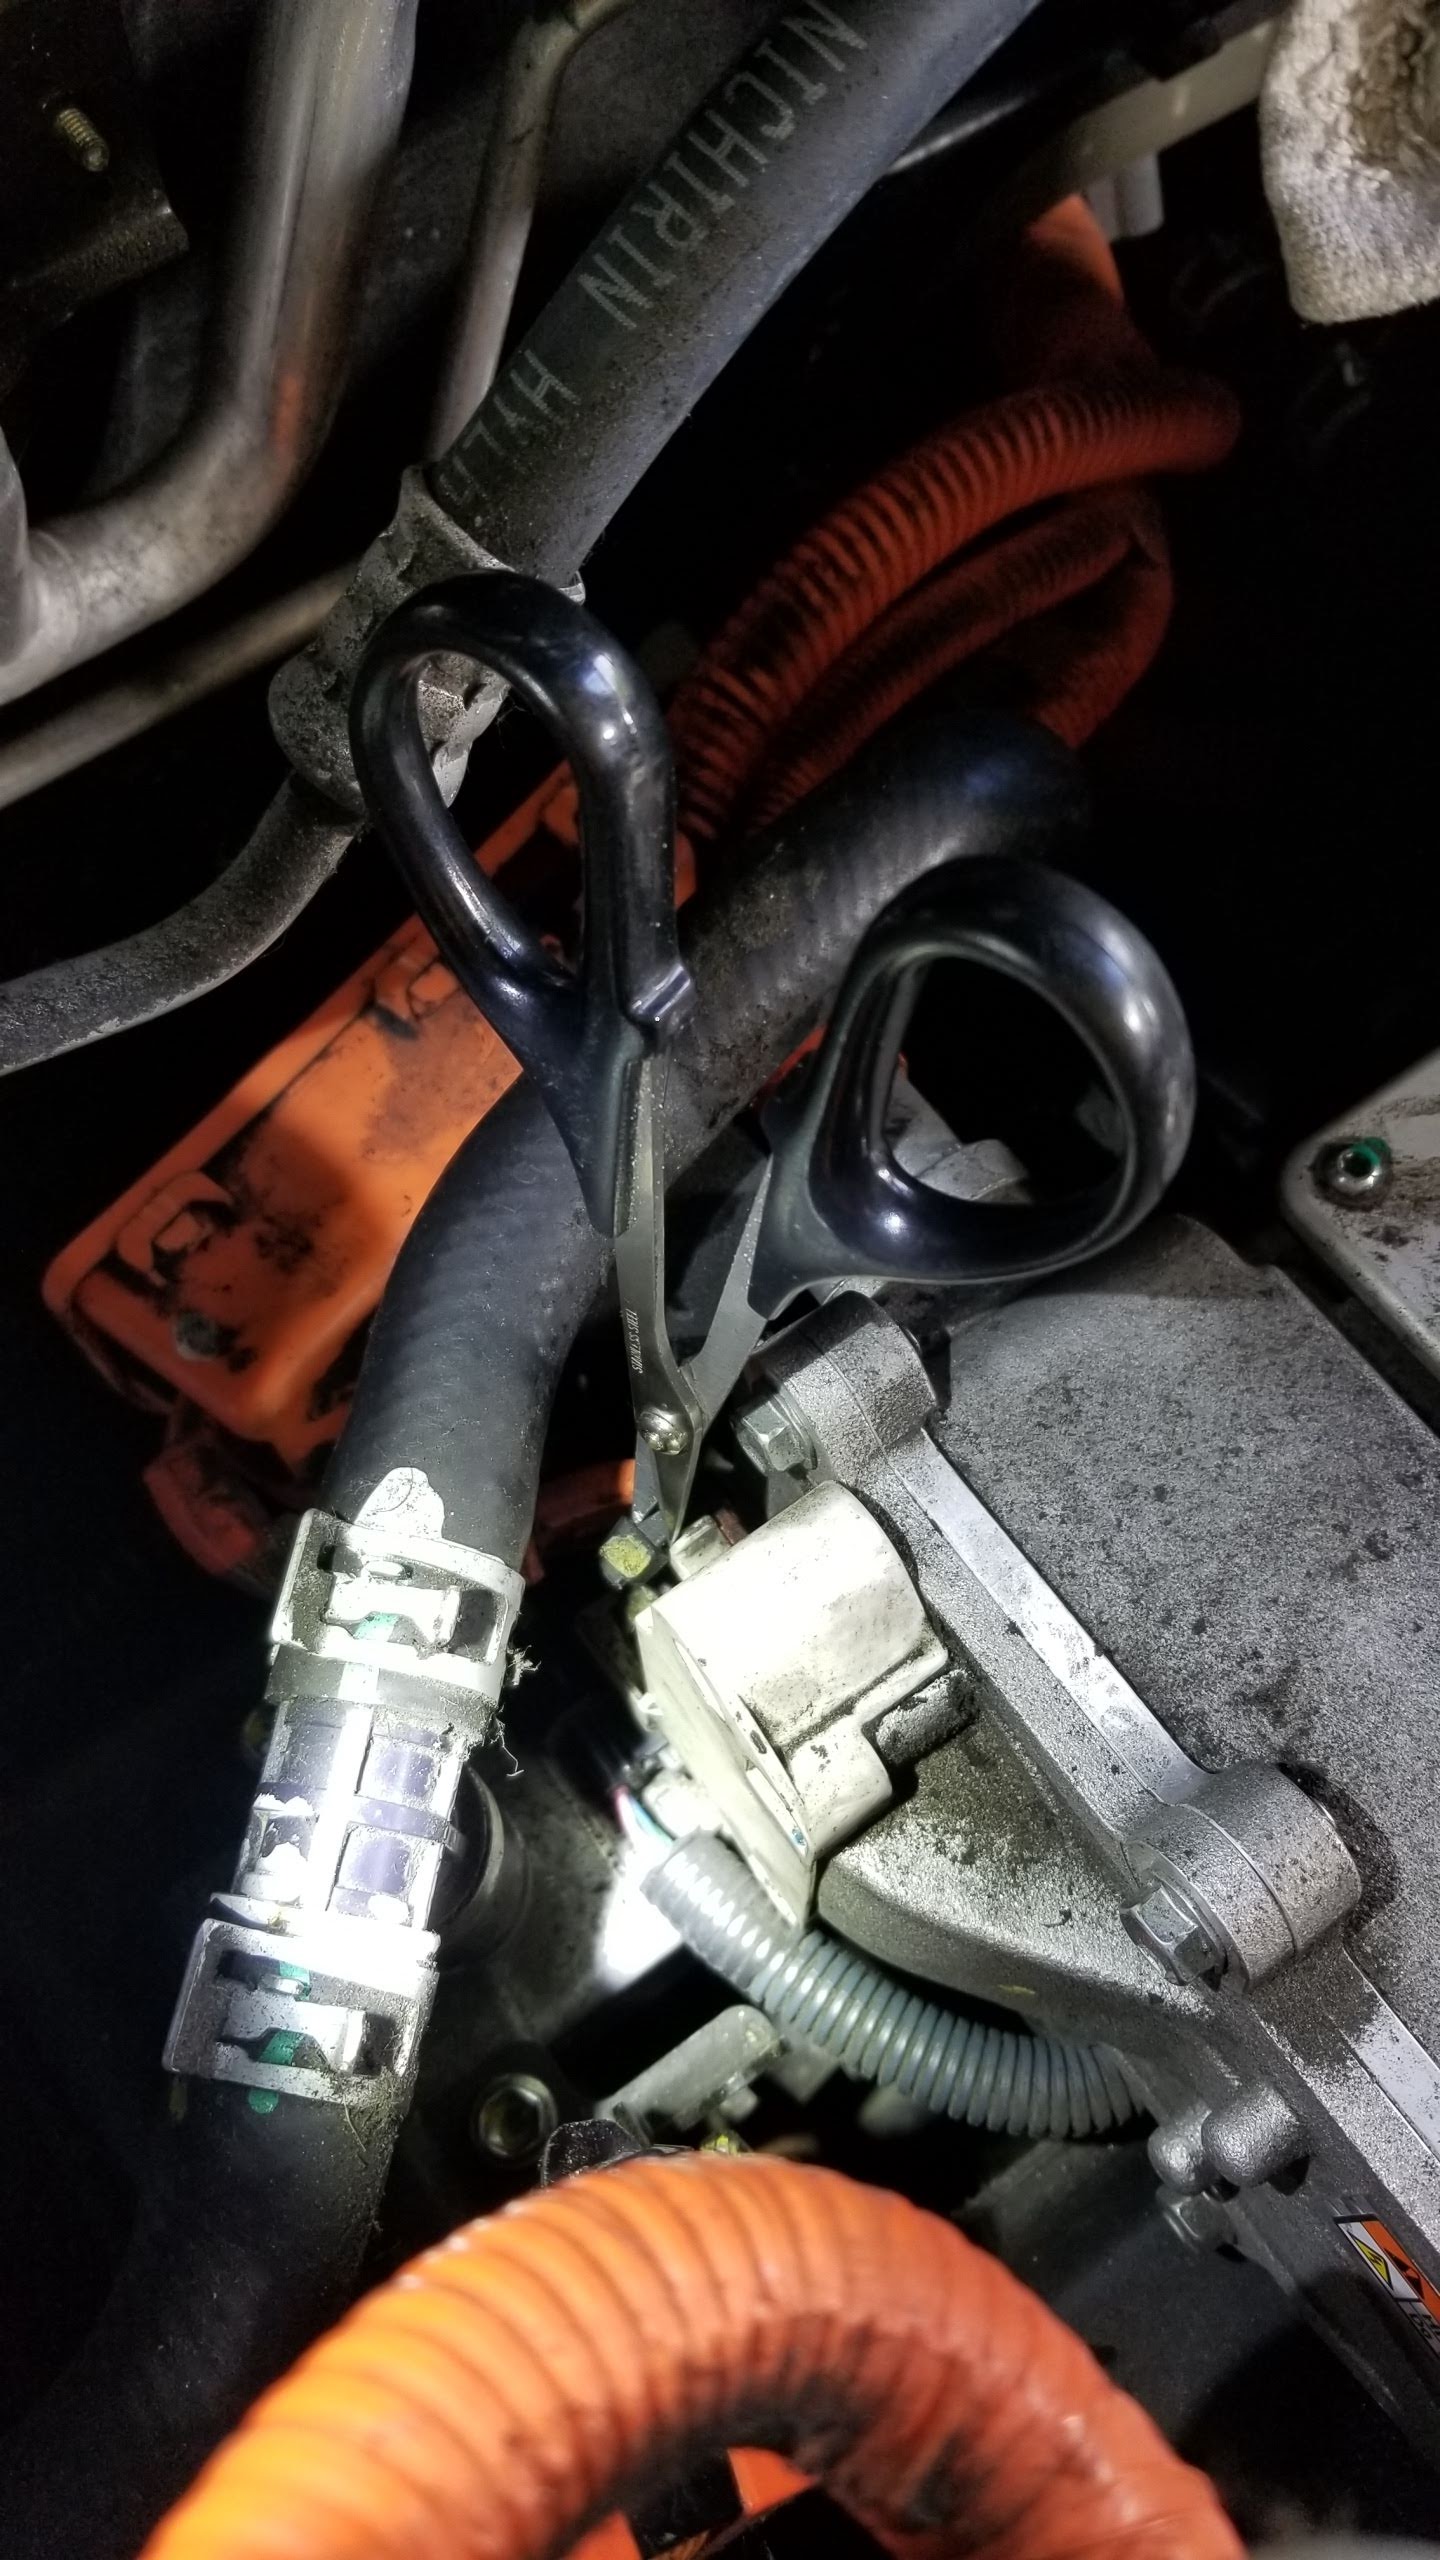
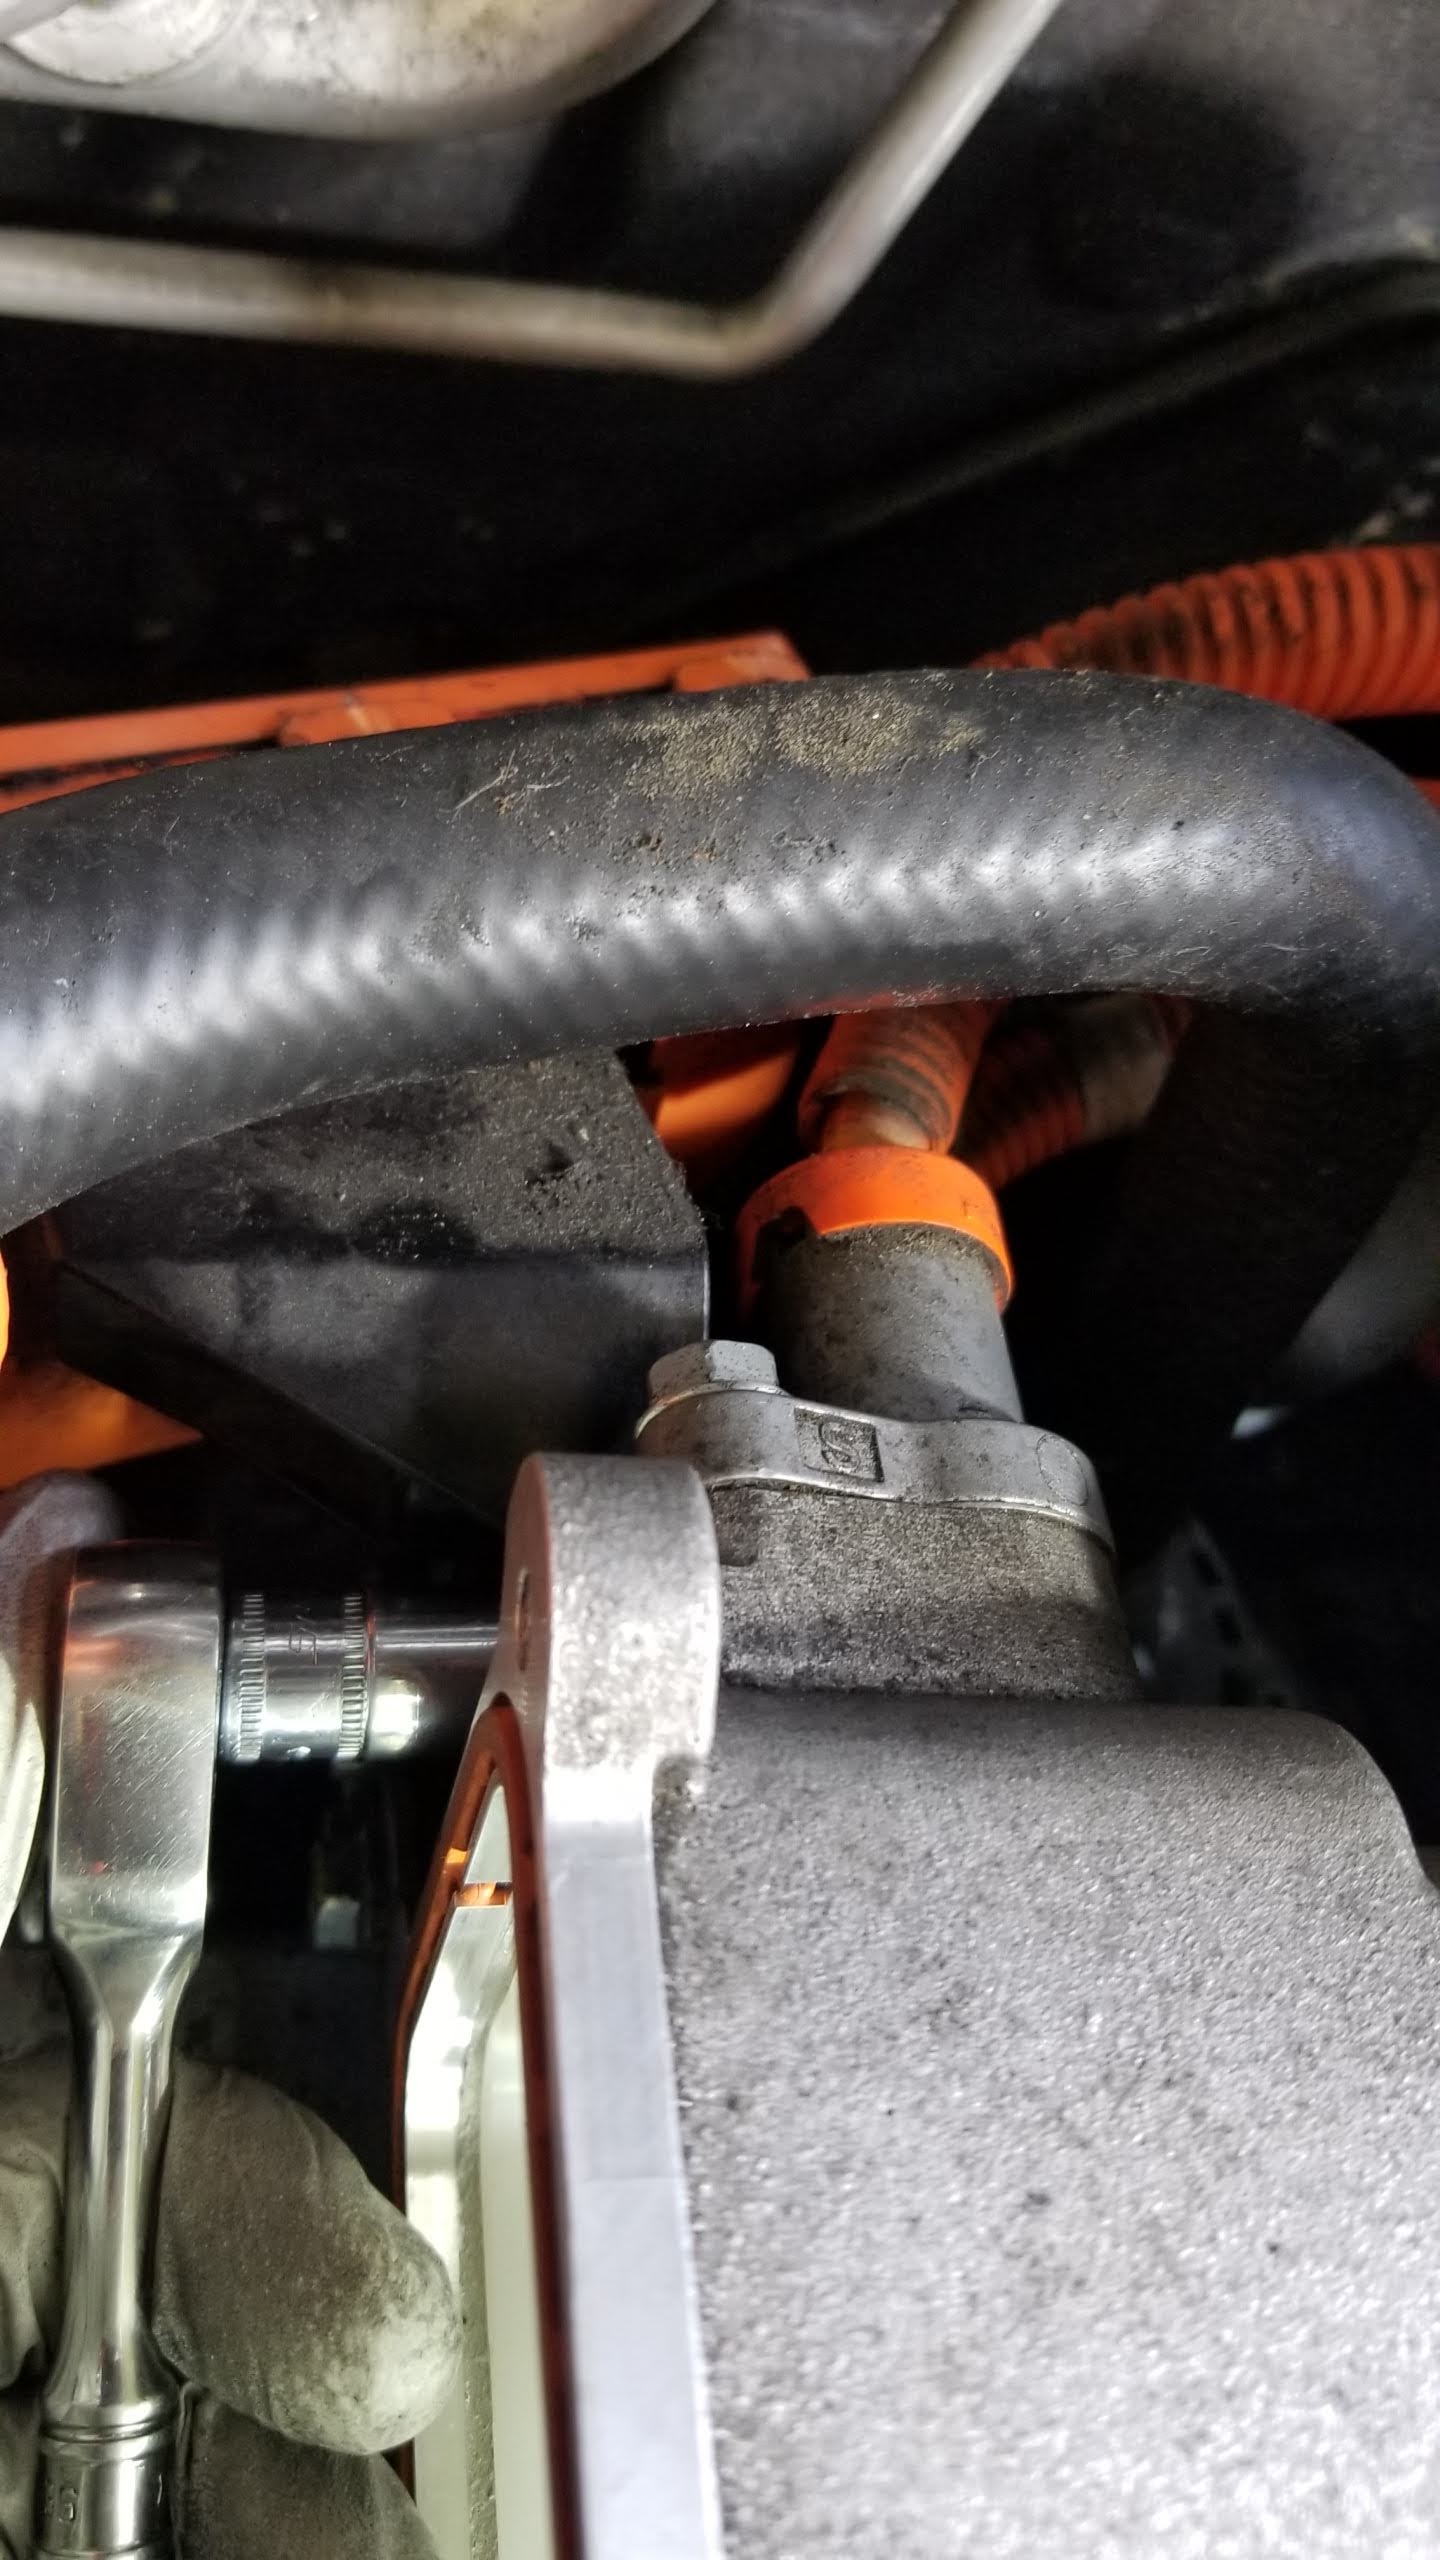
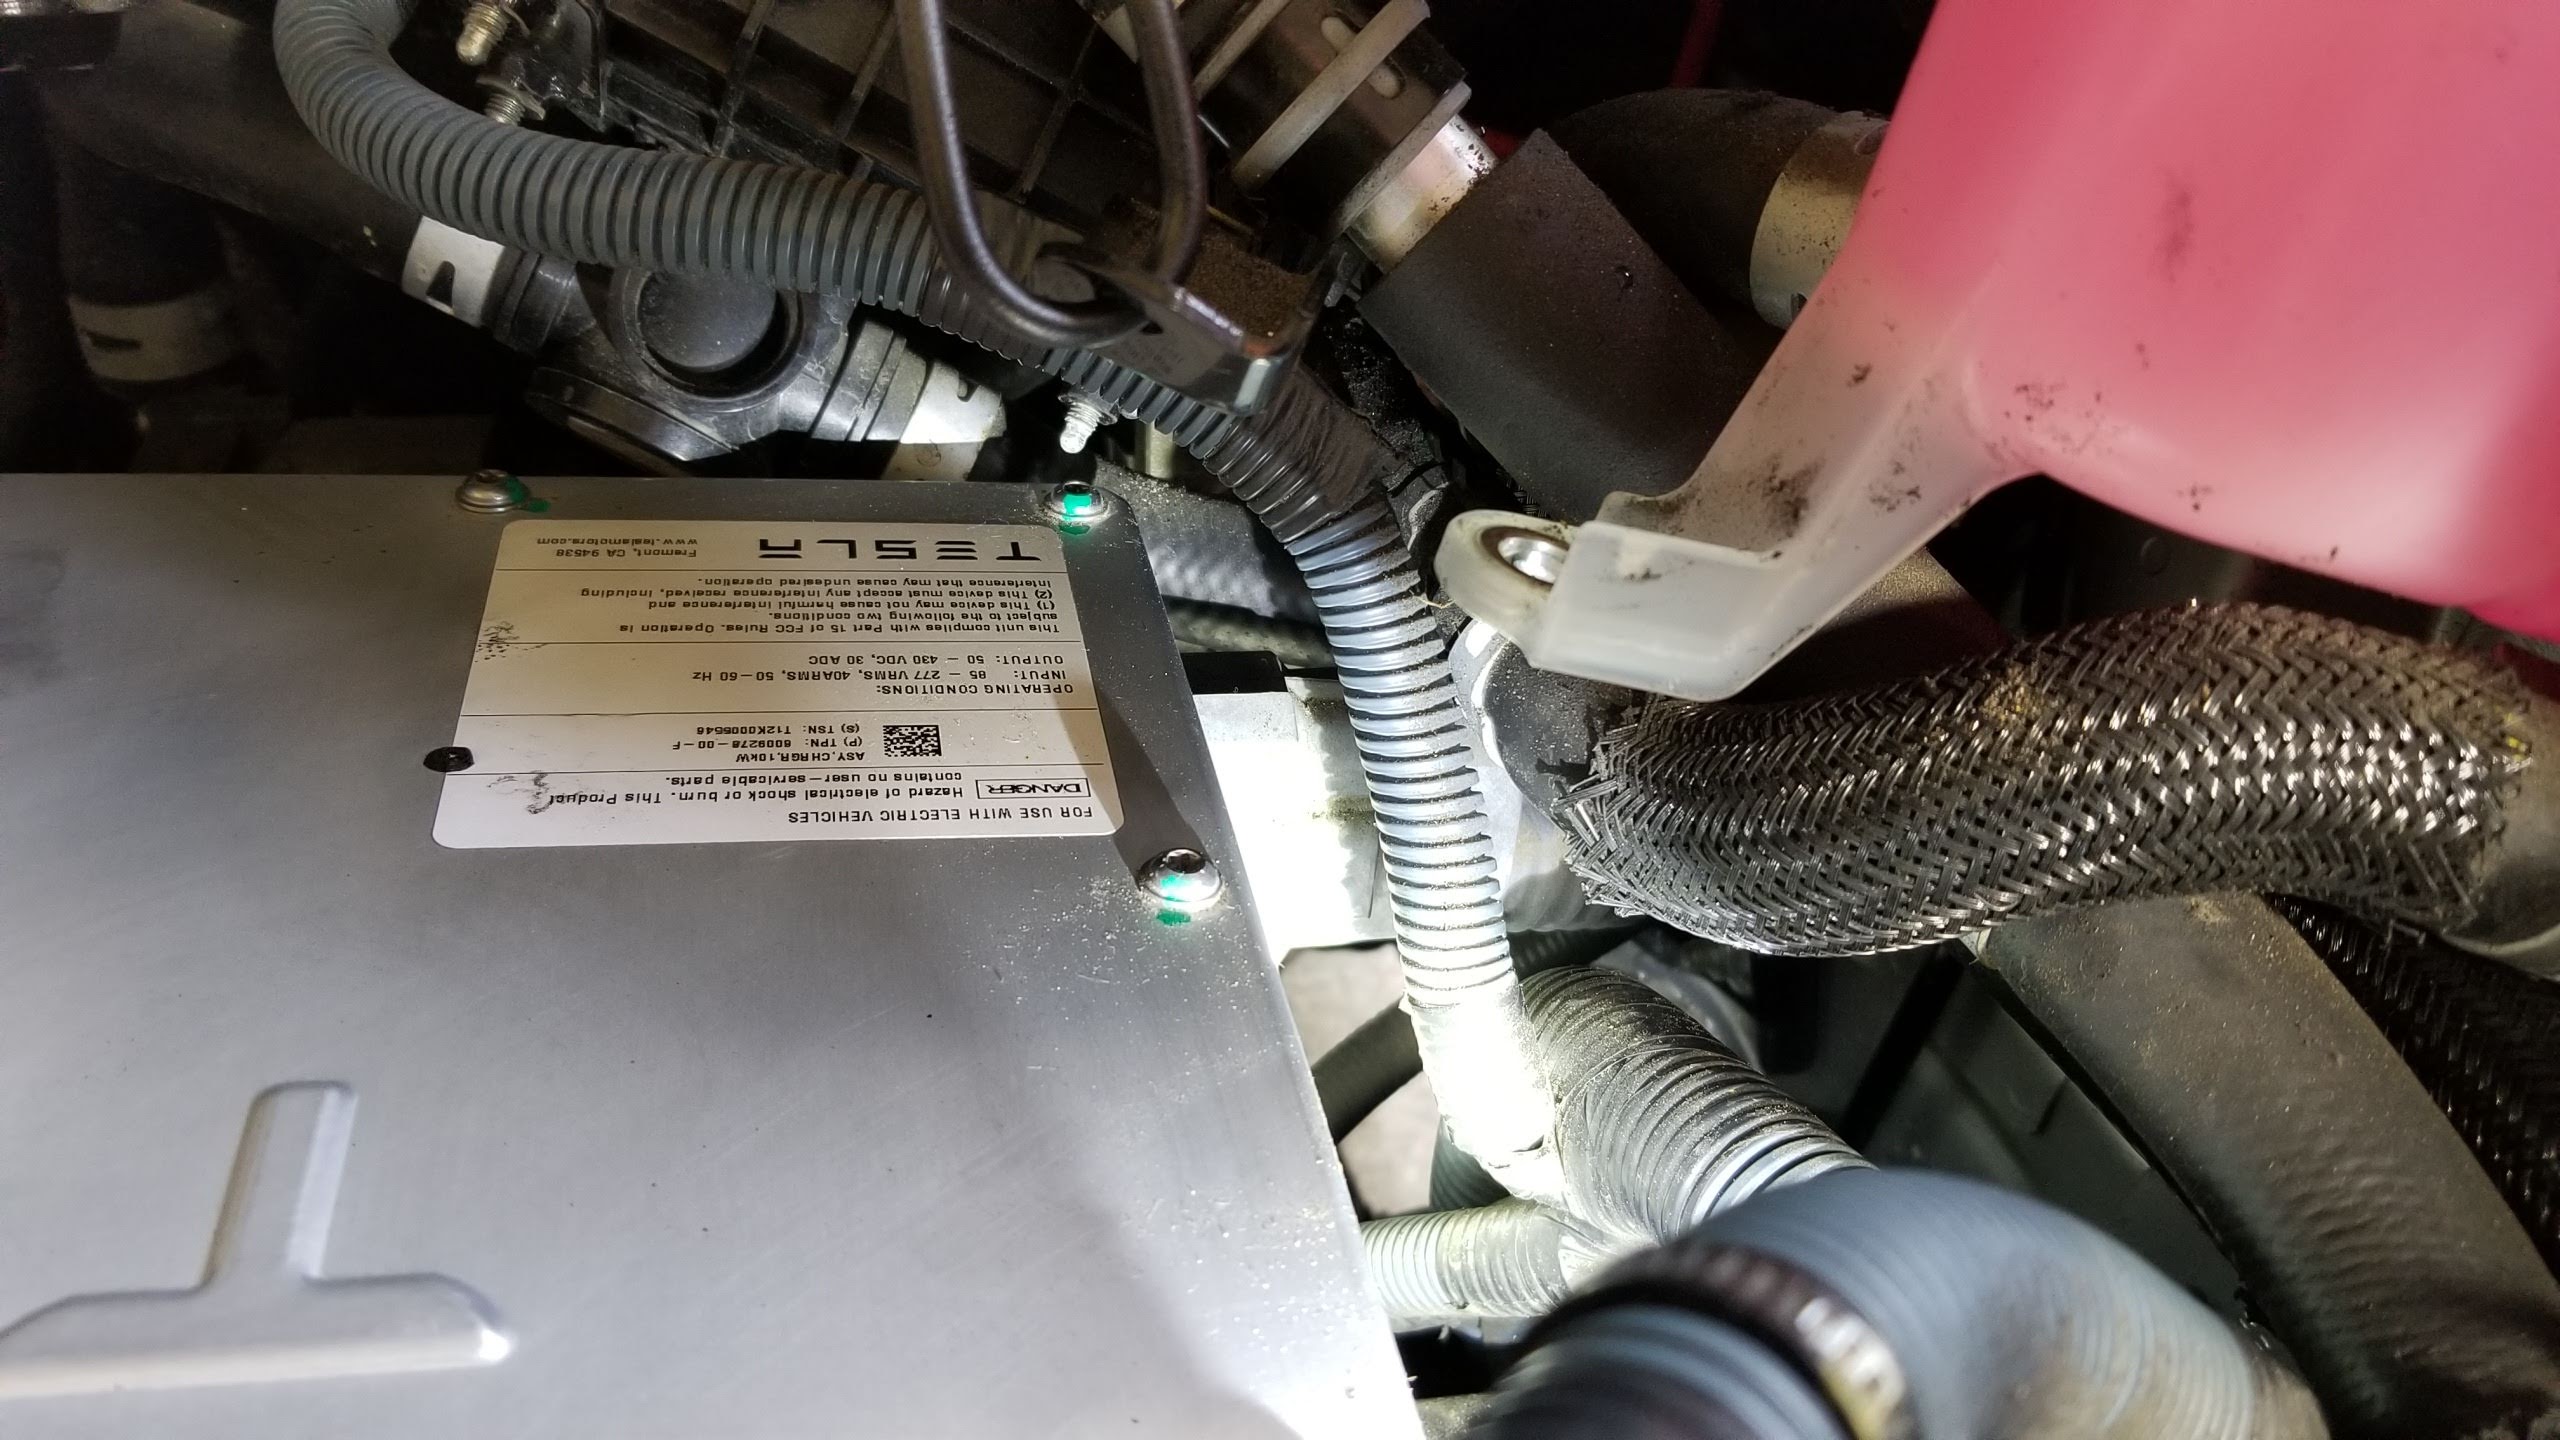
Get your coolant hose pliers in place to stop the flow of coolant and something to catch the spilling coolant in


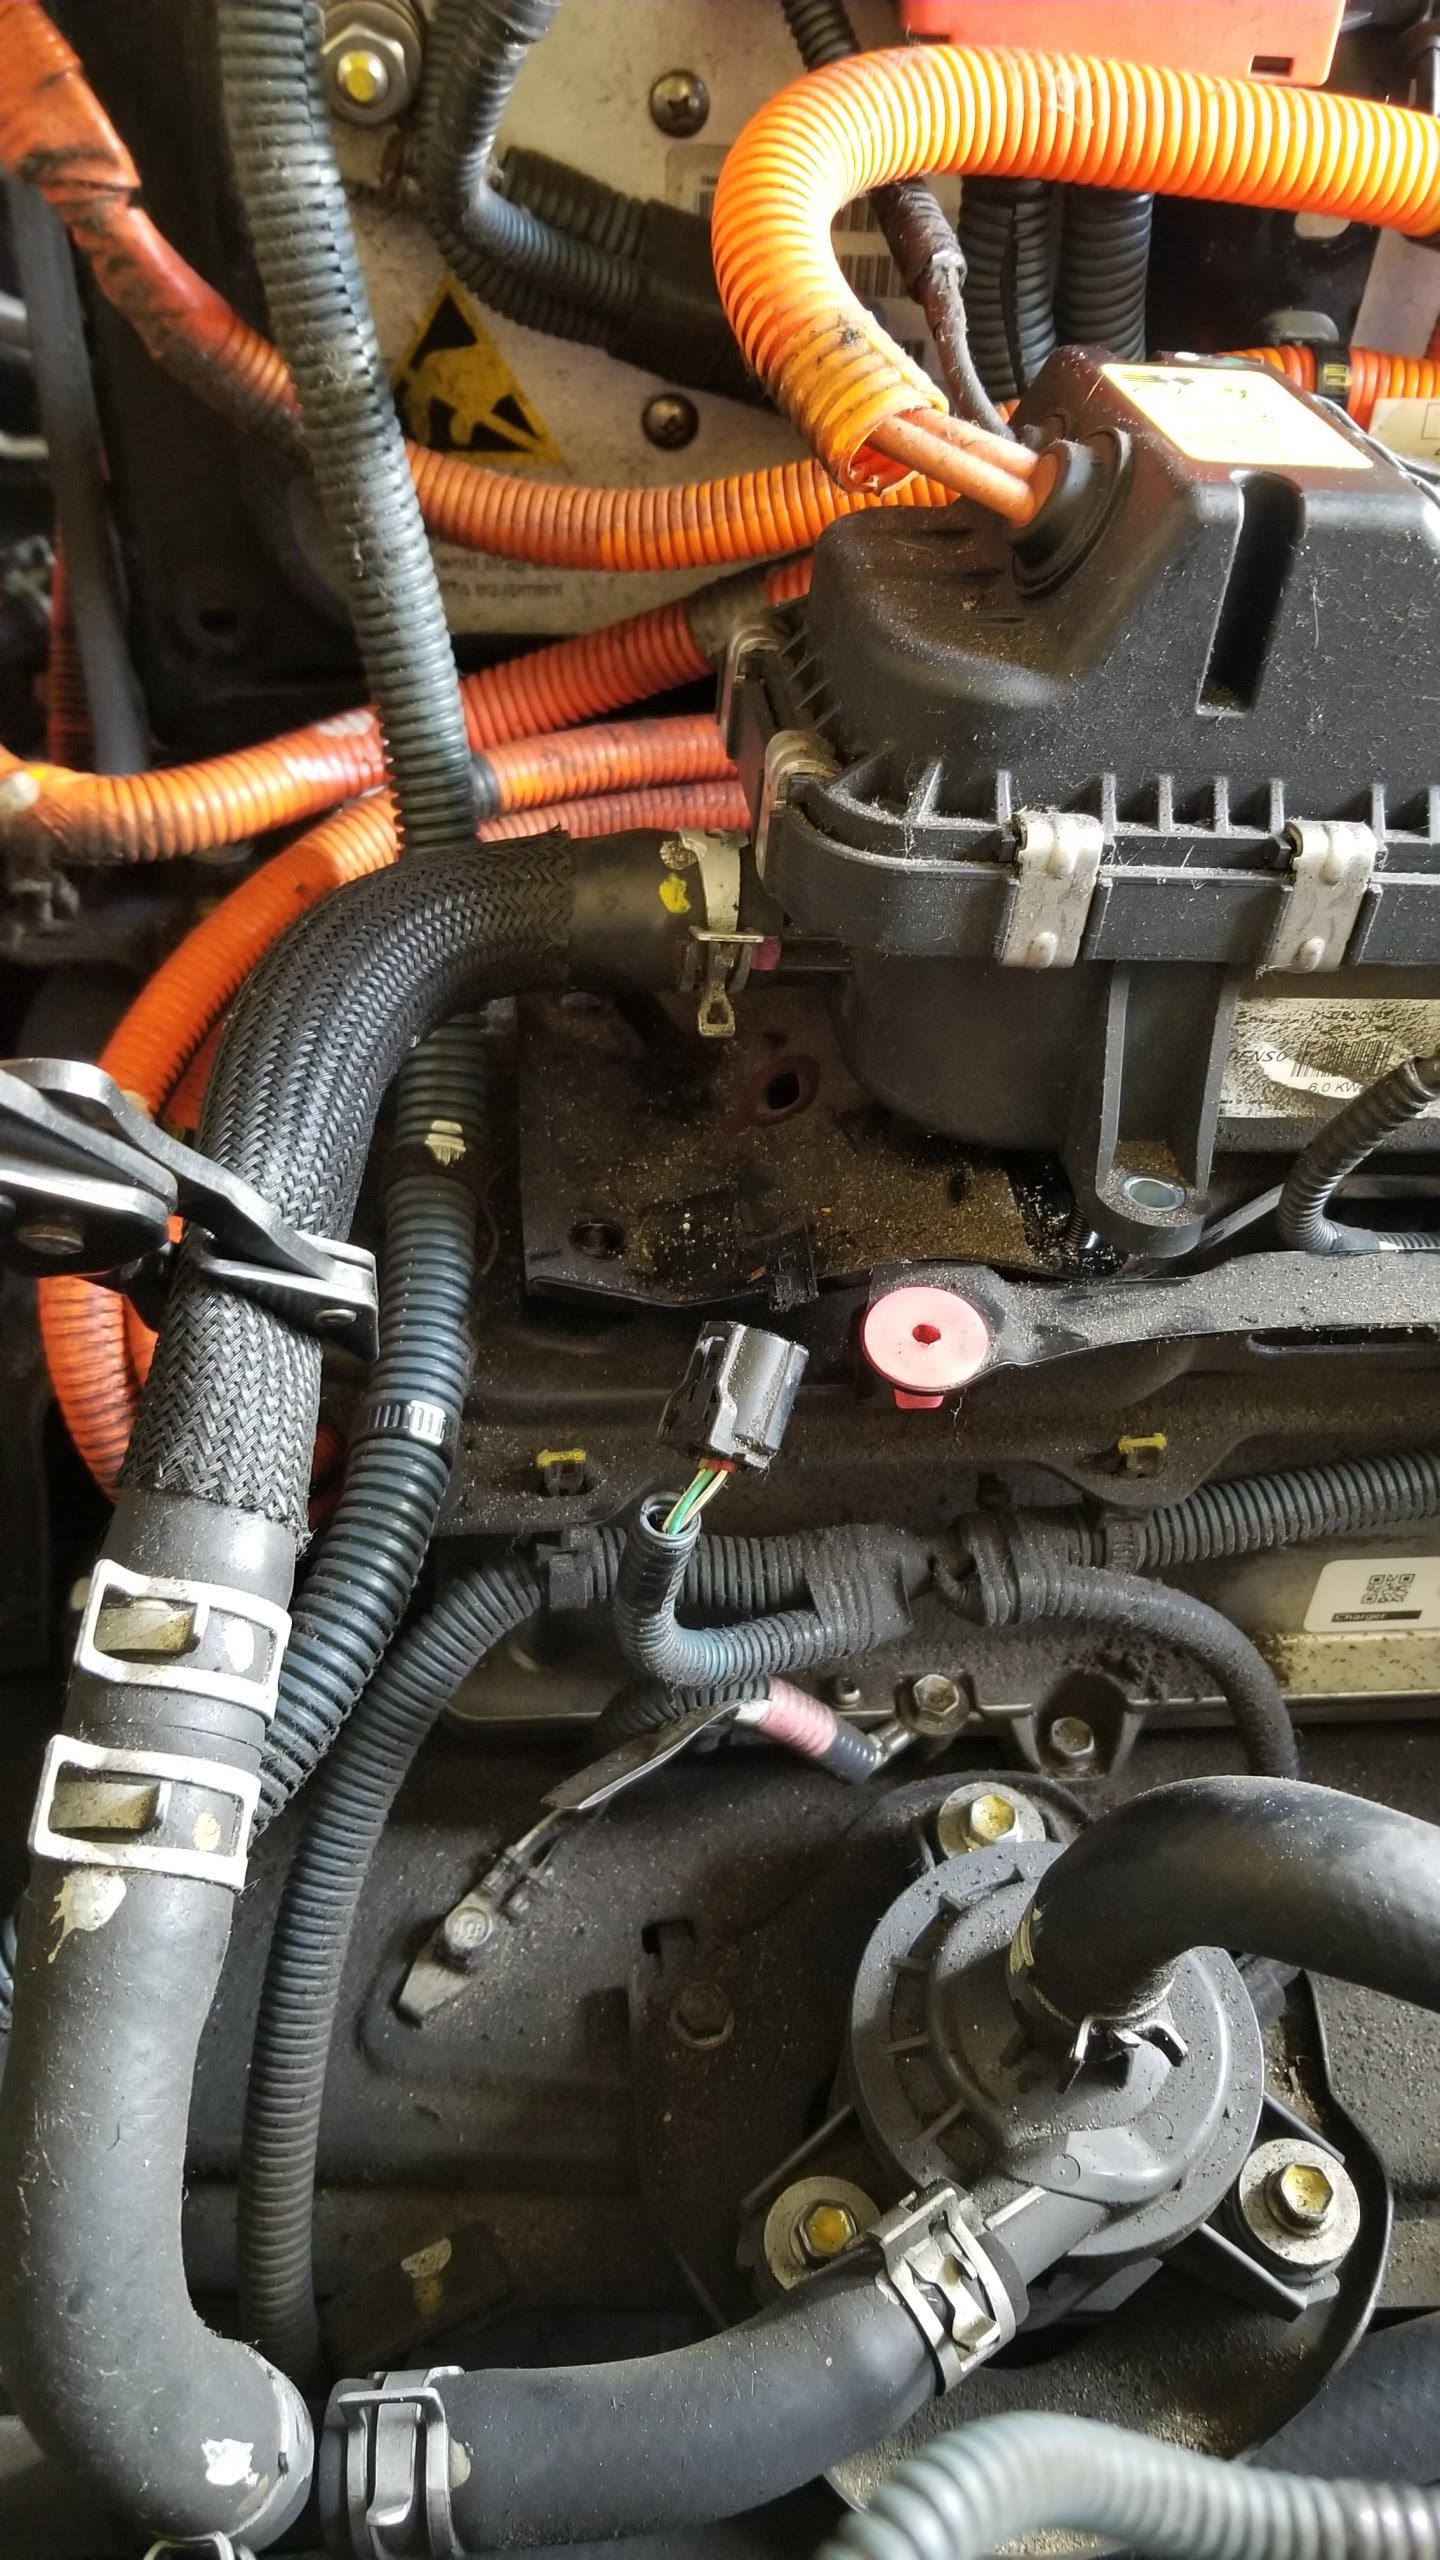
I left my coolant heater attached on the right side coolant hose and used bungie cords to hold it in place. Be careful to not kink the hose if you can help it.

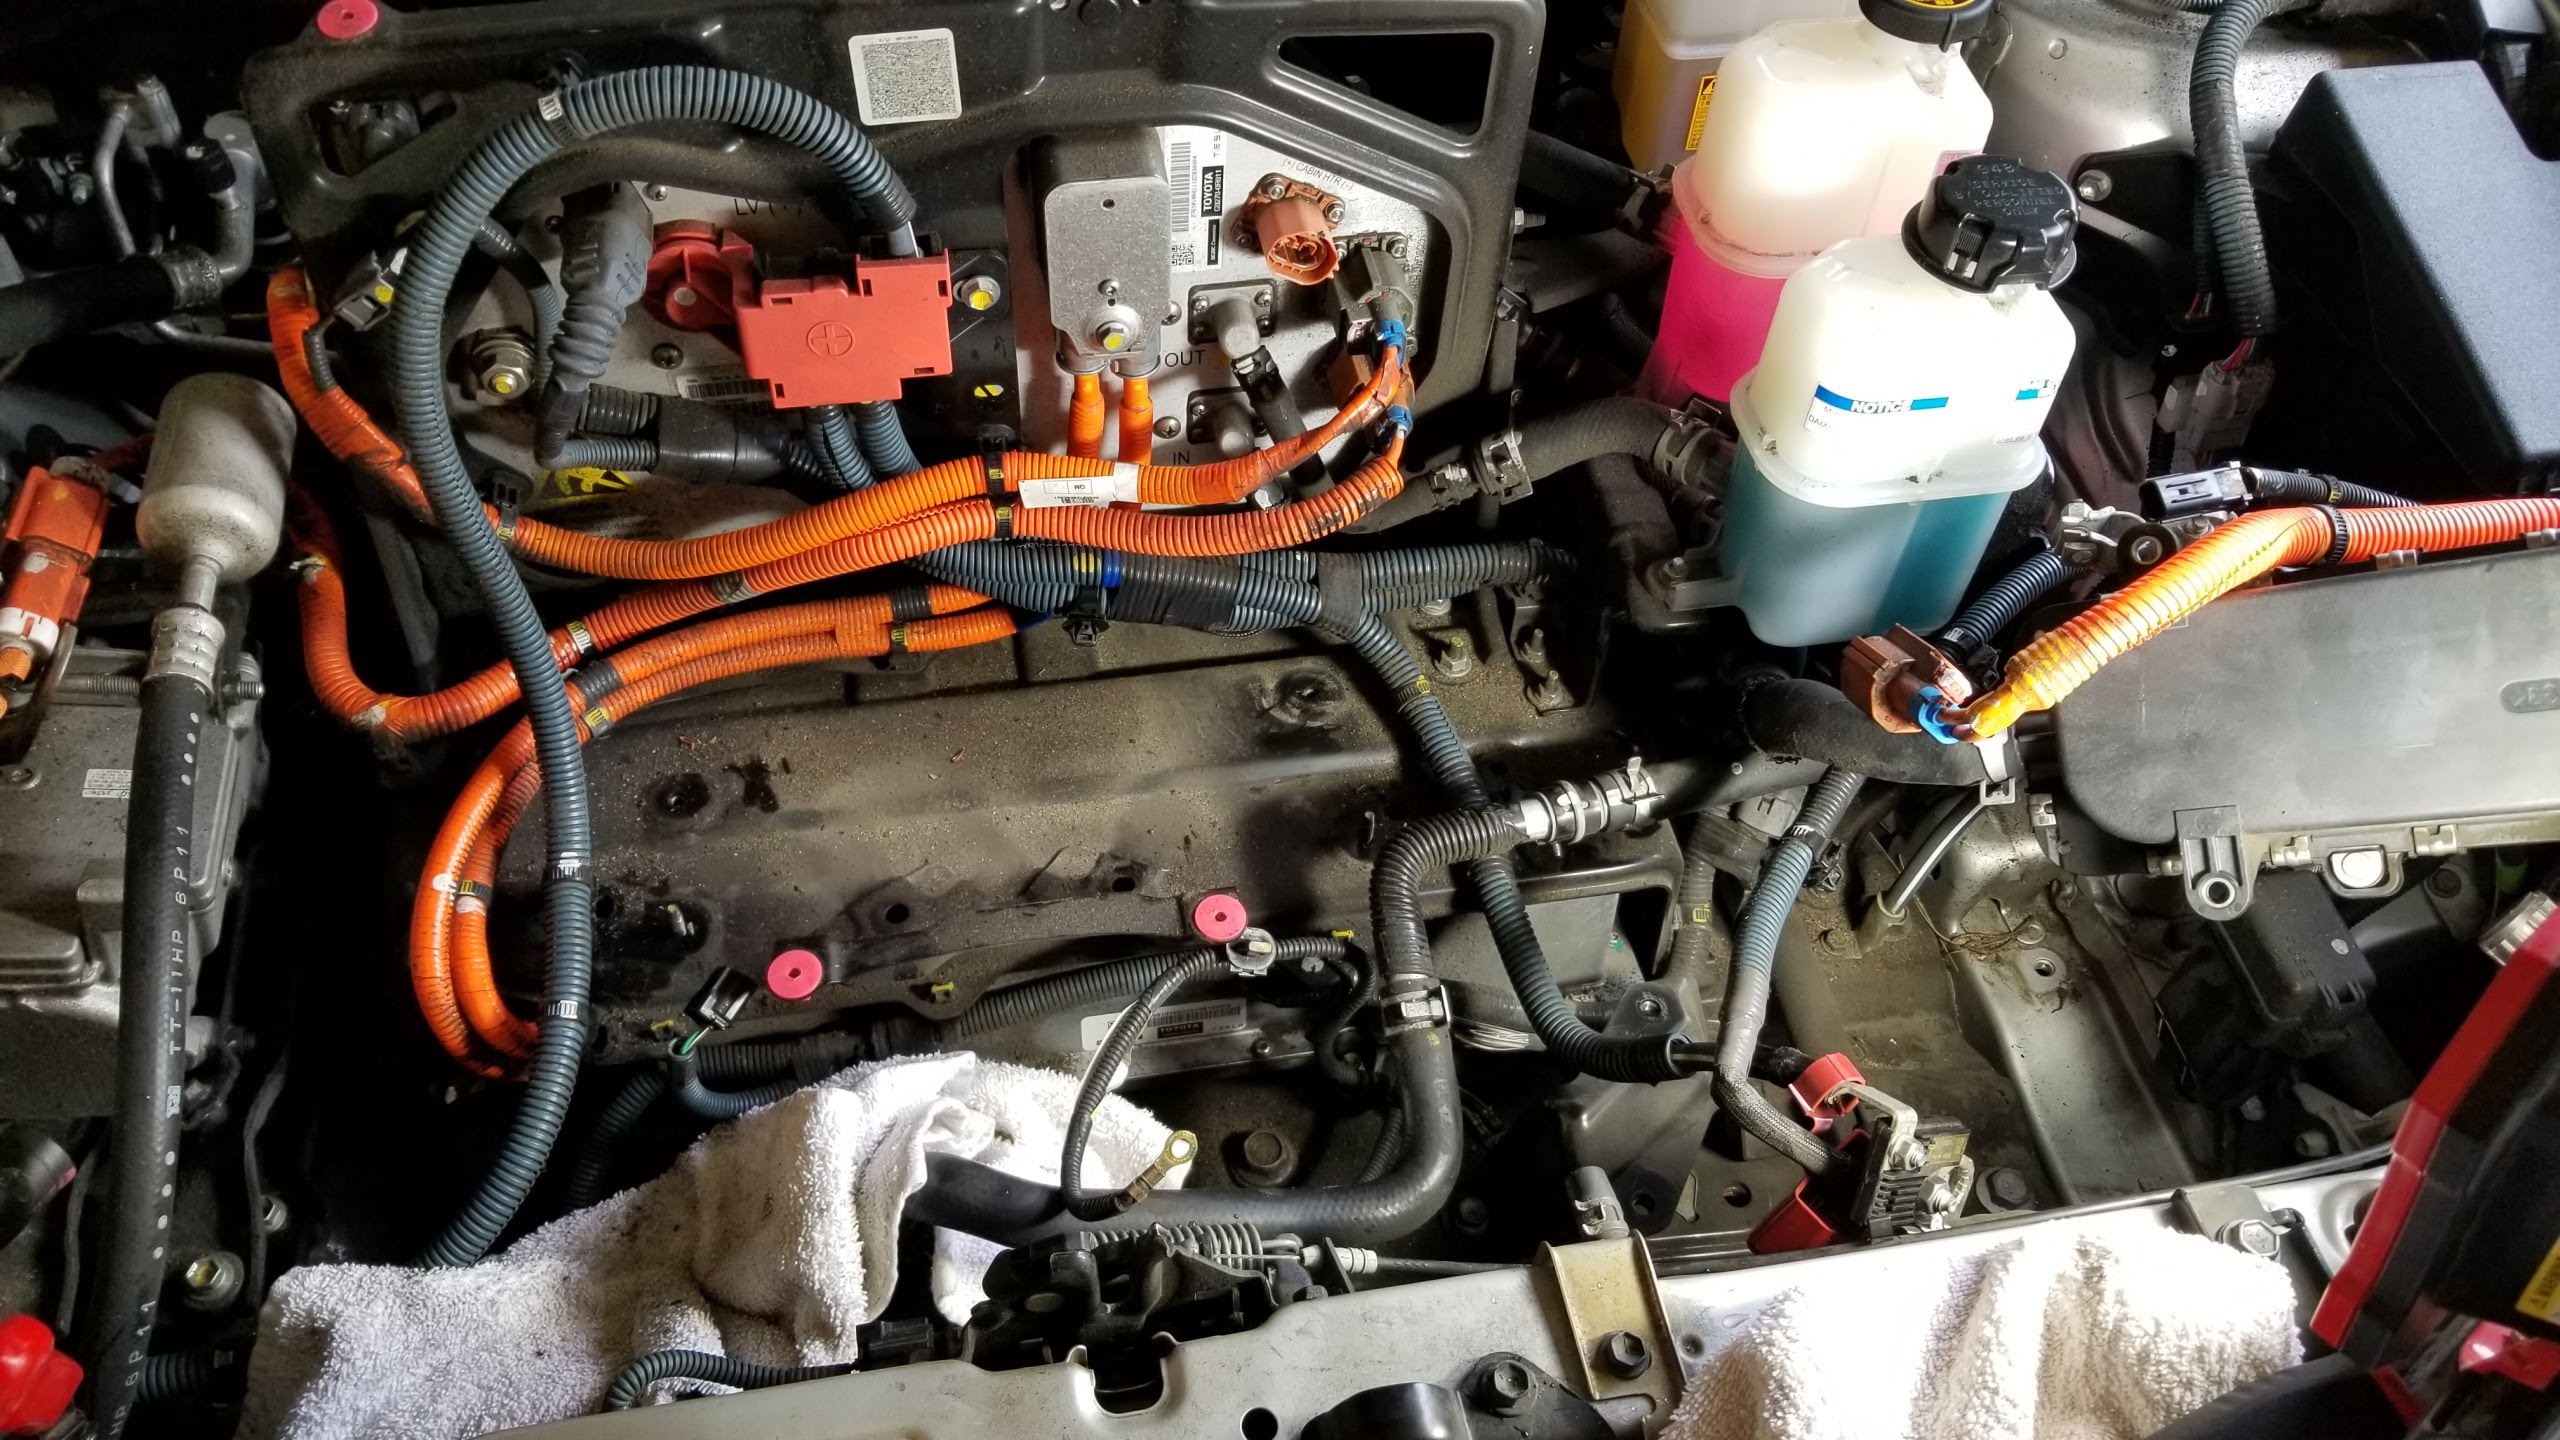
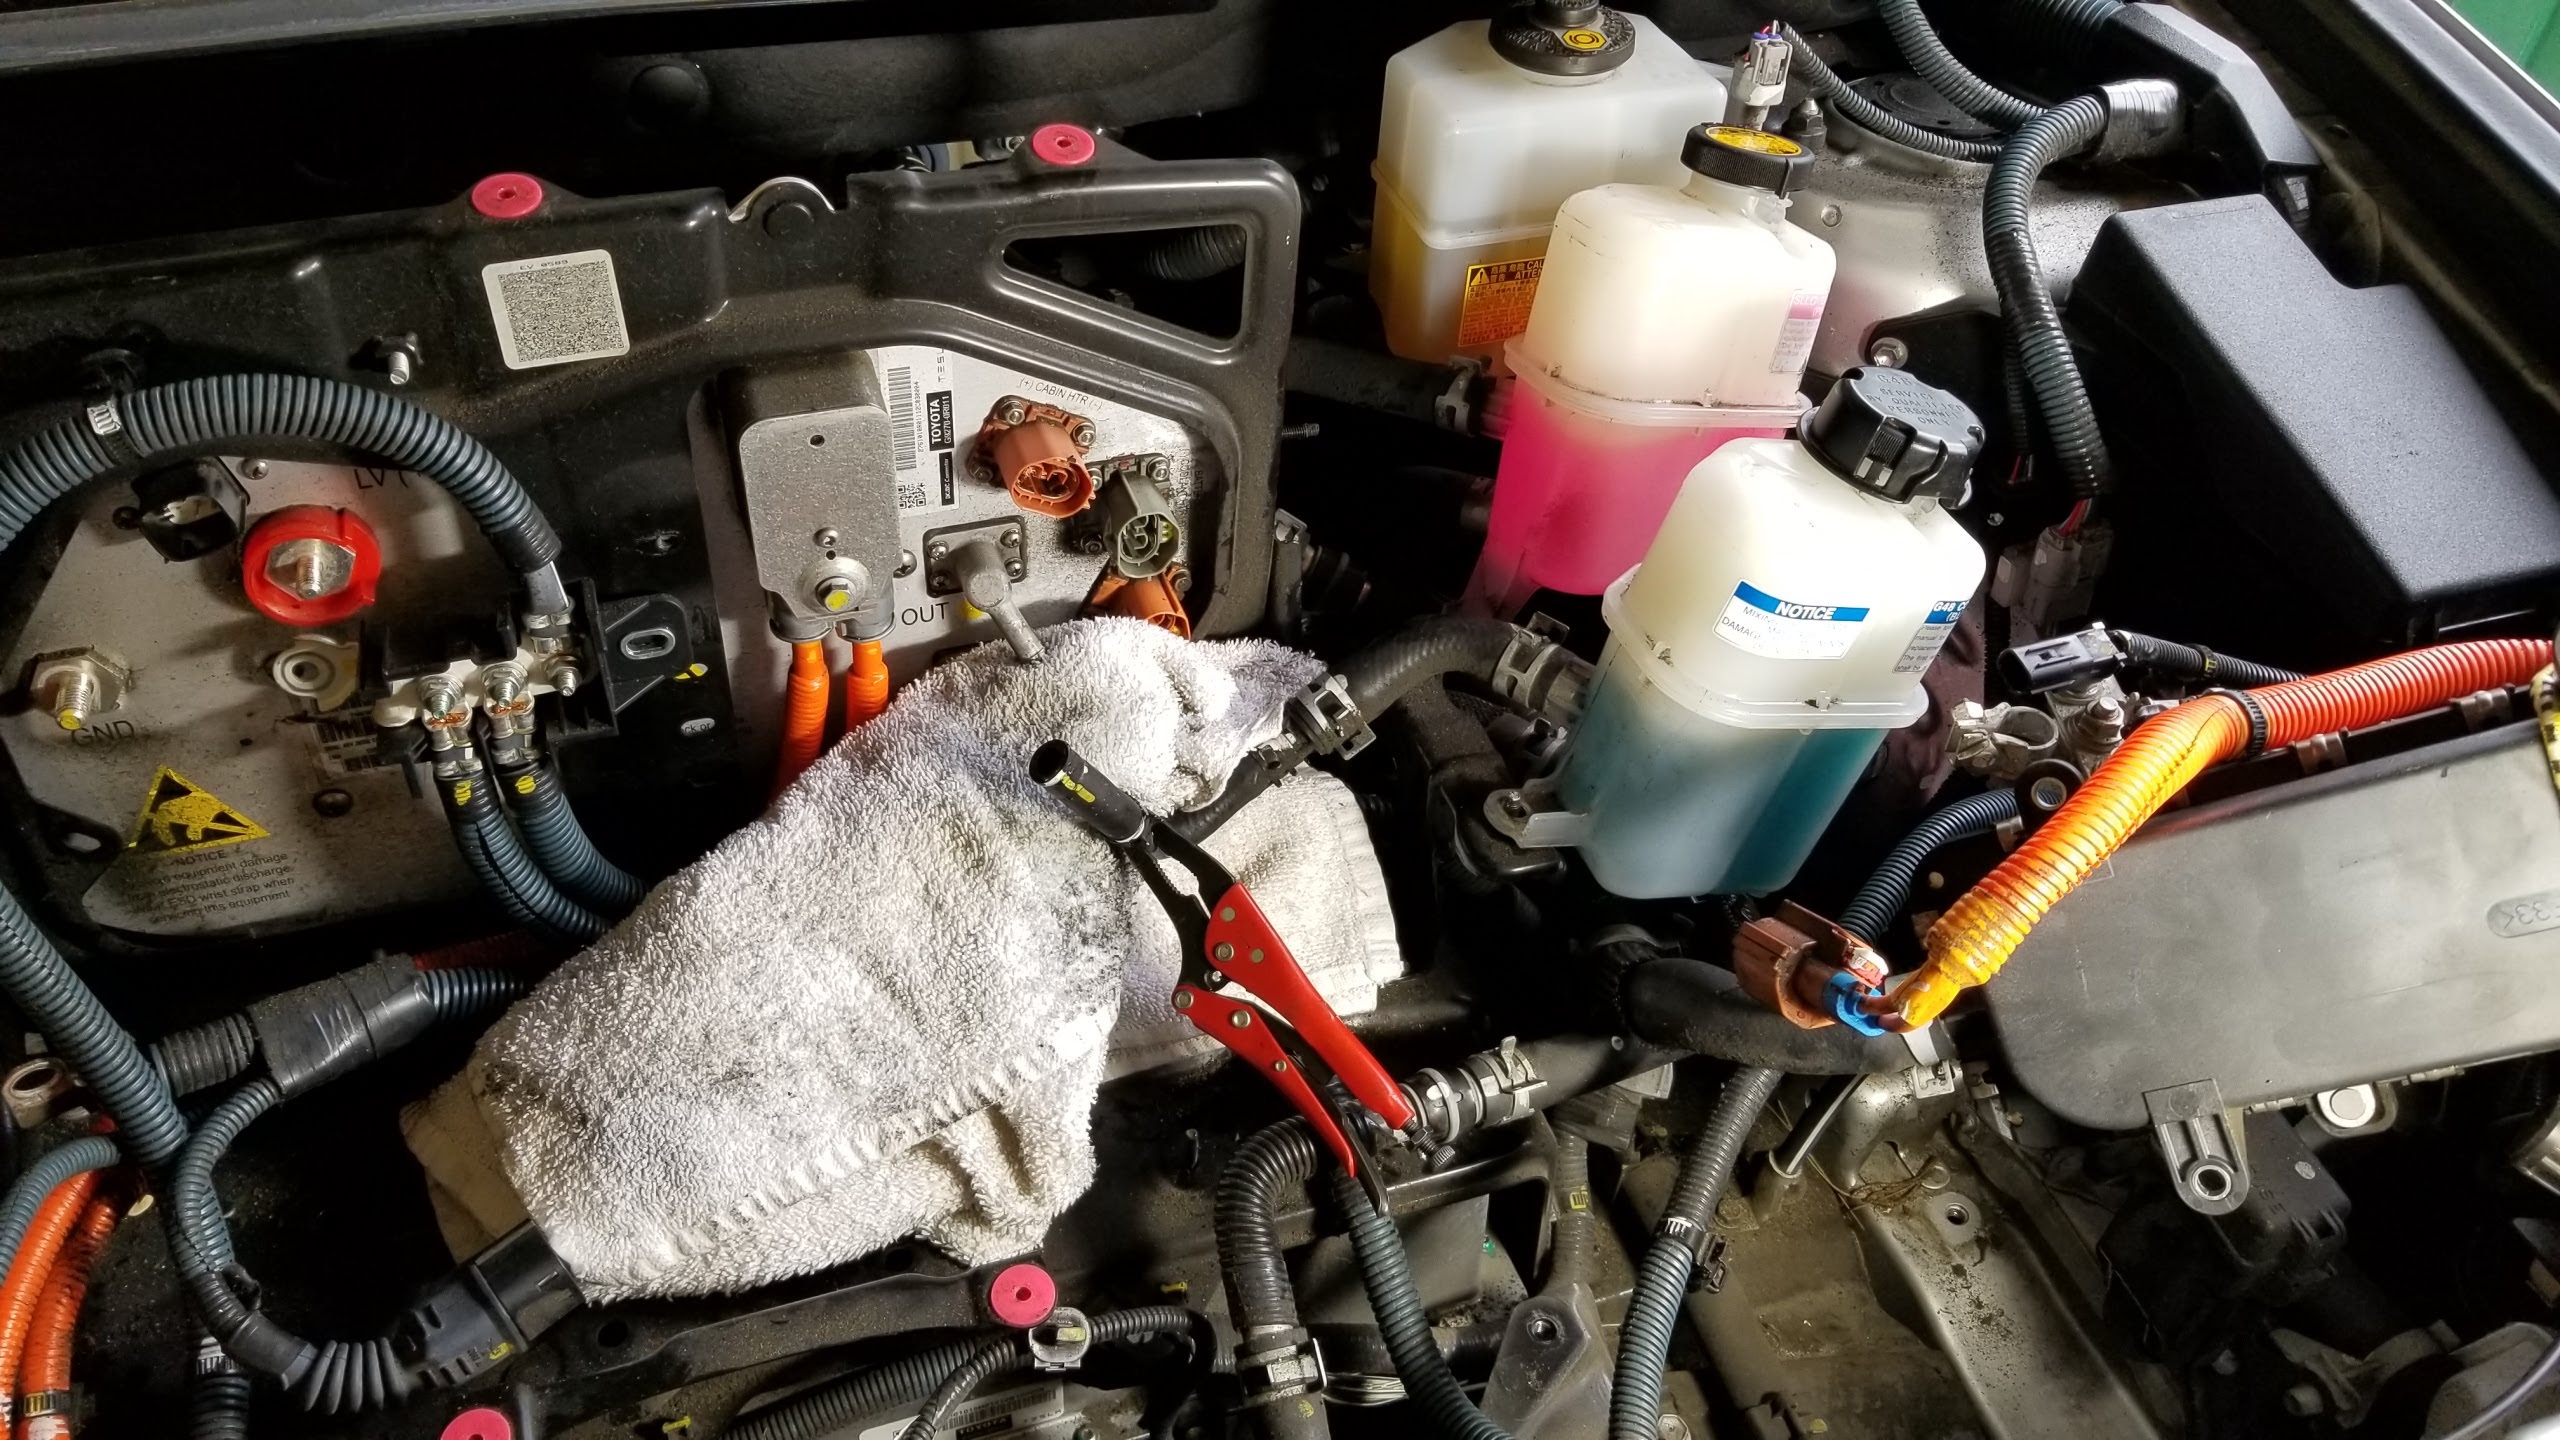
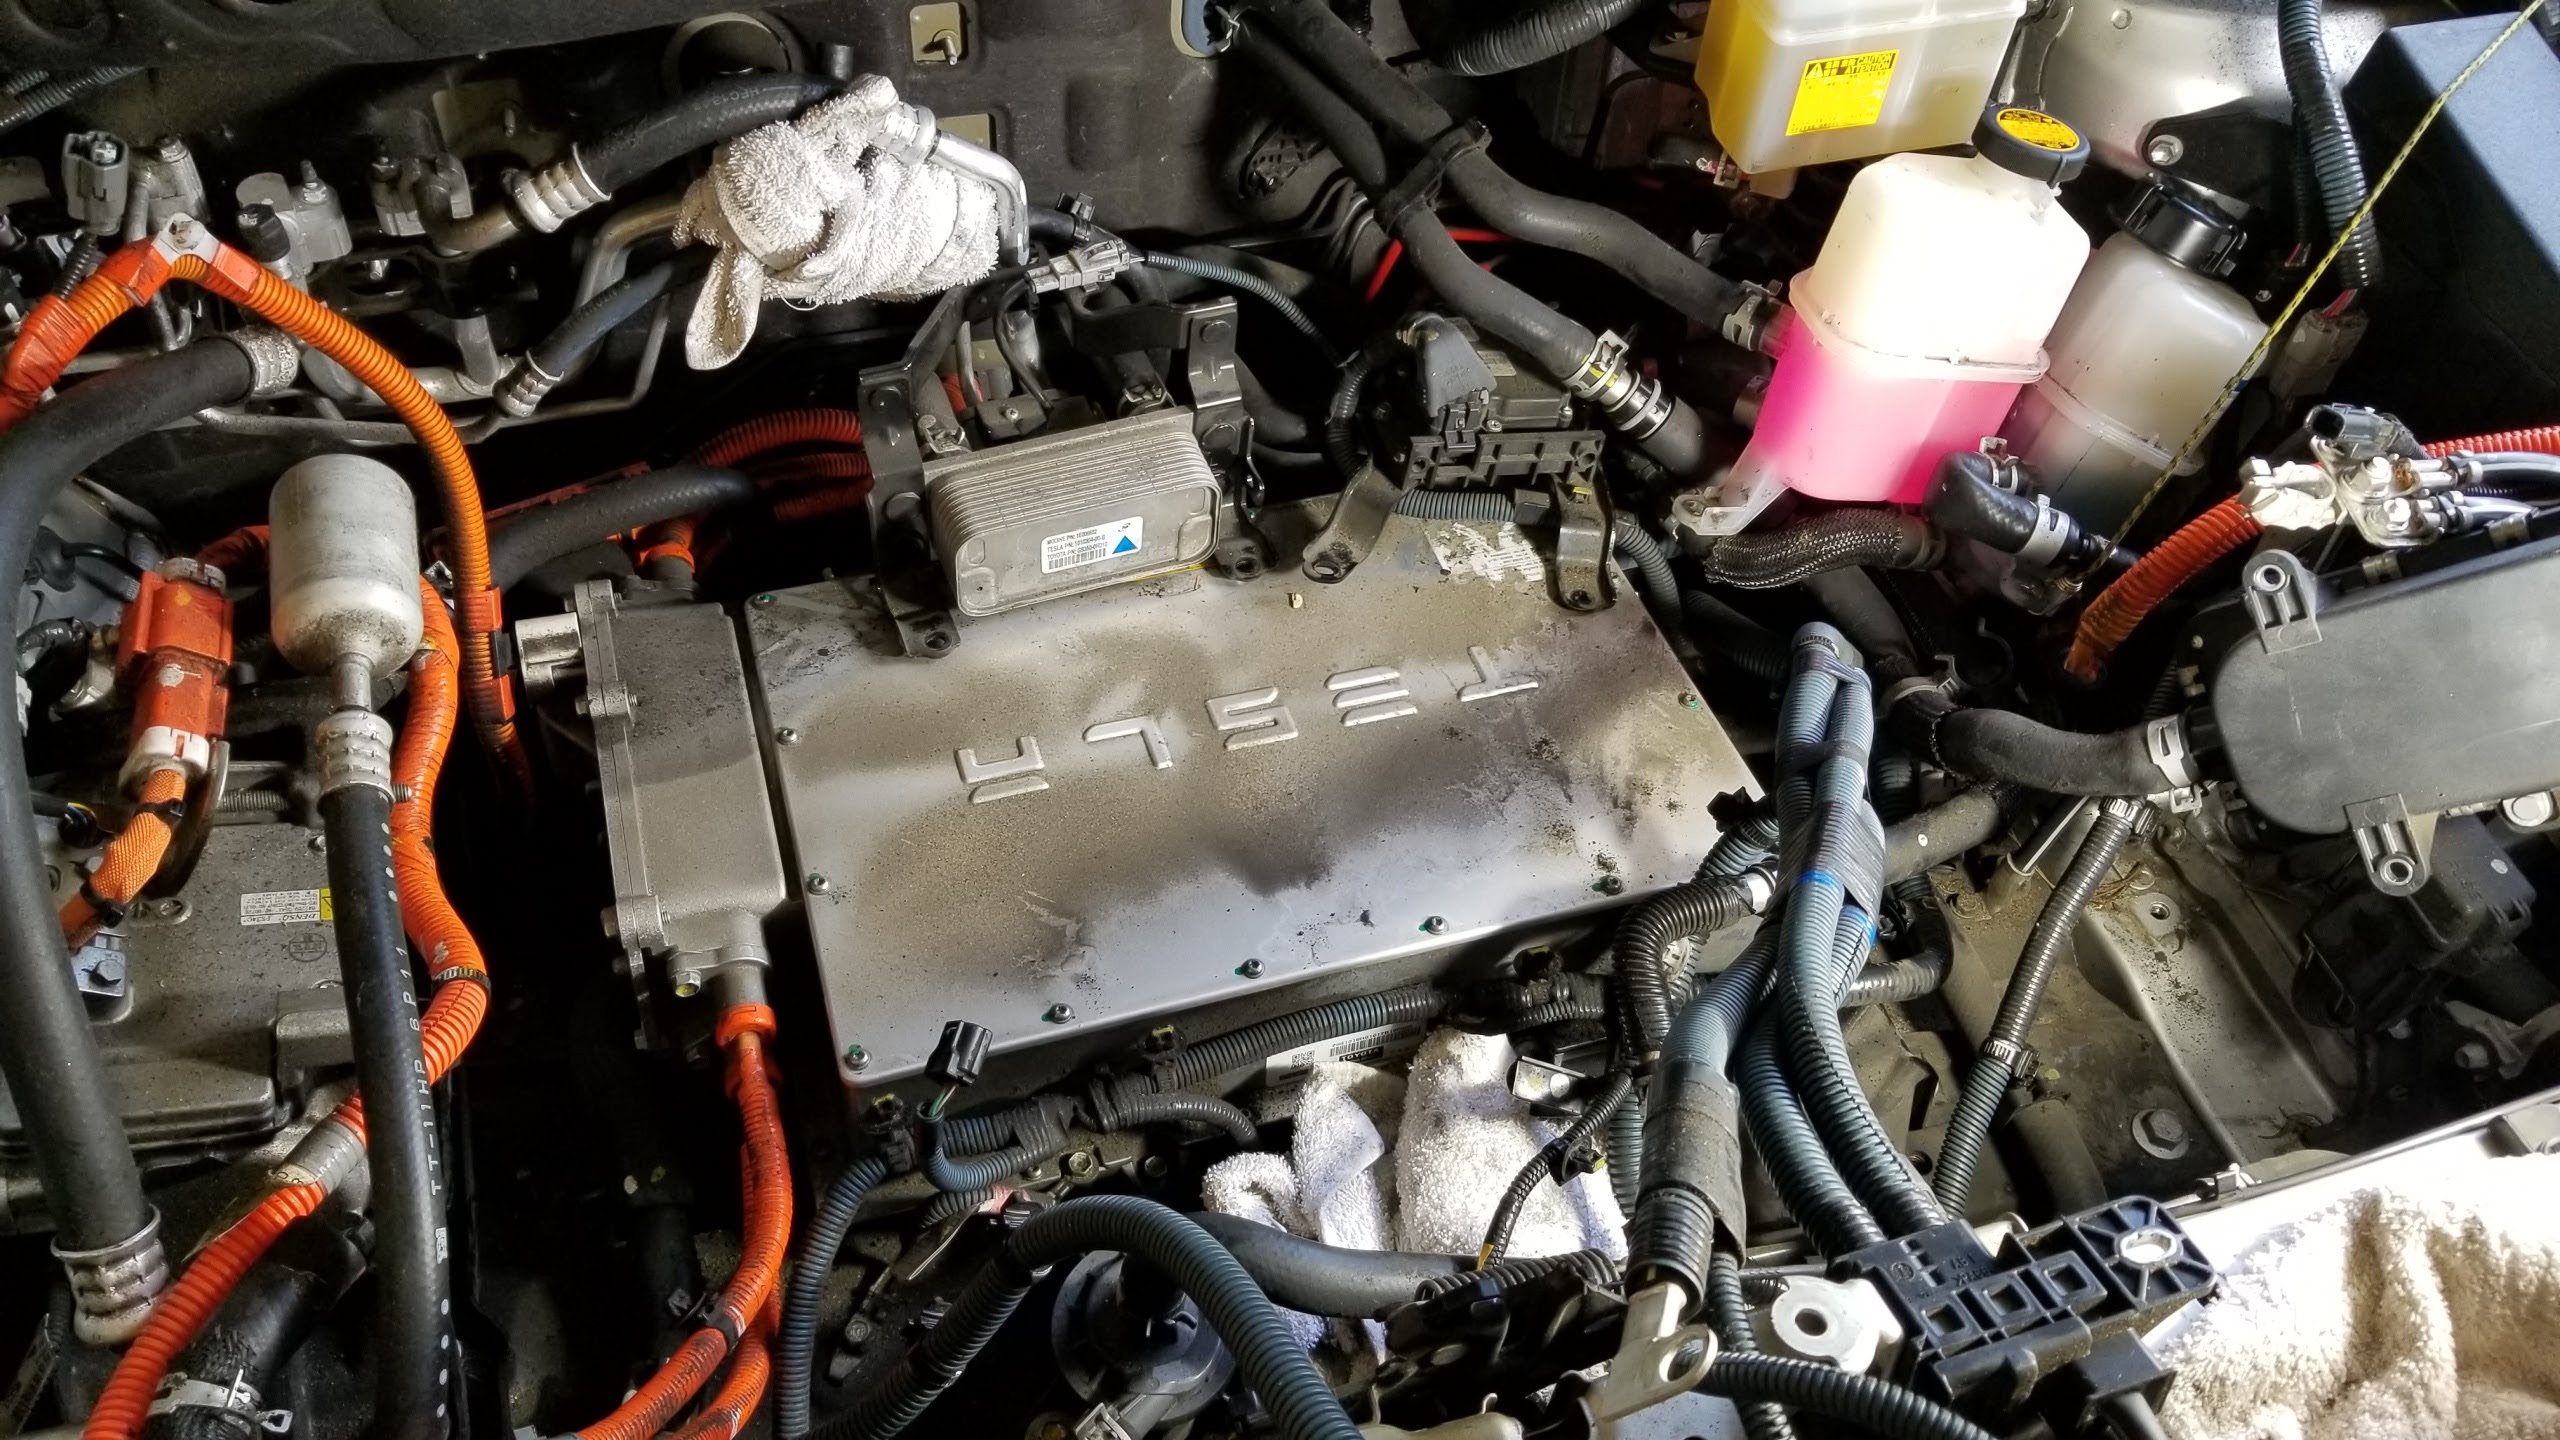
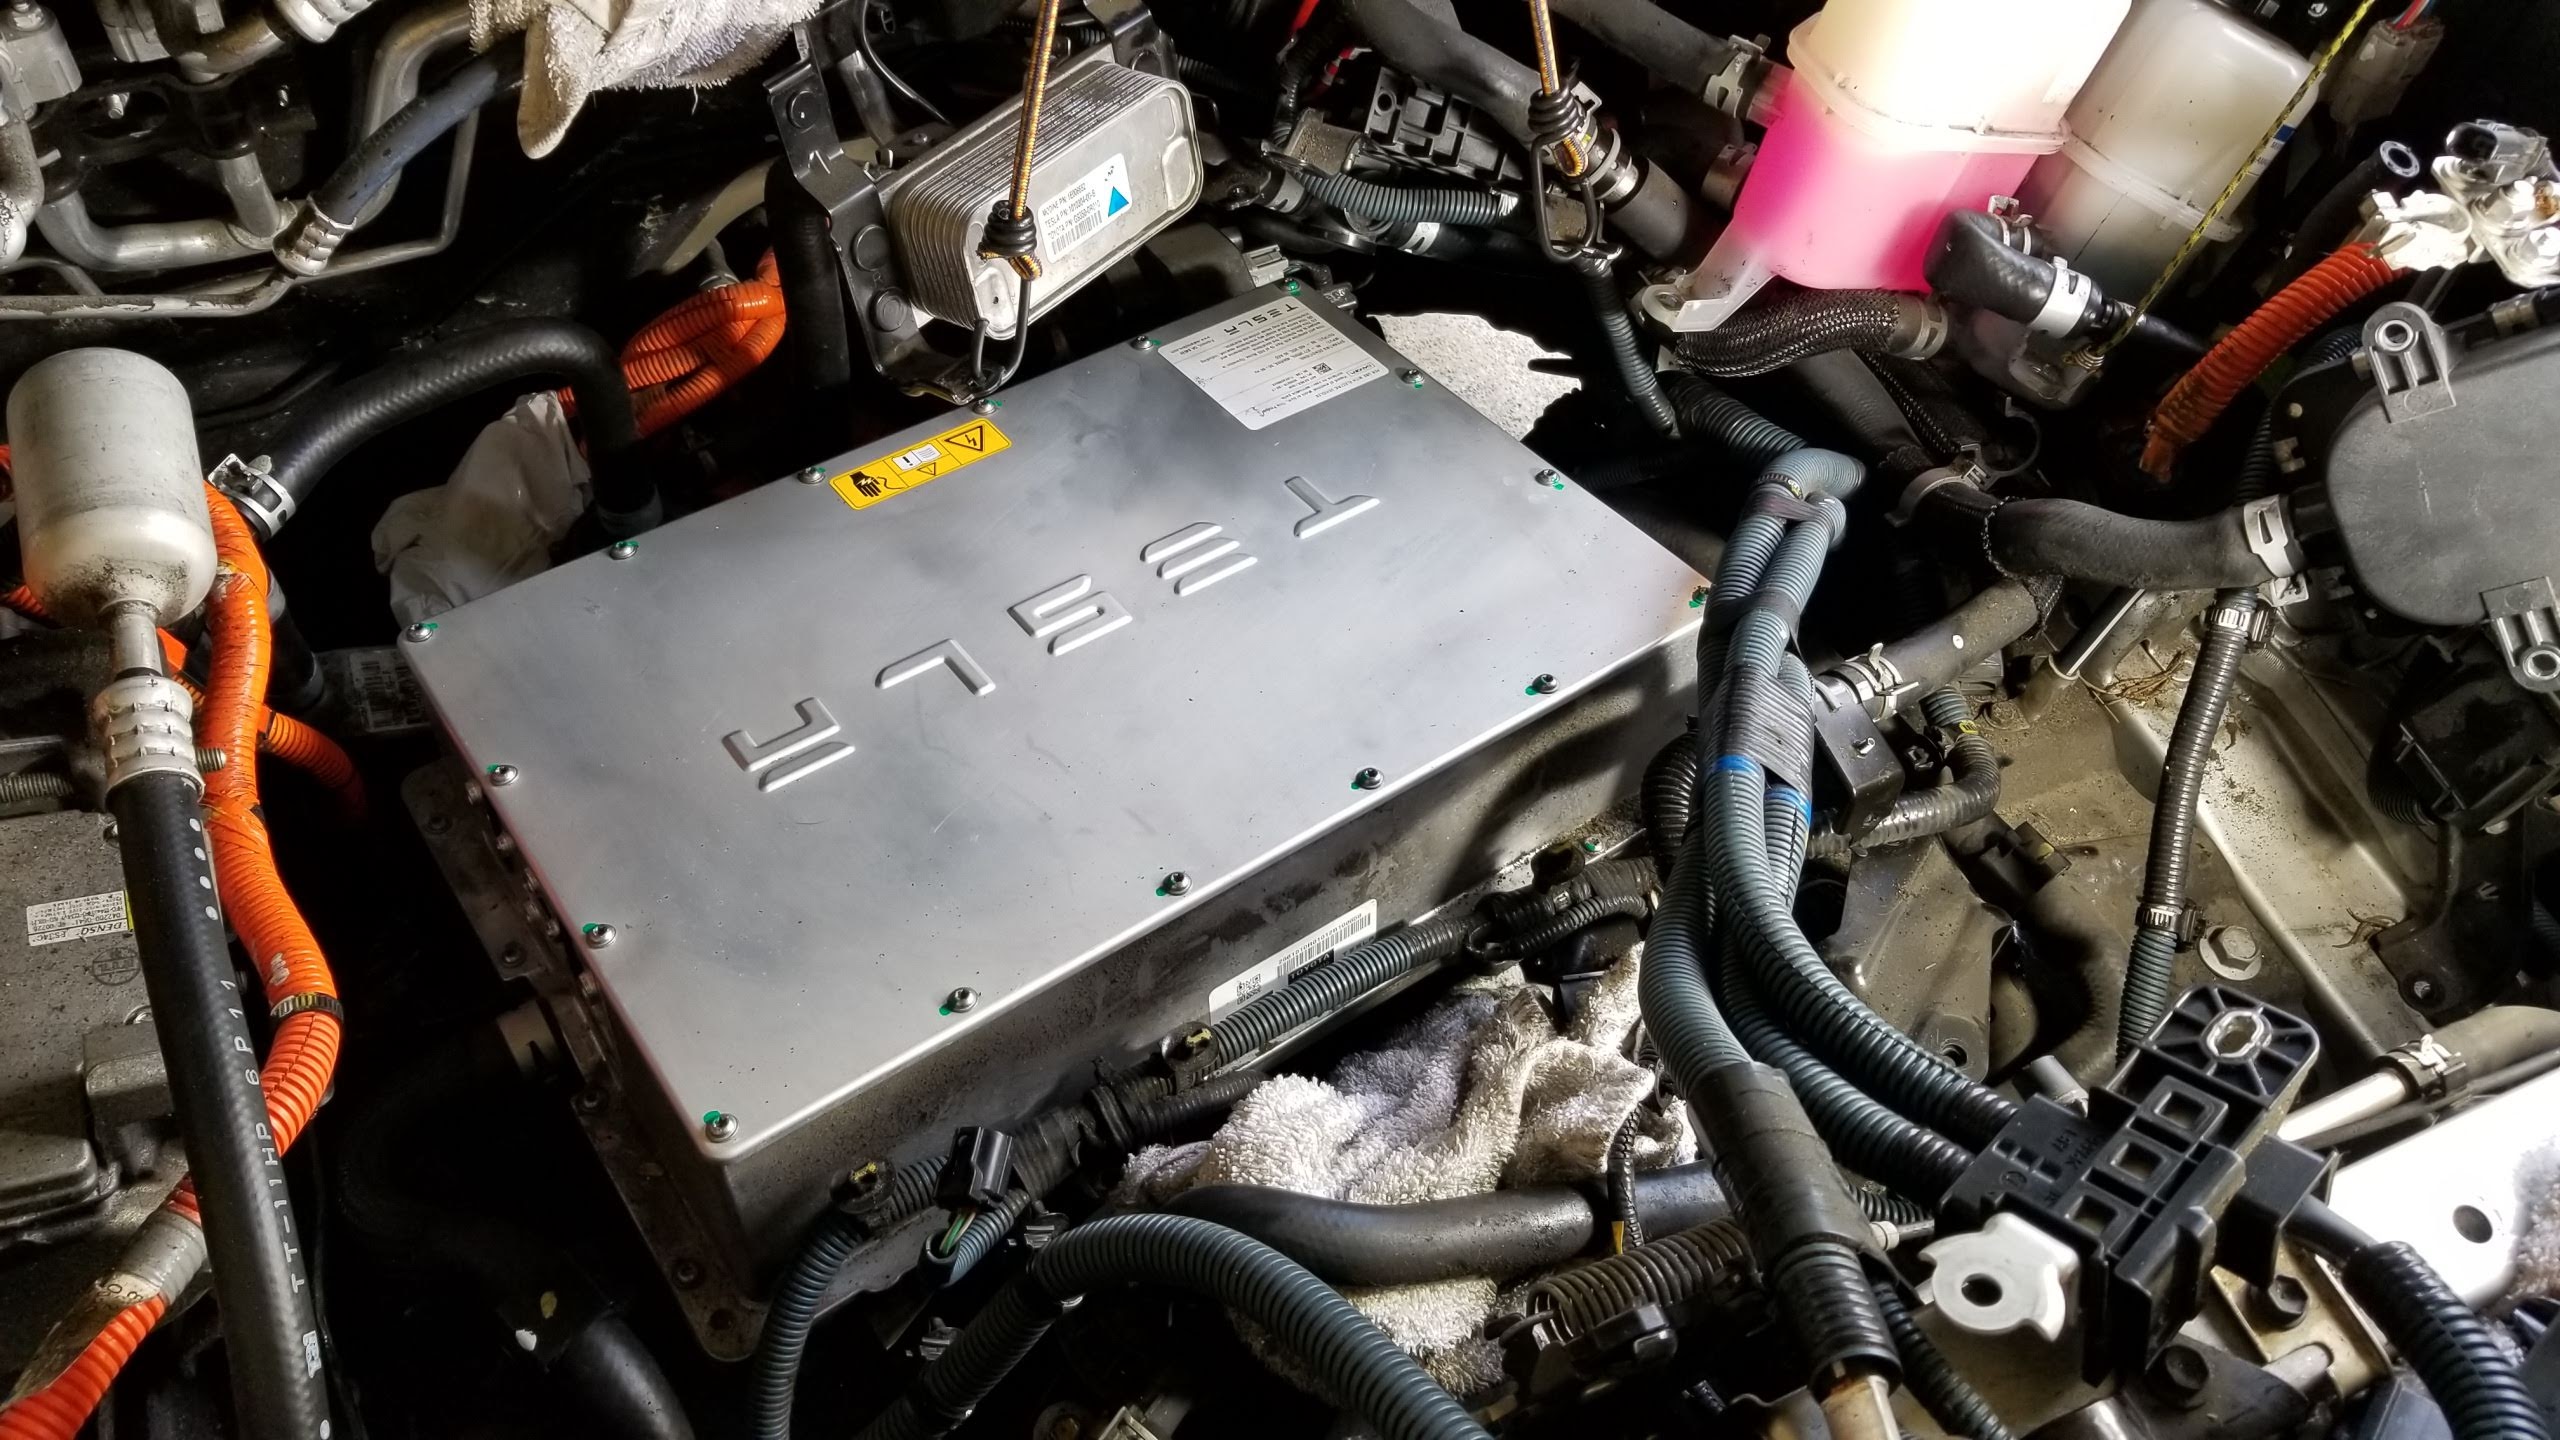
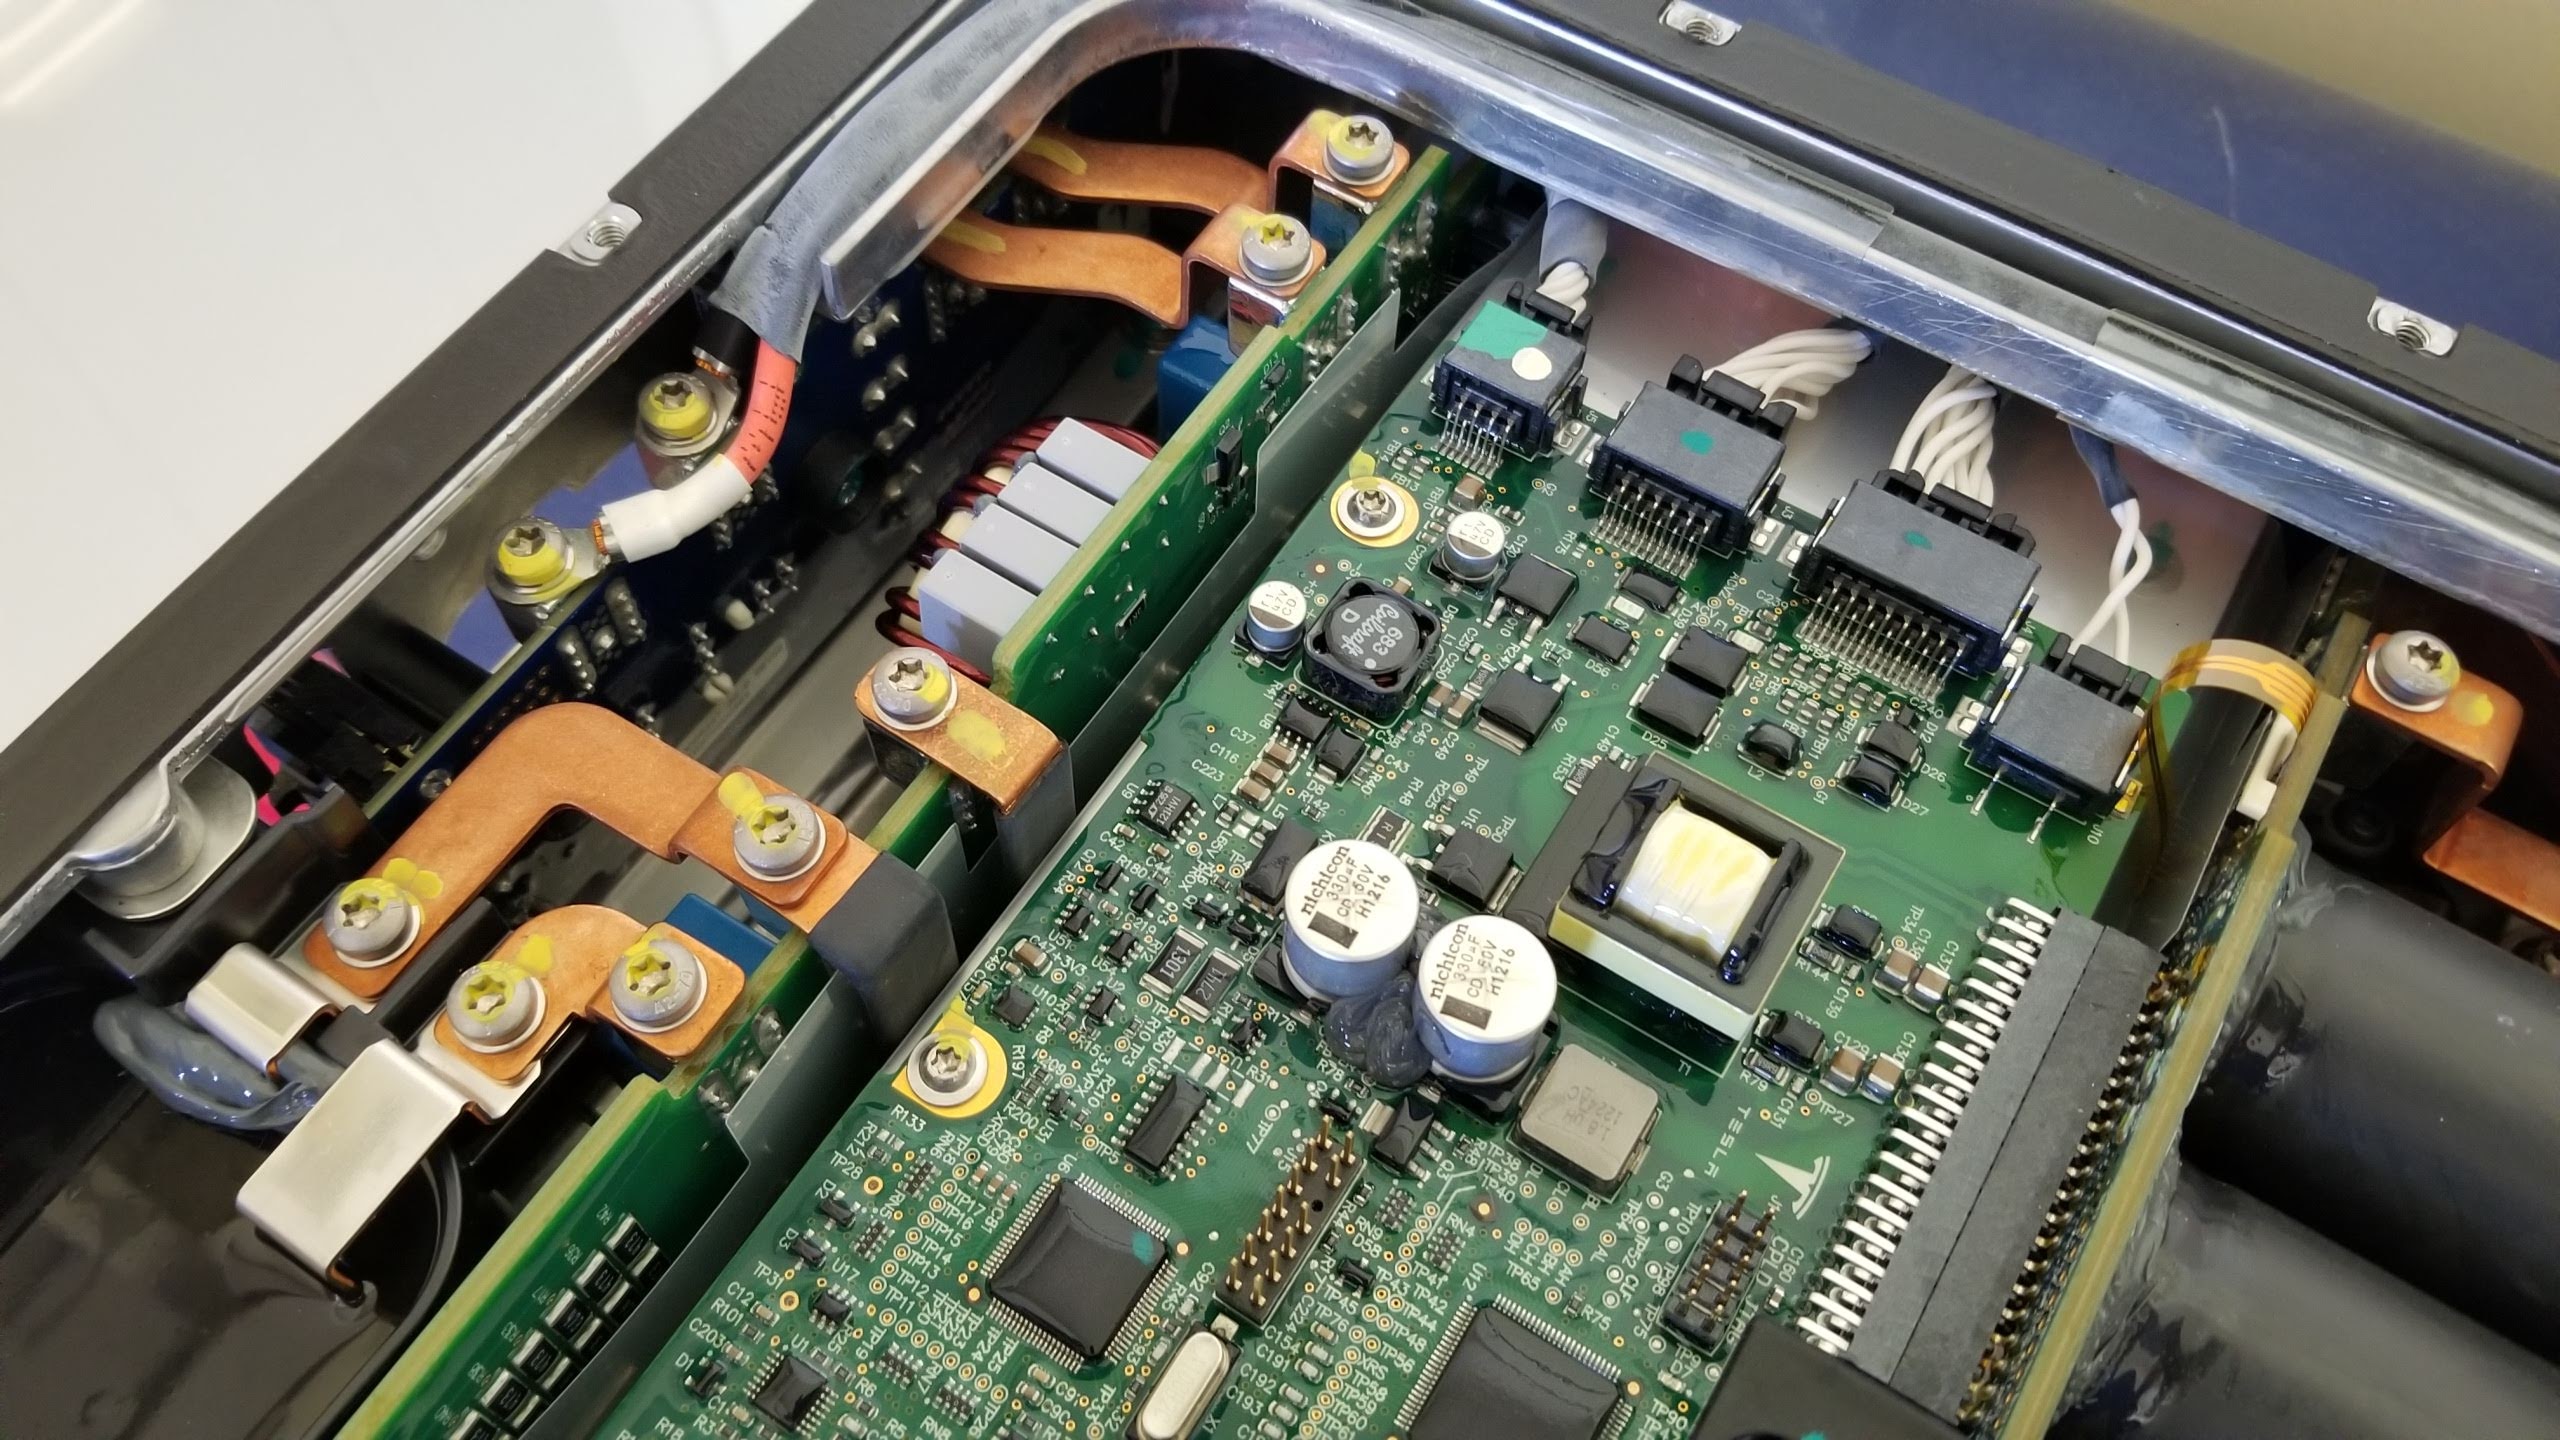
Alright, moving on to the removal of the DC-DC. More coolant hoses to deal with. You can see here I'm using a small pair of "toothless" vice grips to prevent coolant from spilling everywhere. As long as you can get the end of the hose above the level of coolant inside the reservoir you'll be OK. But if you can't do that... hose pinch pliers are your friends. I should mention here that you will want to go out and buy replacement coolant. It's nearly impossible to not contaminate the coolant that comes out with dust and dirt. Dirt in the coolant pumps is not good.

Whew, alright, I'm tired and going to bed for the night. I'll post more tomorrow.
First off, this is what my car was doing when I plugged it in...
https://youtu.be/5Msfjg-_8l0
Basically you can see and hear the known good charge cable attempt to charge the car four times and then it stops.
Now, if you're good at working on cars and you have a fairly complete set of tools... you might be able to pull this off. Have you ever replaced a timing belt and water pump on an ICE car? This is kind of like that job, only with high voltage (HV) components involved. There's very little room for error here. I had 3 large egg cartons worth of nuts and bolts by the time I reached the fuses. Egg cartons are a fantastic way to keep all the nuts and bolts organized in the order that they were removed.
Alright, step one, remove the black cover at the front that is held in by the world's most counter-intuitive clips.
Push down on the center part. Don't worry, it wont fall down behind the panel and be gone forever.
To reset these clips you have to pull out on the legs a little and push it back up through the center hole until a little nub is sticking up through the top of the clip.
Remove the 12V battery:
After removing the 12v battery, remove the HV service disconnect plug under the front passenger seat. I didn't get any pictures of this.
Also remove the black cover for the DC-DC converter / cabin coolant heater and you will see this:
Get your coolant hose pliers in place to stop the flow of coolant and something to catch the spilling coolant in
I left my coolant heater attached on the right side coolant hose and used bungie cords to hold it in place. Be careful to not kink the hose if you can help it.
Alright, moving on to the removal of the DC-DC. More coolant hoses to deal with. You can see here I'm using a small pair of "toothless" vice grips to prevent coolant from spilling everywhere. As long as you can get the end of the hose above the level of coolant inside the reservoir you'll be OK. But if you can't do that... hose pinch pliers are your friends. I should mention here that you will want to go out and buy replacement coolant. It's nearly impossible to not contaminate the coolant that comes out with dust and dirt. Dirt in the coolant pumps is not good.
Whew, alright, I'm tired and going to bed for the night. I'll post more tomorrow.


 and after a month + sitting at Toyota scratching their heads and them saying ""Its the battery"" I told them to bring it back home so now it sits. So I've pulled off the alpha/OG JaDEMO unit and it looked fine, no issues or problems there, everything was nice a clean, water tight up underneeth and the main battery compartment fuse was good. So was the little BMS plug.