Portable OpenEVSE at 40A

Toyota Rav4 EV Forum

Help Support Toyota Rav4 EV Forum:

This site may earn a commission from merchant affiliate links, including eBay, Amazon, and others.
I know "the one" you mean and I use it too. That service is free, but unfortunately doesn't (yet) support solar/EV households.

Another standalone power consumption device I find useful is made by Efergy in the UK. They have a small desktop display unit called a "TPM" (True Power Meter). The TPM compensates for AC power factor, so it is fairly accurate. It works with two clamp type CTs (one for each hot leg of a split phase power source) and an AC line voltage sensor at the source of the load for either individual or whole house power monitoring. The display reads out in killowatts and has "history" capabilities.

I have mine remotely connected to my JuiceBox in the garage and it works well. I have a second unit connected outside the house to a subpanel for the output of my PV system as well. Forntunately, both my JB and PV subpanel have plastic over plates, so the V/I sensor can transmit to the desktop TPM display unit over a distance of up to 150 feet. I believe the data sampling transmission rate is once per minute.

http://www.amazon.com/Efergy-ELITE-...8&qid=1410019090&sr=8-2&keywords=efergy+elite

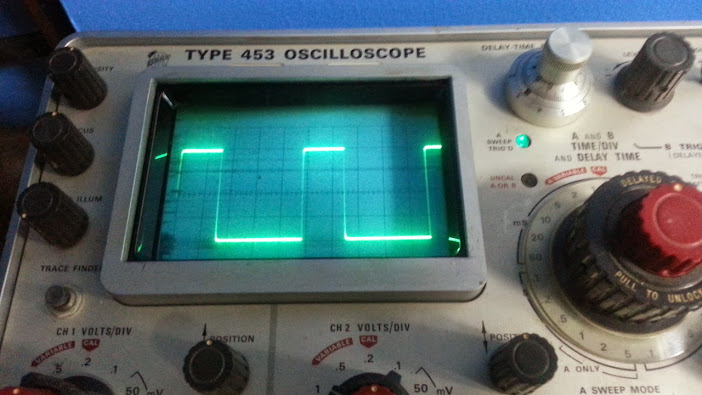
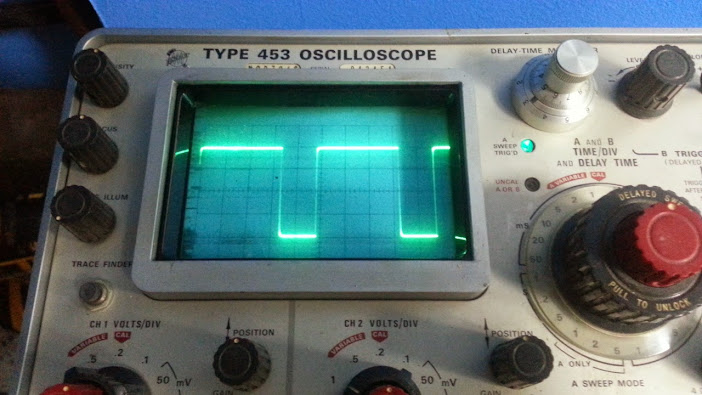
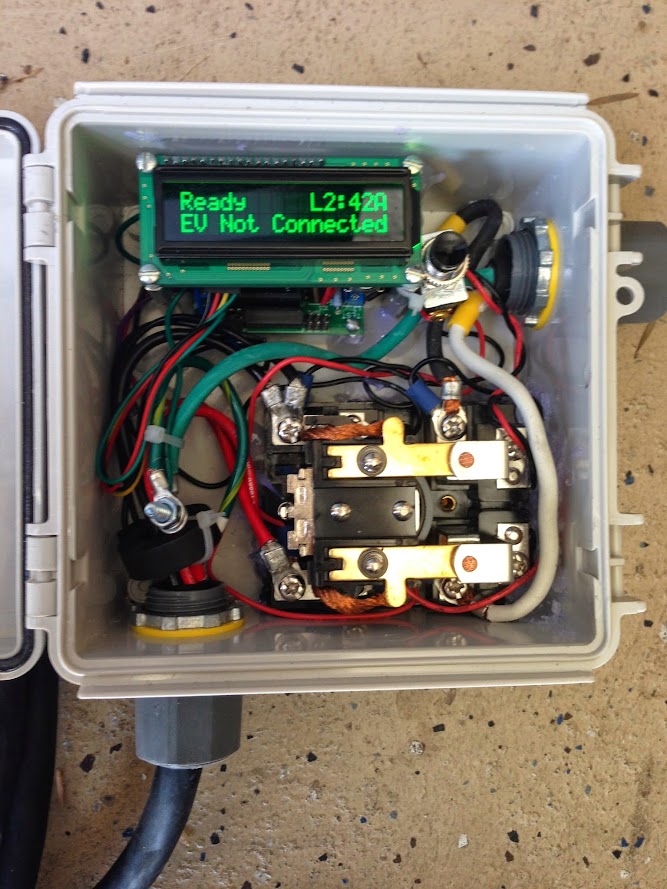
Oh and BTW, the JuiceBox Premium (or Basic with LCD and key fob options) has AC voltage, current and kW output power metering capability while charging.
 
TonyWilliams said:
Can you put a oscilloscope on the pilot signal? 30 amps is 50% modulation of the 1kHz square wave.
miimura said:
My digital utility meter shows voltage and instantaneous kW. If you cut the power to the rest of the house, that would be one way to get another reading.
miimura said:
If you have a smart meter, most have a "current energy consumption" readout.
readout that setting before and after plugging in and you would know much power the car is pulling.
So the smart meter was a great tip. A little tricky if you don't shut down the rest of the house, but it showed at least once that I was charging at 9.5kW. A little bit less a couple other times, but probably the fridge or something turned off between readings.

Also, the O-scope shows good wave forms, 20 amps and 40 amps below. It looks like my Amprobe is not accurate any more. Hard to believe, it's served me well for over 30 years. Time for an upgrade? It looks right at home next to my 25 lb O-scope.

20140904_210453.jpg


20140904_210428.jpg
 
An EV charger is a square wave load with an input filter to approximate a sine wave. Peak reading clamp ons read close but spend a little bit more and get a true RMS unit. My Leaf at full power is a fairly good sine wave. at half power it is a triangle wavw with rounded points.
 
OpenEVSE Plus v3 http://store.openevse.com/collections/openevse/products/copy-of-openevse-plus-v3 is out. It is a board for Level 2 charging stations. It adds a opto-isolated line voltage AC relay trigger to drive large contactors. It also adds current measurement.

To go along with the new board is a 50A Level 2 Charging station kit.
http://store.openevse.com/collections/openevse/products/openevse-50a-charge-station-combo-with-enclosure

Build Guide
http://openevse.dozuki.com/Guide/OpenEVSE+50A+Charging+Station/8

uhIhbvIpU14VLu5G.medium
 
chris1howell said:
OpenEVSE Plus v3 http://store.openevse.com/collections/openevse/products/copy-of-openevse-plus-v3 is out. It is a board for Level 2 charging stations. It adds a opto-isolated line voltage AC relay trigger to drive large contactors. It also adds current measurement.

To go along with the new board is a 50A Level 2 Charging station kit.
http://store.openevse.com/collections/openevse/products/openevse-50a-charge-station-combo-with-enclosure

Build Guide
http://openevse.dozuki.com/Guide/OpenEVSE+50A+Charging+Station/8

uhIhbvIpU14VLu5G.medium

Chris, VERY nice. Good work and thank you. (It sure looks clean without the input & output cables!)
 
Looks good! Is the OpenEVSE enclosure now entirely made of metal? The photo looks like there is an internal metal base plate only. I read somewhere that a SSR (Solid State Relay) has a tendency to overheat when used as "contactor" for currents as high as 30A. Is that what you you are using and calling an "opto isolator"? No other heat sinking required other than from the metal backing plate? What maximum charging amperage does "V3" support at 240Vac? Can it charge a RAV4 EV at full power (40A)? How does the current measurement feature work?
 
Dsinned said:
Looks good! Is the OpenEVSE enclosure now entirely made of metal? The photo looks like there is an internal metal base plate only. I read somewhere that a SSR (Solid State Relay) has a tendency to overheat when used as "contactor" for currents as high as 30A. Is that what you you are using and calling an "opto isolator"? No other heat sinking required other than from the metal backing plate? What maximum charging amperage does "V3" support at 240Vac? Can it charge a RAV4 EV at full power (40A)? How does the current measurement feature work?
This has nothing to do with SSRs, and as you suggested they're not recommended for EVSE usage. The function of the opto-isolation is to drive the coil of larger relays/contactors that require more current than the smaller 30A ones supported by other openEVSE boards.

Your questions about the current capability are dependent upon the choice of relay/contactor (and of course input/output cables.) If you follow Chris's link to the "50A charge station combo" in the openEVSE store, you'll see that it includes a 50A contactor and states that it's good for 50A continuous, so of course charging the Rav at 40A is no problem (that's why Chris is posting in here I'm sure...)

As far as the how the current measurement works, refer to step 10 of the build guide Chris linked to. You'd need to purchase an optional 2nd CT and pass one hot through it (as opposed to the GFCI CT which requires both hots pass through) and connect it to the board. Then charging current information could be included on the display. Note that "hot" could mean set of hots, as is the case if you're using a J1772 cable from QCP which has 2 conductors for each hot line.

NOTE: This sort of design is good for L2 (208-240V) ONLY - a 120V supply won't be enough to actuate the contactor. That means if you intend to use this EVSE as a portable one you should make sure to keep a 120V EVSE (like the included one) with you as well in case you might need to trickle charge. This design would be fantastic for a wall-mount unit, however, as it can do everything the 40A Leviton can do (and more) for half the price.
 
Thanks for the detailed explanation fooljoe. I agree, it IS a great price!

I'm still wondering about the enclosure's construction material. I'm guess its made of plastic, but I think an all metal enclosure would be better for heat sinking purposes. Also, I don't see any AC relay(s) or CT(s) in the photos. Where would these components be mounted? The PCB has no room for CTs, so I guess they would be suspended inside the enclosure by the power conductor(s) themselves with "flying leads" for the current sensor outputs.

Without additional heat sinking provided by an all metal enclosure, would sustained operation at 50A even be possible?
 
Dsinned said:
Thanks for the detailed explanation fooljoe. I agree, it IS a great price!

I'm still wondering about the enclosure's construction material. I'm guess its made of plastic, but I think an all metal enclosure would be better for heat sinking purposes. Also, I don't see any AC relay(s) or CT(s) in the photos. Where would these components be mounted? The PCB has no room for CTs, so I guess they would be suspended inside the enclosure by the power conductor(s) themselves with "flying leads" for the current sensor outputs.

Without additional heat sinking provided by an all metal enclosure, would sustained operation at 50A even be possible?
If it is a heavier duty contactor and not a relay like others use, then the contact resistance would be less and the heat generated would be less.
 
I have used that contactor in my personal OpenEVSE. It runs warm under my Leaf's 27.5A load. Lately it has developed a faint buzz.I added ventilation holes to let air circulate. I used the same contactor in fooljoe's unit.

The OpenEVSE housing is an aluminum case power coated white and then silk screened. Al in all it is a first class case but too expensive for my tastes. Electrical junction boxes are far cheaper even if you have to cut out the top for a display.

Hera is the contactor from Ebay.

http://www.ebay.com/itm/New-40-amp-2-pole-240-v-coil-Definite-Purpose-Contactor-/221440908683?pt=LH_DefaultDomain_0&hash=item338ee81d8b
 
The case is aluminium and there is an abs mounting plate that gets screwed to the case. It's a very nice case. I have two if them. If you need to know anything about them let me know.
 
Dsinned said:
I'm still wondering about the enclosure's construction material. I'm guessing its made of plastic, but I think an all metal enclosure would be better for heat sinking purposes.

The enclosure is aluminum. I also thought it was plastic, but was pleasantly surprised to find otherwise when I received / bulit my Open EVSE last month. All top quality stuff. The internal mounting board is a plastic material.
 
Thanks for the clarifications. Hard to tell by only looking at the photos. OpenEVSE's website clearly calls out aluminum, but now I'm surprised to learn that the internal mounting plate is not aluminum also. An ABS material for that piece would impede heat transfer from the high power components (dual SPST relays). Seems a bit odd that such a plate is not made of metal as well.

I just priced a V3 OpenEVSE, fully optioned except for AC input cable, with 25', 40A J1772 output cable and pre-assembled. It came to just under $750 (tax included, plus shipping?). I paid slightly less for my fully optioned, pre-assembled JuiceBox in the Basic Enclosure, ordered with both input and output cables for full power operation (240V - 40A).

The JB has the advantage of working with either 120 or 240V with the addition of an appropriate input cable adapter ($35 extra), and also equipped with WiFi cababilities. Also, it has a more versatile - though much smaller - RGB LCD display, which enables the JB to be set up and controlled via a menu driven, Remote option. Imo, these additional features (even in a Basic enclosure unit) are well worth the extra cost.

The one thing included with the OpenEVSE but not with JB is a RTC. I have to manually set the time and date in my every time I turn off the AC power; kind of a hassle. Even with power on all the time, the "clock" running in software slowly loses accurate time, which messes up scheduled charges set to initiate right at midnight. Oh well, nothing's perfect, but I believe eMW is working on JB firmware and built-in Internet accessible server upgrades to maintain a more accurate clock function.
 
You don't want the mounting plate made of steel because that would conduct electricity. Not good. Its not meant to dissipate heat, simply to mount hour components. If its built correctly with the correct components then there shouldn't be much heat.

Chris makes amazing components and he has been a huge asset the ev community. I assure you that his components are top notch.

As for your price I'm not sure how you came to that. You can buy the parts and put them together easily for around $400-$500.
 
I am comparing prices for pre-assembled units only. I'm not sure if this would cover all items needed, but here's the OpenEVSE v3 pricing:

$359.00 for OpenEVSE 50A Charge Station Combo - No Solder with RGB LCD/RTC / Wall Mount Flange / OpenEVSE Artwork

$ 99.00 for OpenEVSE Plus v3 - Built add ($20.00)

$ 19.50 for OpenEVSE LCD - Quick Kit - Monochrome LCD

$ 32.50 for GFCI Current Transformer Kit with self test - Built - CT, self test wire and 3 pin connector

$165.00 for J1772 Cable 40A Ultra Flexible J1772 Cable 40A Ultra Flexible - 25 feet (add $20)

$ 20.00 for OpenEVSE Programmer OpenEVSE Programmer - Programmer

$695.00 = Subtotal + $52.13 CA Sales Tax = $747.13 Grand Total (Plus ??? for shipping?)
 
Dude no, $359 includes everything except the j1772 and cord to connect it to power. Its not just the case. lol

"Required to built finished Charging Station

AC Cable (NEMA 14-50, NEMA 6 - 50 or hardwired)
40A J1772 Cable"
 
Oh, I see, kind of confusing on the OpenEVSE store's website. Are all the other options except for the cables included in the $359 price? If so, okay just add in the cost of the input/output cables for ~$200 and with CA tax, the price would still be close $600. Of course, do-it-yourself pricing would bring it down closer to $500, which is certainly a GREAT PRICE! Also, if you live outside of CA, maybe the sales tax can be waived.
 
Dsinned said:
Oh, I see, kind of confusing on the OpenEVSE store's website. Are all the other options except for the cables included in the $359 price? If so, okay just add in the cost of the input/output cables for ~$200 and with CA tax, the price would still be close $600. Of course, do-it-yourself pricing would bring it down to around $500, which is certainly a GREAT PRICE! Also, if you live outside of CA, maybe the tax is waived.

I dont think there is any tax.

$359 for the kit with the prebuilt boards, wall mounts, and OpenEVSE artwork.
$145 for the 15' 40 amp j1772
504 total

Then you connect it to your breaker box however you want. You can use a few feet of the j1772 cable or you can buy a 14-50 plug from lowes for around $25. It all depends on how you want it to connect to power.

Or you can buy mine done for $599
http://www.ebay.com/itm/110-220-Volt-50-Amp-OpenEVSE-Portable-EV-Charger-One-EVSE-for-any-situation-/161395725014?pt=Electric_Vehicle_Parts&hash=item2593ef52d6&vxp=mtr
 
Wow, these prices are interesting. Here's what I see currently:

1. OpenEVSE v2 quick kit $65
2. Chinese relay $12
3. J1772 cable 40A $145
4. power cable NEMA 14-50 $15
5. Box $15

Total: $252

That's for a portable dual voltage 120/240V OpenEVSE that's quick to build but if you do more soldering, it's even less; the amperage can be set at will by changing the firmware on a computer. If you want to make it easily adjustable amerage, you'll need an LCD and button which is another $25. Similar to this one:
2014-05-21+12.02.06.jpg

I paid more for this particular build because the costs of compnents were twice as much awhile ago.
 
Back
Top