Below is a summary of the steps I took to install the temperature gauge, follow at your own risk as I don't take any responsibility for any damage or mishaps that could occur by following these. My mention of the Autometer products is not meant as any type of endorsement, there are other products out there that do the same job.
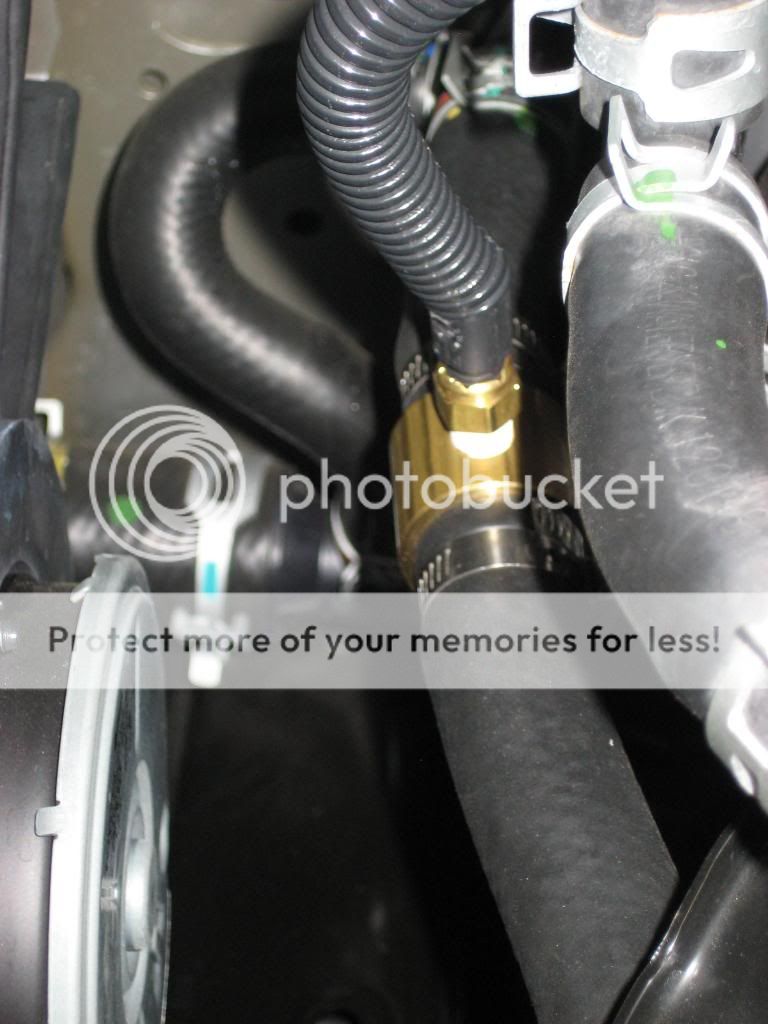
First step was to cut the coolant hose and install a Autometer heater hose adapter for 3/4" hose (the temperature sensor screws into the adapter). I used a hobby knife that was pretty sharp with small teeth, you want something to quickly cut thru the hose. Upon cutting the hose I put a clean plastic plug in the left piece to keep from losing too much coolant, while I installed the adapter into the hose to the right. The temperature sensor came with the Autometer dash gauge, The temperature sensor screws into the adapter, I used thread seal tape. The photo below shows the adapter on the left with the sensor screwed in, second photo is a closer shot. Following the hose to the far right you can see the black inline adapter and sensor that Toyota used.
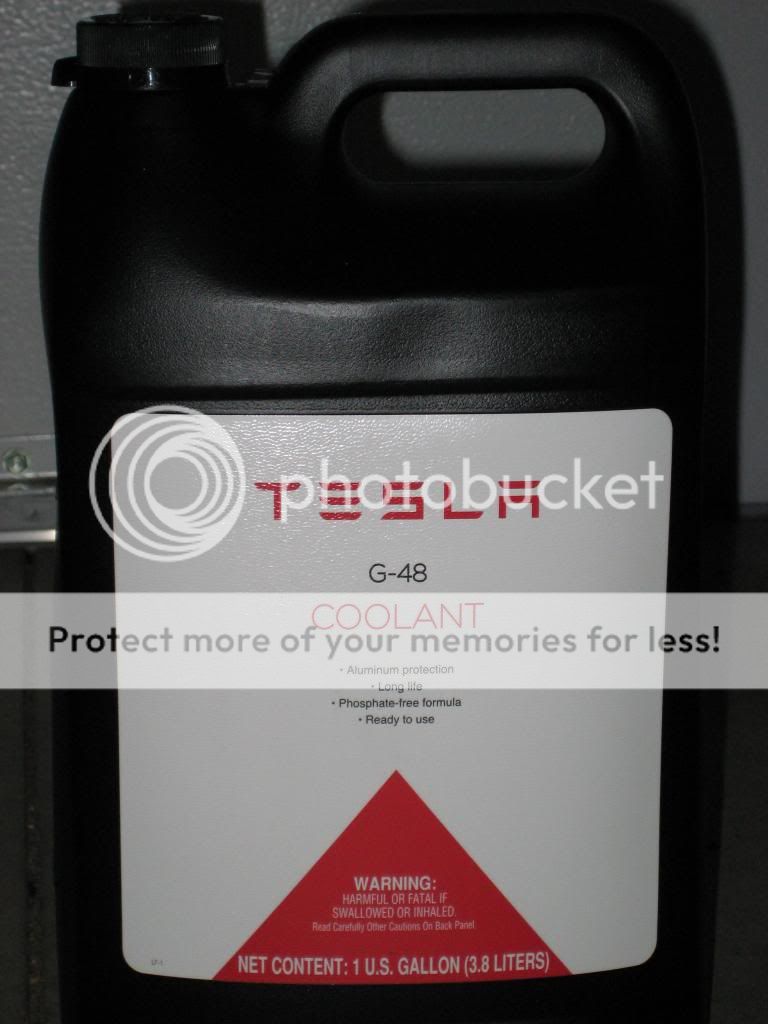
Be sure to top off the coolant to replace what was lost when cutting the hose, using a clean funnel. It requires a special coolant, G48, see manual. To get this I went to the dealership near where I worked, the parts guy brought out two different coolants that were for ICE vehicles (one was even blue but not G48). I gave up and stopped by Carson Toyota which I pass on the way home from work. The person at the counter knew what I was talking about when referring to the G48 fluid, he had to order it and it took a few days but he said they ordered a whole case to prepare for future needs. Photo below is the G48 coolant from the Carson dealer, note the Tesla label!
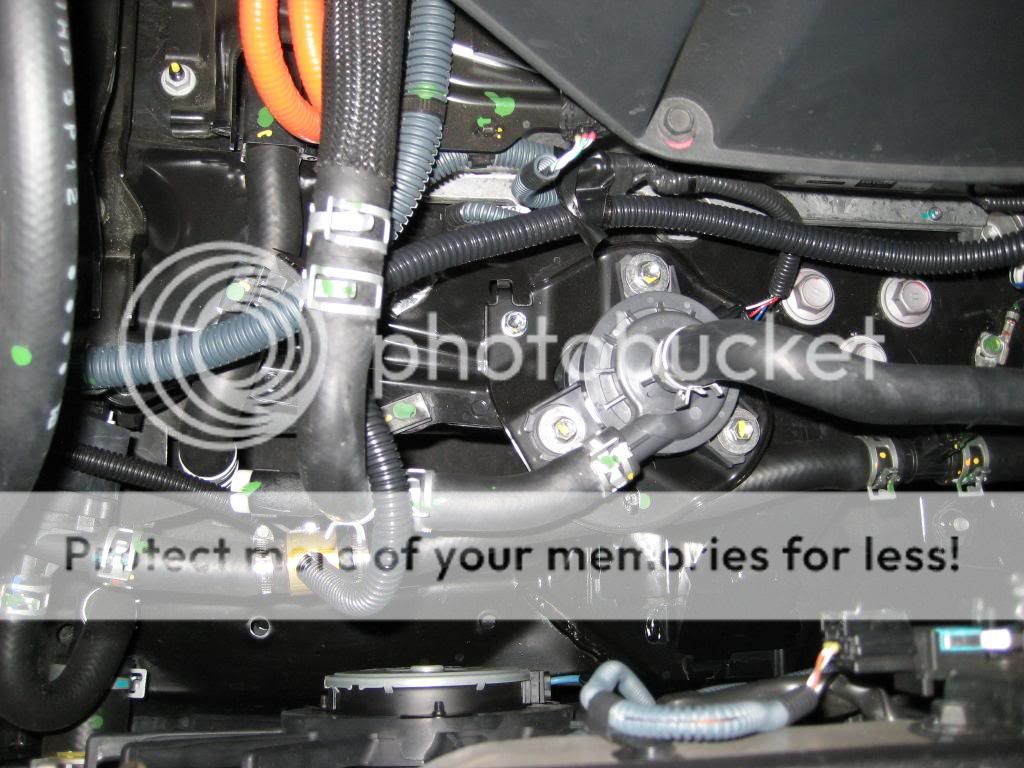
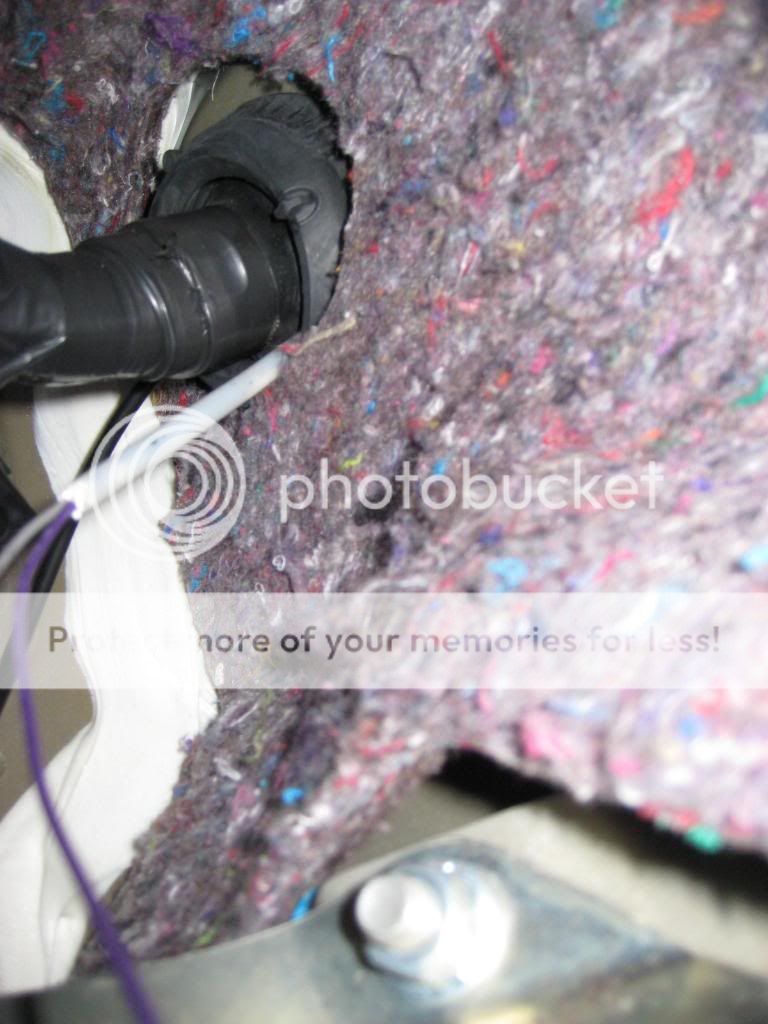
Next step was to get the sensor wires inside the car. The photo below shows the top of the wiring harness that goes thru the firewall, it is located on the far right side. Just to the right of the wiring harness you can see a white plastic tube. That is what I installed to get the sensor wires thru, it is a hollow plastic tube from an old kite that I had. The interior diameter is just large enough to slide the two sensor wires thru after pushing the plastic tube thru from the interior (drivers side under dash near the floor), second photo below. I picked a spot just under the wiring harness to push it thru.

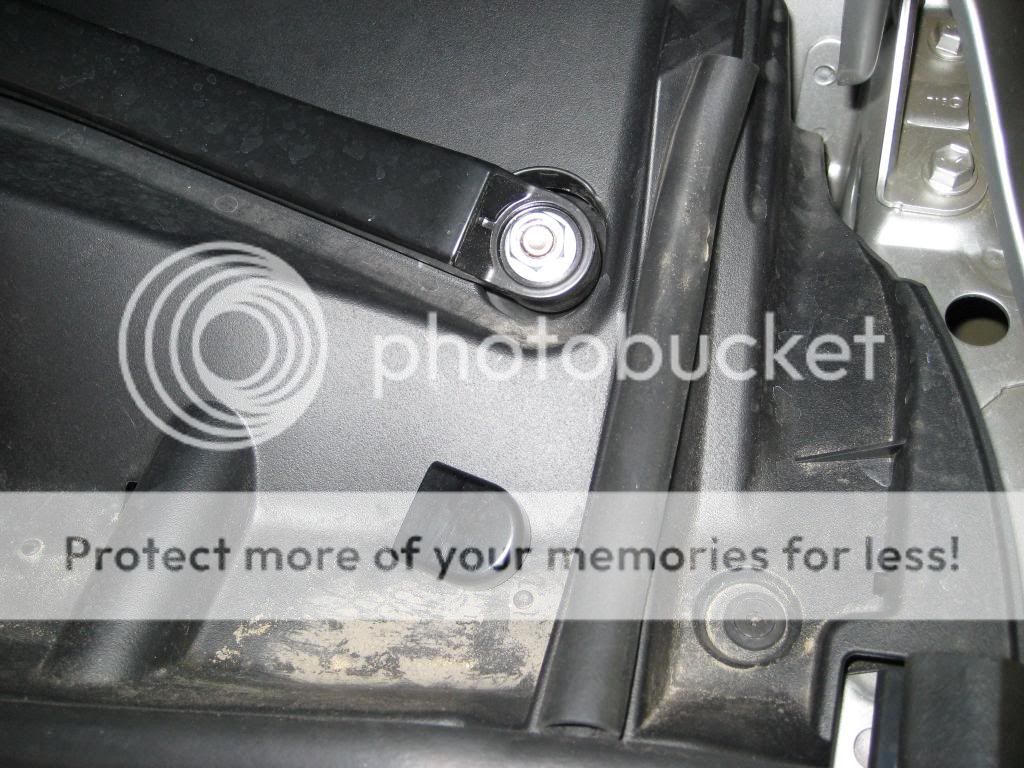
In order to get to the plastic tube from the exterior side of the firewall you will need to remove the large plastic piece that goes around the base of the windshield wipers and across the front. Windshield wipers must come off first, take the metal cap off using your fingers, take the nut off and wiggle the wiper arm off (see photo below). The large plastic piece has several small tabs that you must squeeze together while pushing thru the hole they go thru in the metal piece underneath. The large metal piece underneath (going across the front of the car has several screws that must be removed. Once you get both the large plastic and metal pieces removed you get good access to where the wiring harness goes thru the firewall. In hindsight I wish I used a slightly larger plastic tube and pushed thru a couple extra wires just in case I wanted them in the future.
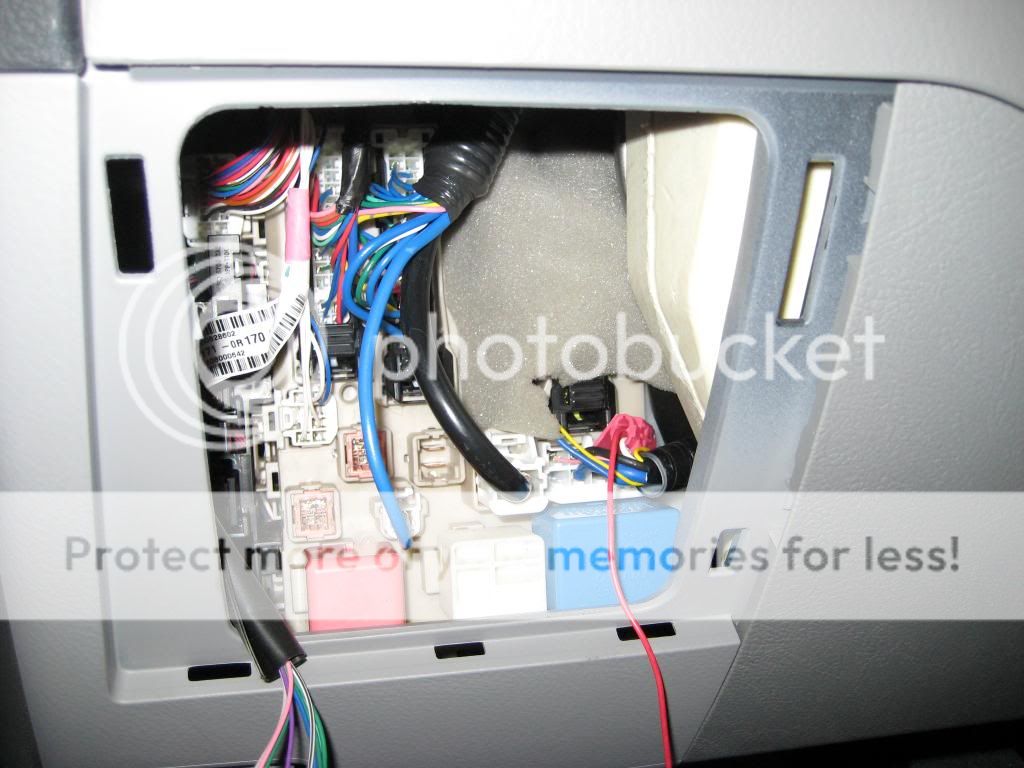
Next step is to connect the 12 volt wires for the temperature gauge. First remove the cover that provides access to the fuses on the drivers side, per instructions in the manual (using a tape covered screwdriver tip to pry the plastic cover open, photo below).
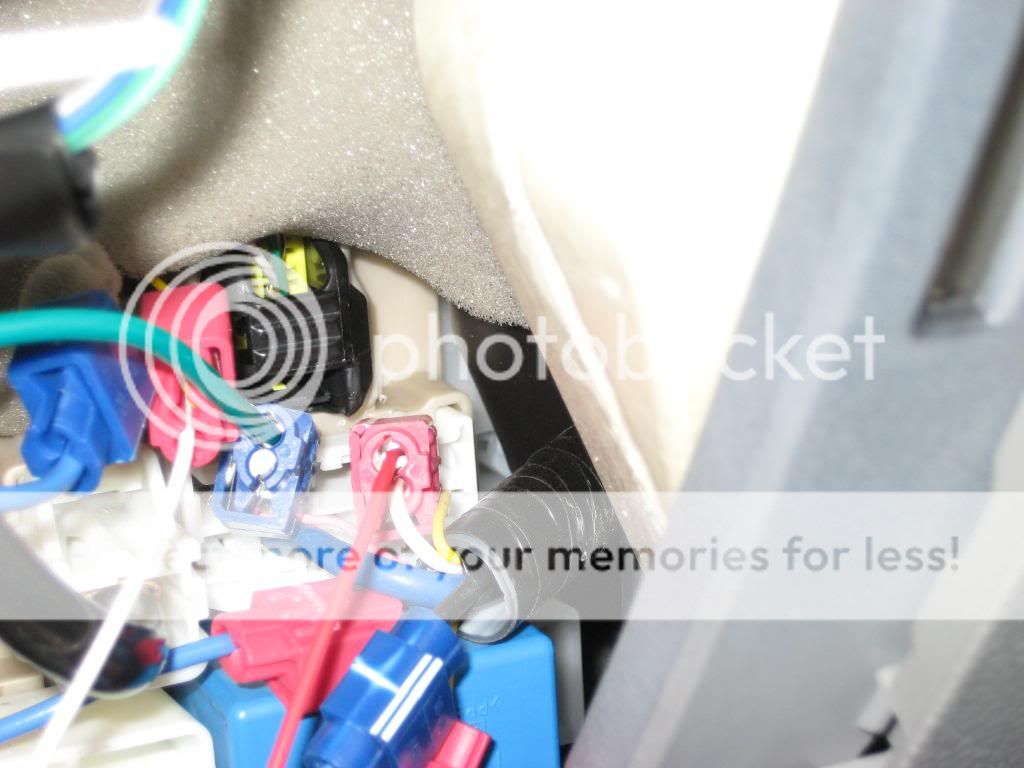
On the bottom right there is a blue part, and just above that there are two rows of slots for wires to connect to (to the left of the black tube with wires coming out), see photo. That black tube has a white and black wire coming out that go into the top row, these are the +12V and ground that I used for the temperature gauge. When you press the start button for the car once, without your foot on the brake the 12 volts will come on. The wires are really tight coming out of the black tube, I had to cut and reconnect a couple other wires in order to have room to work. I also added wire to increase the length to give some slack and space for my connectors.
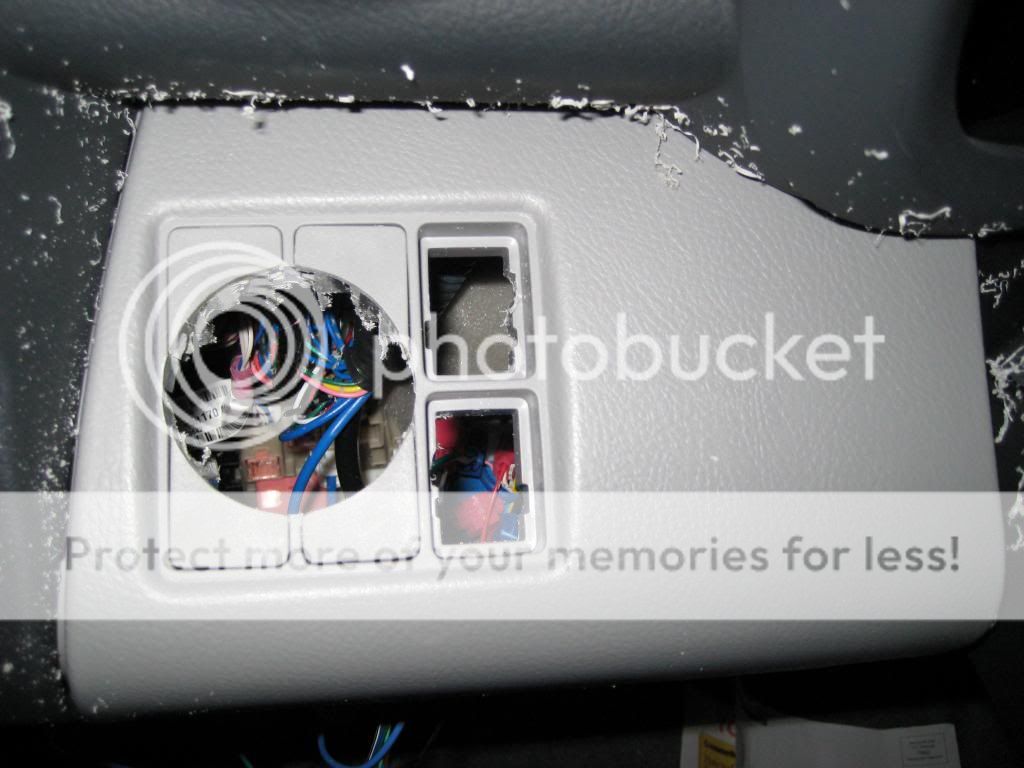
Final step was drilling the hole for the gauge. I used the area where the dimmer is for the dash light and the adjuster for the front lights. From underneath you can squeeze the two tabs and push these out the top, along with the four plastic dummy pieces. All six holes are keyed so the folks at Toyota building the car keep the devices in the same spot from car to car. To move the dimmer and light adjuster I put a small drill piece in the drill and used the side of the drill piece to rub away enough room to duplicate the keyed holes.
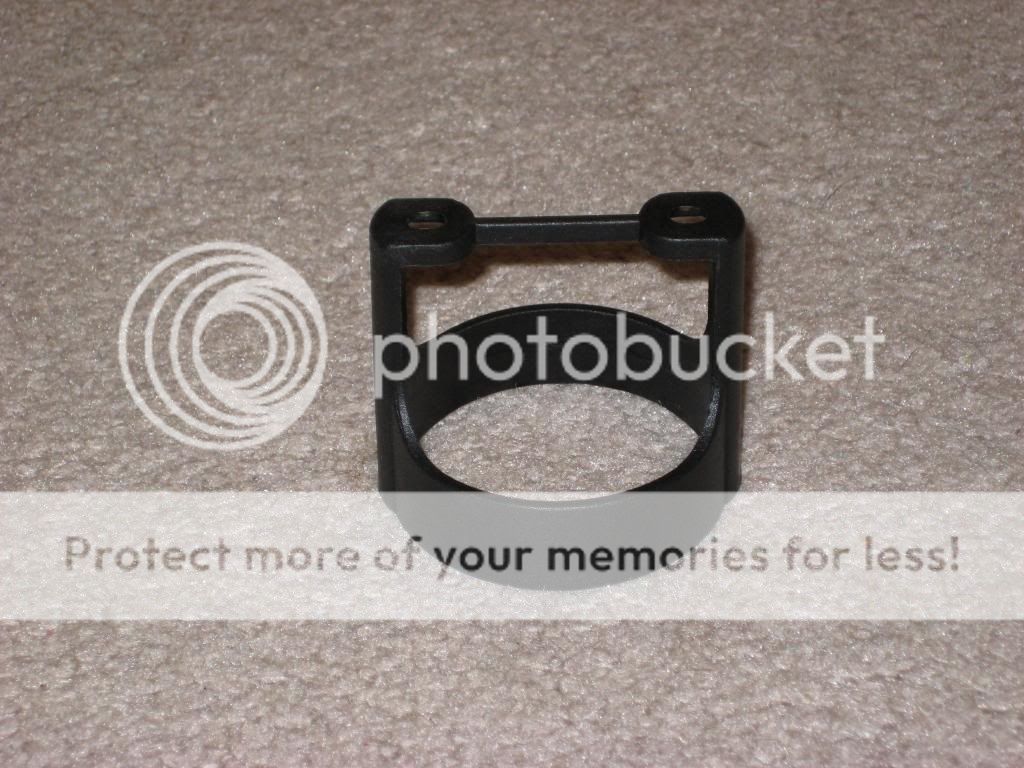
I then drilled a 2" hole using the device seen in the photo below (after practicing on a piece of wood and using the wood disc I cut out to mark where I wanted to drill in the car).
It got a little messy when drilling, as seen in the following photo with small plastic shavings everywhere.
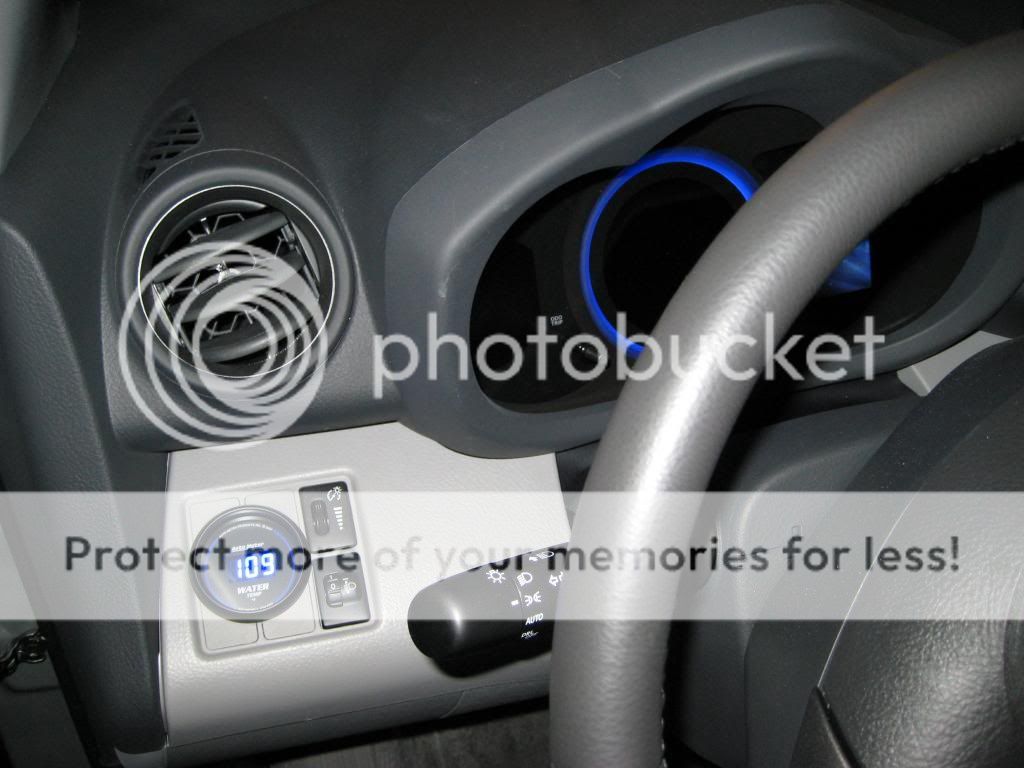
I then installed the gauge in the 2" hole (after sanding smooth the edges), and connected the wiring (+12V (being sure to install a 1 Amp fuse per the Autometer instructions), ground, and two wires from sensor). There was a fifth wire for the gauge that goes to the dash lighting for dimming purposes but I did not use it.
Hope this is easy enough to follow.